7.
LCheck the journal from Remote Control after sending or receiving faxes.
LFor details, see the help file by selecting [Usage Tips] from
7.7.2Receiving a fax into your computer
You can receive a fax document on your computer. The received fax document is saved as an image file
To receive a fax document using your computer, make sure the following features are set beforehand.
– PC fax reception (feature #442 on page 64)
1Press {FAX AUTO ANSWER} repeatedly to turn the auto answer setting ON (page 36).
2Start
3Select [PC FAX].
4When a fax call is received, your computer will receive a document through the unit.
Note:
LYou can view, print or transfer the received document using your computer.
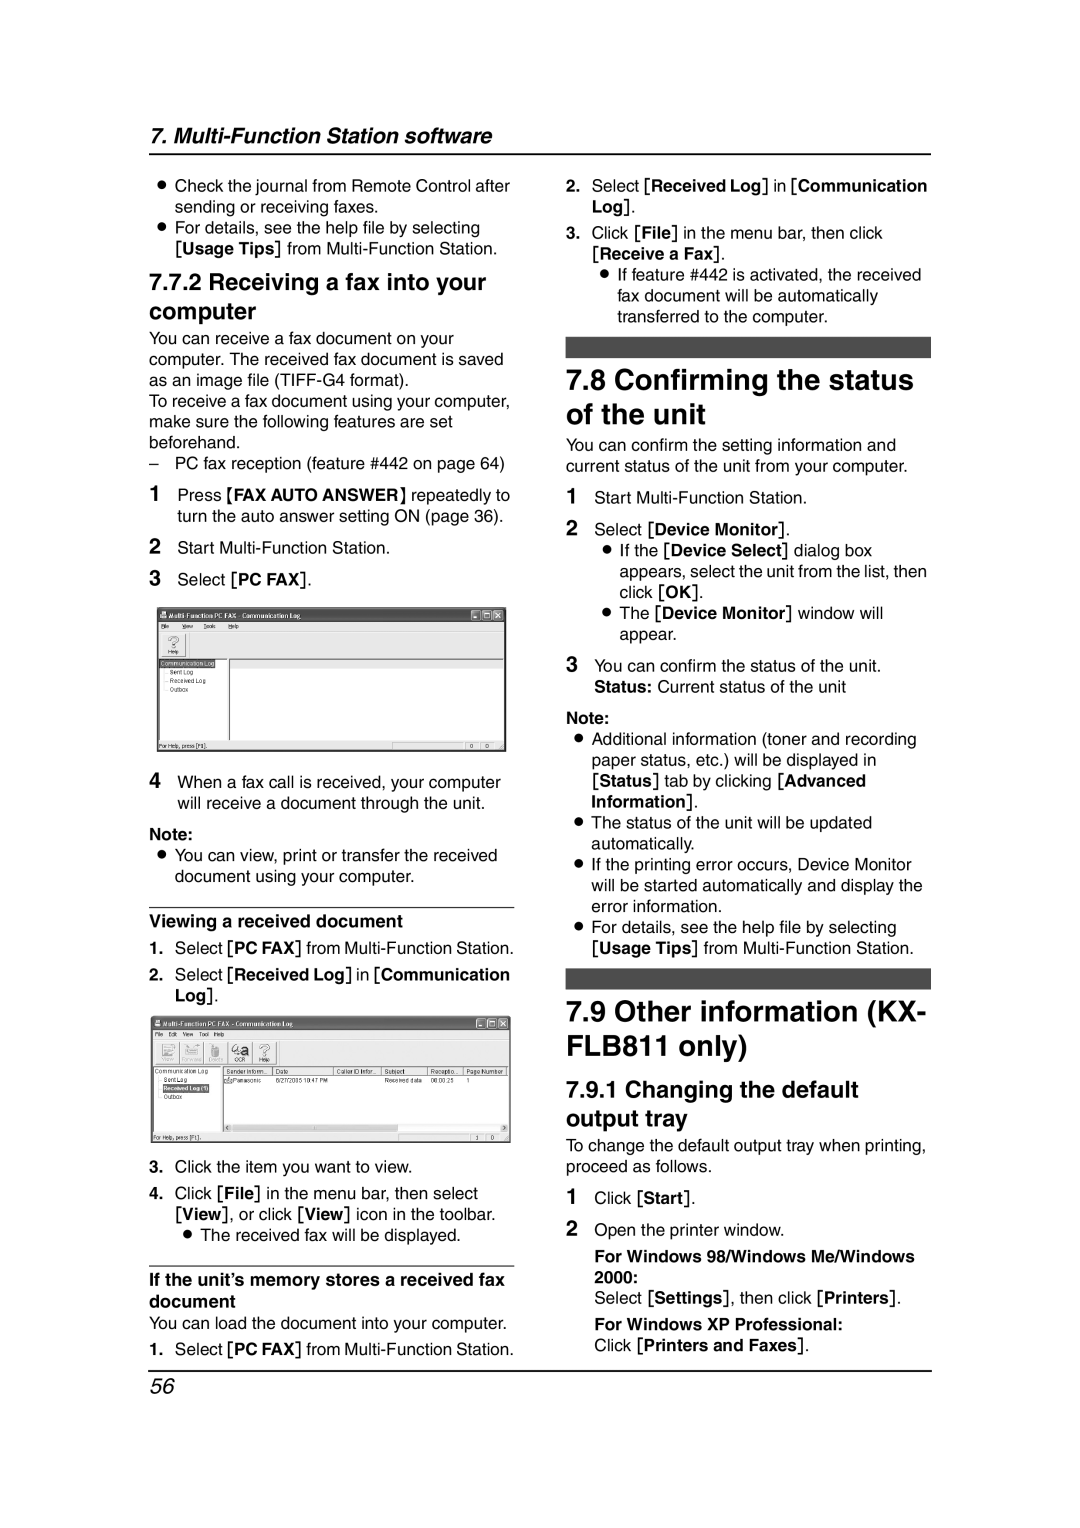
Viewing a received document
1.Select [PC FAX] from
2.Select [Received Log] in [Communication Log].
3.Click the item you want to view.
4.Click [File] in the menu bar, then select [View], or click [View] icon in the toolbar. L The received fax will be displayed.
If the unit’s memory stores a received fax document
You can load the document into your computer.
1.Select [PC FAX] from
2.Select [Received Log] in [Communication Log].
3.Click [File] in the menu bar, then click
[Receive a Fax].
L If feature #442 is activated, the received fax document will be automatically transferred to the computer.
7.8Confirming the status of the unit
You can confirm the setting information and current status of the unit from your computer.
1Start
2Select [Device Monitor].
LIf the [Device Select] dialog box appears, select the unit from the list, then click [OK].
LThe [Device Monitor] window will appear.
3You can confirm the status of the unit. Status: Current status of the unit
Note:
LAdditional information (toner and recording paper status, etc.) will be displayed in
[Status] tab by clicking [Advanced Information].
LThe status of the unit will be updated automatically.
LIf the printing error occurs, Device Monitor will be started automatically and display the
error information.
LFor details, see the help file by selecting [Usage Tips] from
7.9Other information (KX- FLB811 only)
7.9.1Changing the default output tray
To change the default output tray when printing, proceed as follows.
1Click [Start].
2Open the printer window.
For Windows 98/Windows Me/Windows 2000:
Select [Settings], then click [Printers].
For Windows XP Professional: Click [Printers and Faxes].
56