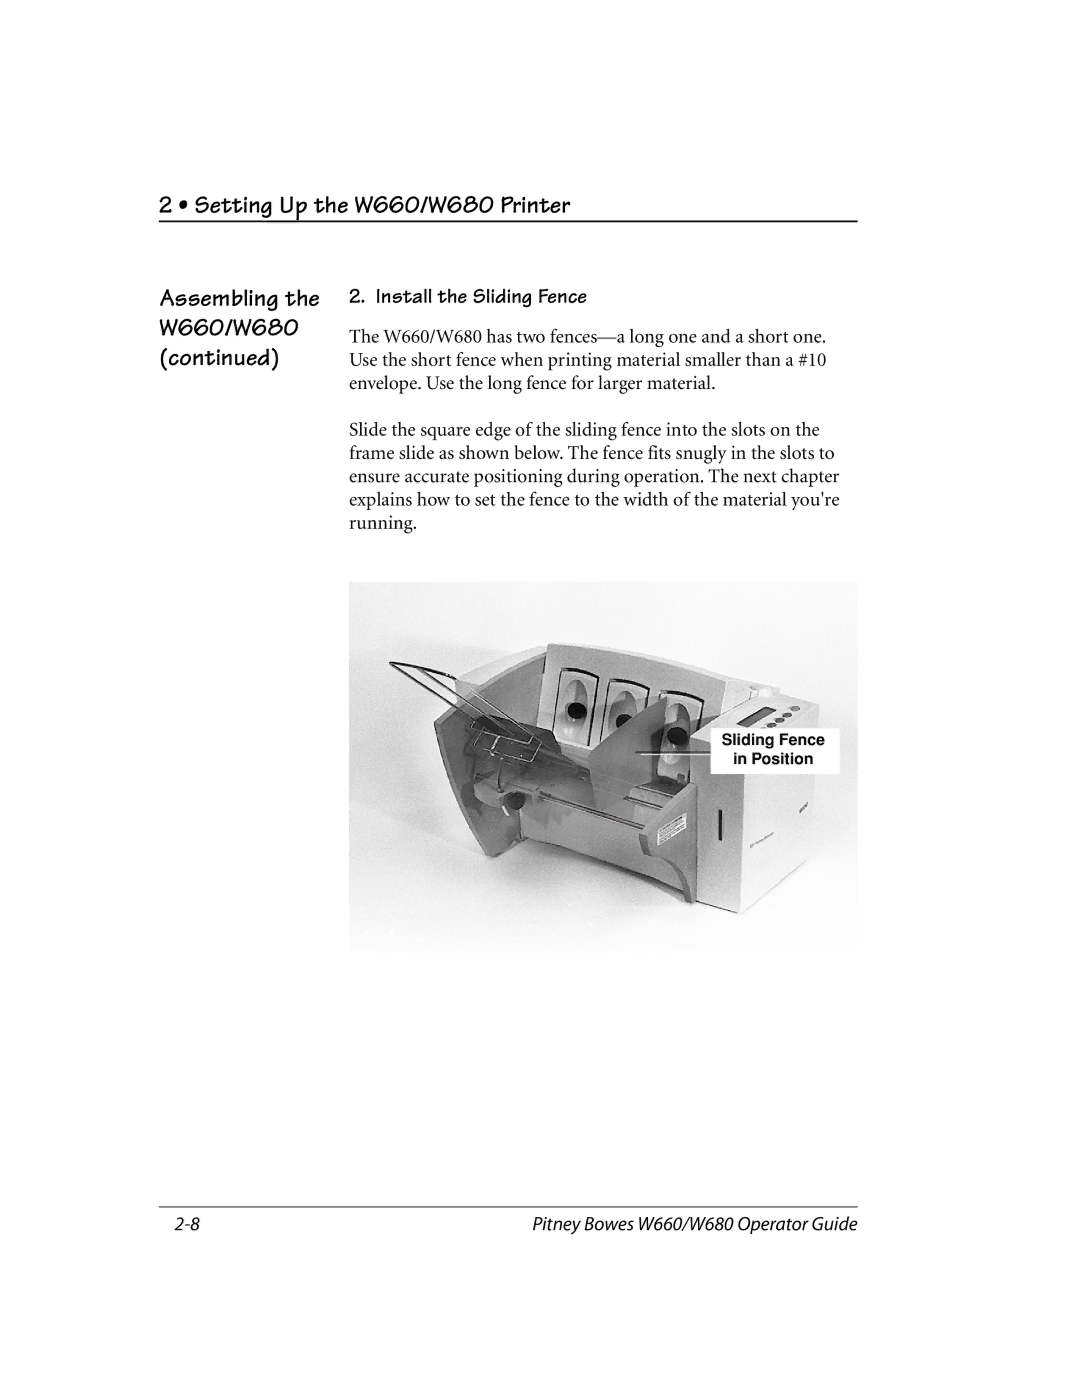
W660, W680 specifications
Pitney Bowes has long been a leader in the field of mailing systems and solutions, and the introduction of the W680 and W660 models continues this tradition. These high-performance mailing machines are designed for businesses that require efficiency, versatility, and advanced technology in their mail processing operations.The Pitney Bowes W680 and W660 offer impressive production capabilities, making them ideal for medium to large businesses with significant mailing volumes. The W680 boasts a processing speed of up to 185 letters per minute, while the W660 operates effectively at a slightly lower rate, ensuring quick and efficient handling of various types of mail.
One of the standout features of both models is their ability to handle different mail formats, including letters, flats, and even small parcels. This flexibility allows businesses to streamline their operations and manage a diverse range of mailing tasks without the need for multiple machines. The automated feeding system is designed to minimize misfeeds and jams, enhancing productivity and reliability.
In terms of technology, the W680 and W660 incorporate advanced barcode scanning and weighing systems, which help in the accurate processing of mail. This not only ensures compliance with postal regulations but also optimizes postage costs. The integrated scales allow users to weigh items on the spot, reducing the chances of overpayment on postage.
The user-friendly interface of these mailing systems is another highlight. Equipped with a large touch screen display, operators can easily navigate through various functions, adjust settings, and monitor mailing progress in real-time. The intuitive design minimizes training time, allowing staff to quickly become proficient in operating the machines.
Moreover, both models support cloud connectivity, enabling users to access management tools and analytics from anywhere. This feature provides businesses with valuable insights into their mailing operations, helping them to track spending, analyze performance, and make data-driven decisions.
In conclusion, the Pitney Bowes W680 and W660 mailing systems represent a significant advancement in mailing technology, offering businesses the productivity, flexibility, and ease of use they require. With their robust features and capabilities, these machines are well-equipped to handle the complexities of modern mail processing, ultimately driving efficiency and cost savings for organizations of all sizes.

