Using Internet Fax Functions
The original can be placed ei-
ther in the ADF or on the expo- sure glass, until the {Start} key is pressed.

 Reference
p.13 “Placing Originals”.
F Select the scan settings you re- quire.
3 | Note |
In Internet Fax transmission, the |
original is scanned using "De- tail" resolution for transmission, even if you select "Fine".

 Reference
p.25 “Resolution”
p.26 “Original Type”
p.27 “Image Density (Con- trast)”
G Enter the e-mail address.
***FAX653.tif***
![]()
![]() Note
Note
If ![]() is not displayed in the des- tination display column, press
is not displayed in the des- tination display column, press
[![]() ].
].

 Reference
p.31 “Entering an
p.31 “Using the Destination List”.
p.24 “Redial”, Facsimile Refer- ence <Advanced Features> .
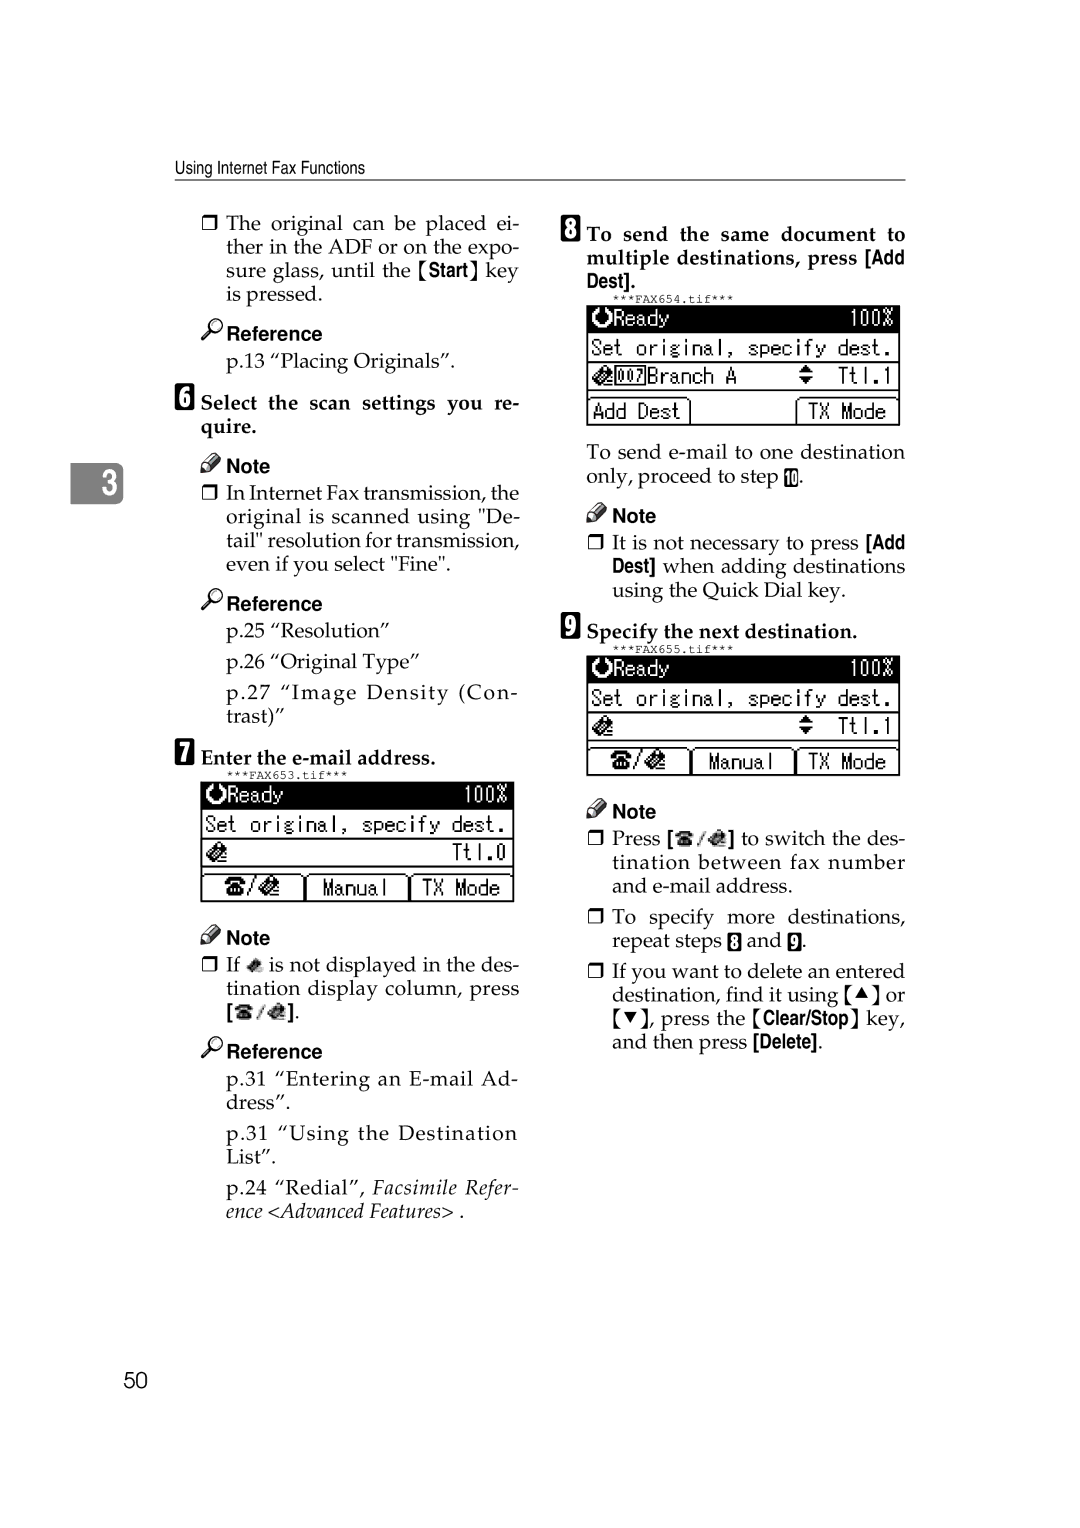
H To send the same document to multiple destinations, press [Add Dest].
***FAX654.tif***
To send
![]()
![]() Note
Note
It is not necessary to press [Add Dest] when adding destinations using the Quick Dial key.
I Specify the next destination.
***FAX655.tif***
![]()
![]() Note
Note
Press [![]() ] to switch the des- tination between fax number and
] to switch the des- tination between fax number and
To specify more destinations, repeat steps H and I.
If you want to delete an entered destination, find it using {U}or {T}, press the {Clear/Stop} key, and then press [Delete].
50