4. Software Implementation of the Gateway
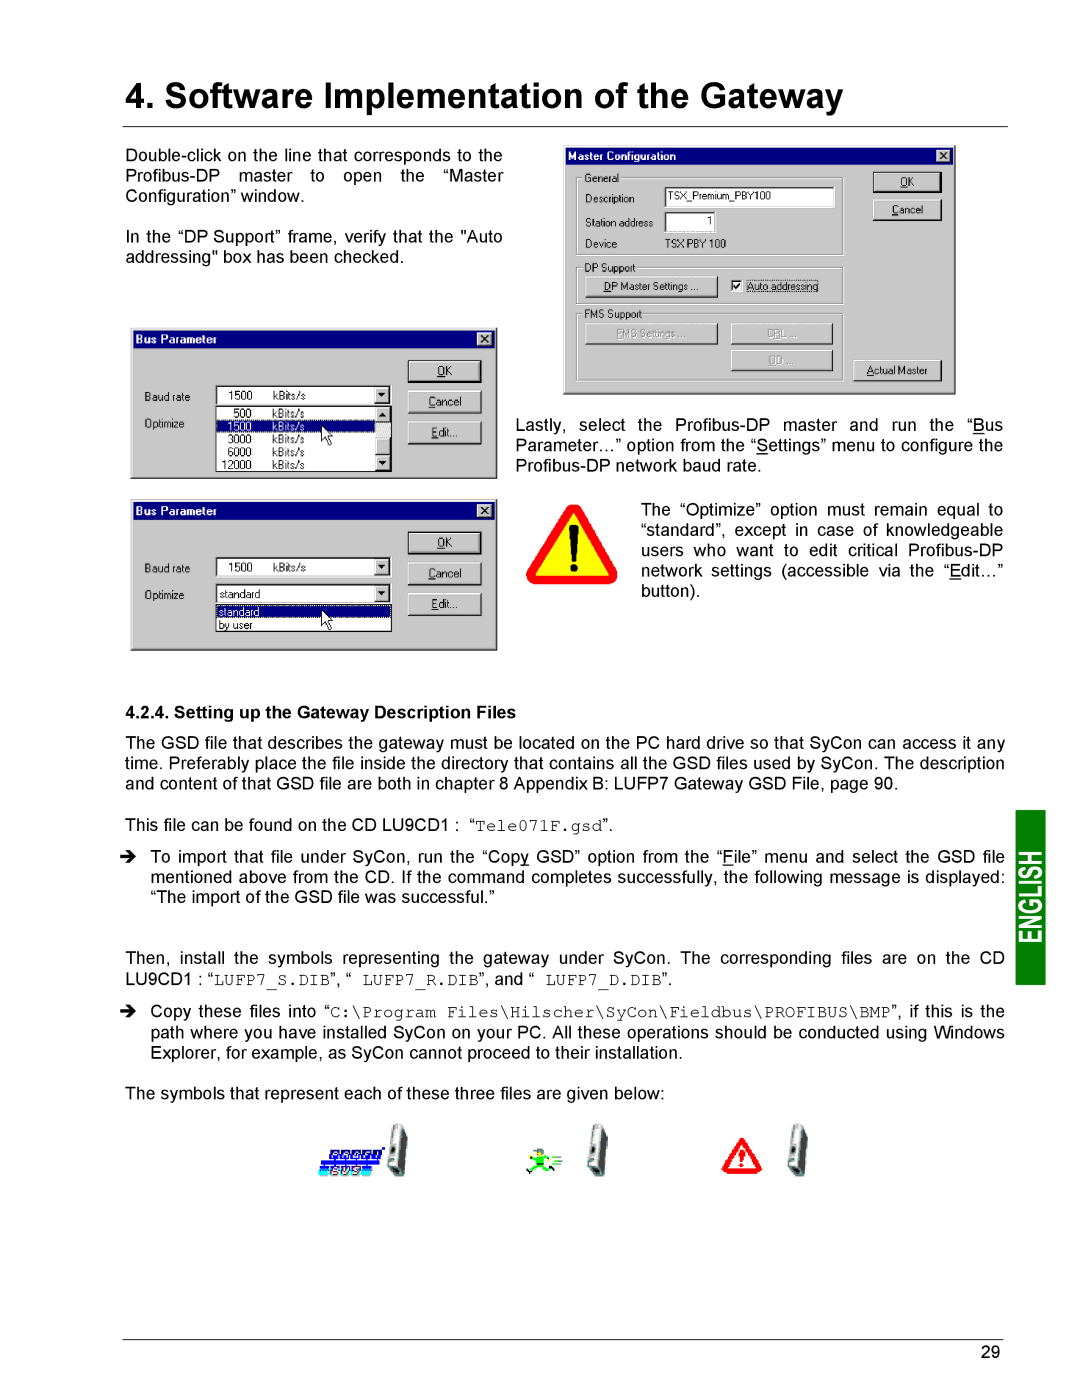
Configuration” window.
In the “DP Support” frame, verify that the "Auto addressing" box has been checked.
Lastly, select the
Parameter…” option from the “Settings” menu to configure the
The “Optimize” option must remain equal to “standard”, except in case of knowledgeable users who want to edit critical
4.2.4. Setting up the Gateway Description Files
The GSD file that describes the gateway must be located on the PC hard drive so that SyCon can access it any time. Preferably place the file inside the directory that contains all the GSD files used by SyCon. The description and content of that GSD file are both in chapter 8 Appendix B: LUFP7 Gateway GSD File, page 90.
This file can be found on the CD LU9CD1 : “Tele071F.gsd”.
ÎTo import that file under SyCon, run the “Copy GSD” option from the “File” menu and select the GSD file mentioned above from the CD. If the command completes successfully, the following message is displayed: “The import of the GSD file was successful.”
Then, install the symbols representing the gateway under SyCon. The corresponding files are on the CD LU9CD1 : “LUFP7_S.DIB”, “ LUFP7_R.DIB”, and “ LUFP7_D.DIB”.
ÎCopy these files into “C:\Program Files\Hilscher\SyCon\Fieldbus\PROFIBUS\BMP”, if this is the path where you have installed SyCon on your PC. All these operations should be conducted using Windows Explorer, for example, as SyCon cannot proceed to their installation.
The symbols that represent each of these three files are given below:
29
