To configure the DHCP Server, follow these instructions.
∙Check the Enable DHCP Server checkbox.
∙Enter the Subnet and netmask of the IP addresses to be distributed.
∙Enter the Gateway Address that the DHCP clients will be issued with. If this field is left blank, the CyberGuard SG appliance's IP address will be used.
∙Enter the DNS Address that the DHCP clients will be issues with. If this field is left blank, the CyberGuard SG appliance's IP address will be used. Leave this field blank for automatic DNS server assignment. If your CyberGuard SG appliance is configured for DNS masquerading, you should either leave this field blank, or enter the IP address of the LAN port of the CyberGuard SG appliance.
∙Enter IP address of the WINS server to be distributed to DHCP clients in the WINS Address field.
∙Enter the Default Lease Time and Maximum Lease Time in seconds. The lease time is the time that a dynamically assigned IP address is valid.
∙Enter the IP address or range of IP addresses (see the appendix entitled IP Address Ranges) to be issued to DHCP clients in the New IP Addresses to hand out field.
The DHCP Server can also reserve IP addresses for particular hosts, identifying them by hostname and MAC address. To reserve an IP address for a certain host, configure the following in the Add reserved IP address section.
∙Enter the Hostname of the DHCP client.
∙Enter the MAC address of the DHCP client.
∙Enter the reserved IP address for the DHCP client.
To take advantage of the CyberGuard SG appliance’s DHCP server functionality, you should configure the other machines on your local network to get their IP addresses dynamically from the CyberGuard SG appliance. Please refer the documentation for the other machines for instructions on how to configure the local network port.
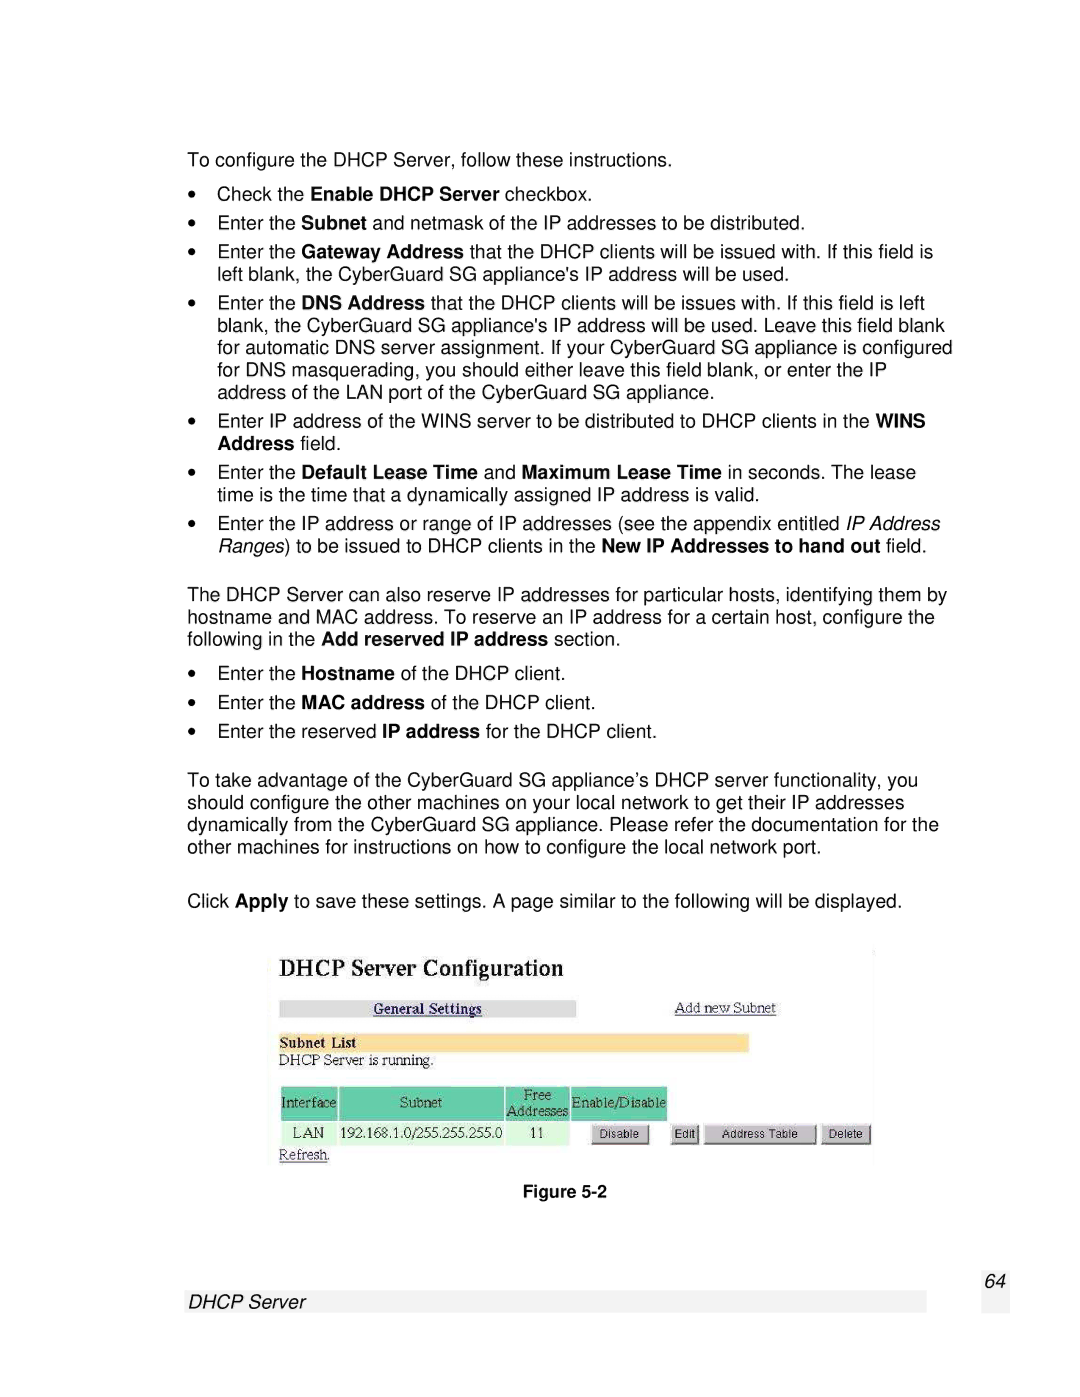
Click Apply to save these settings. A page similar to the following will be displayed.
Figure
64