Move | The order in which policies are listed is only important if you have |
| multiple polices for the same remote site. In that case, the first matching |
| policy is used. There are 2 ways to change the order of policies: |
| • Use the up and down indicators on the right to move the selected |
| row. You must confirm your changes by clicking "OK". If you |
| change your mind before clicking "OK", click "Cancel" to reverse |
| your changes. |
| • Click "Move" to directly specify a new location for the selected |
| policy. |
Enable/Disable | Use this to toggle the On/Off state of the selected policy. |
Copy | If you wish to create a policy which is similar to an existing policy, |
| select the policy and click the "Copy" button. |
| Remember that the new policy must have a different name, and there can |
| only be one active (enabled) policy for each remote VPN endpoint. |
Delete | To delete an exiting policy, select it and click the "Delete" button. |
View Log | Clicking the "View Log" button will open a new window and display the |
| VPN log. |
Adding a New Policy
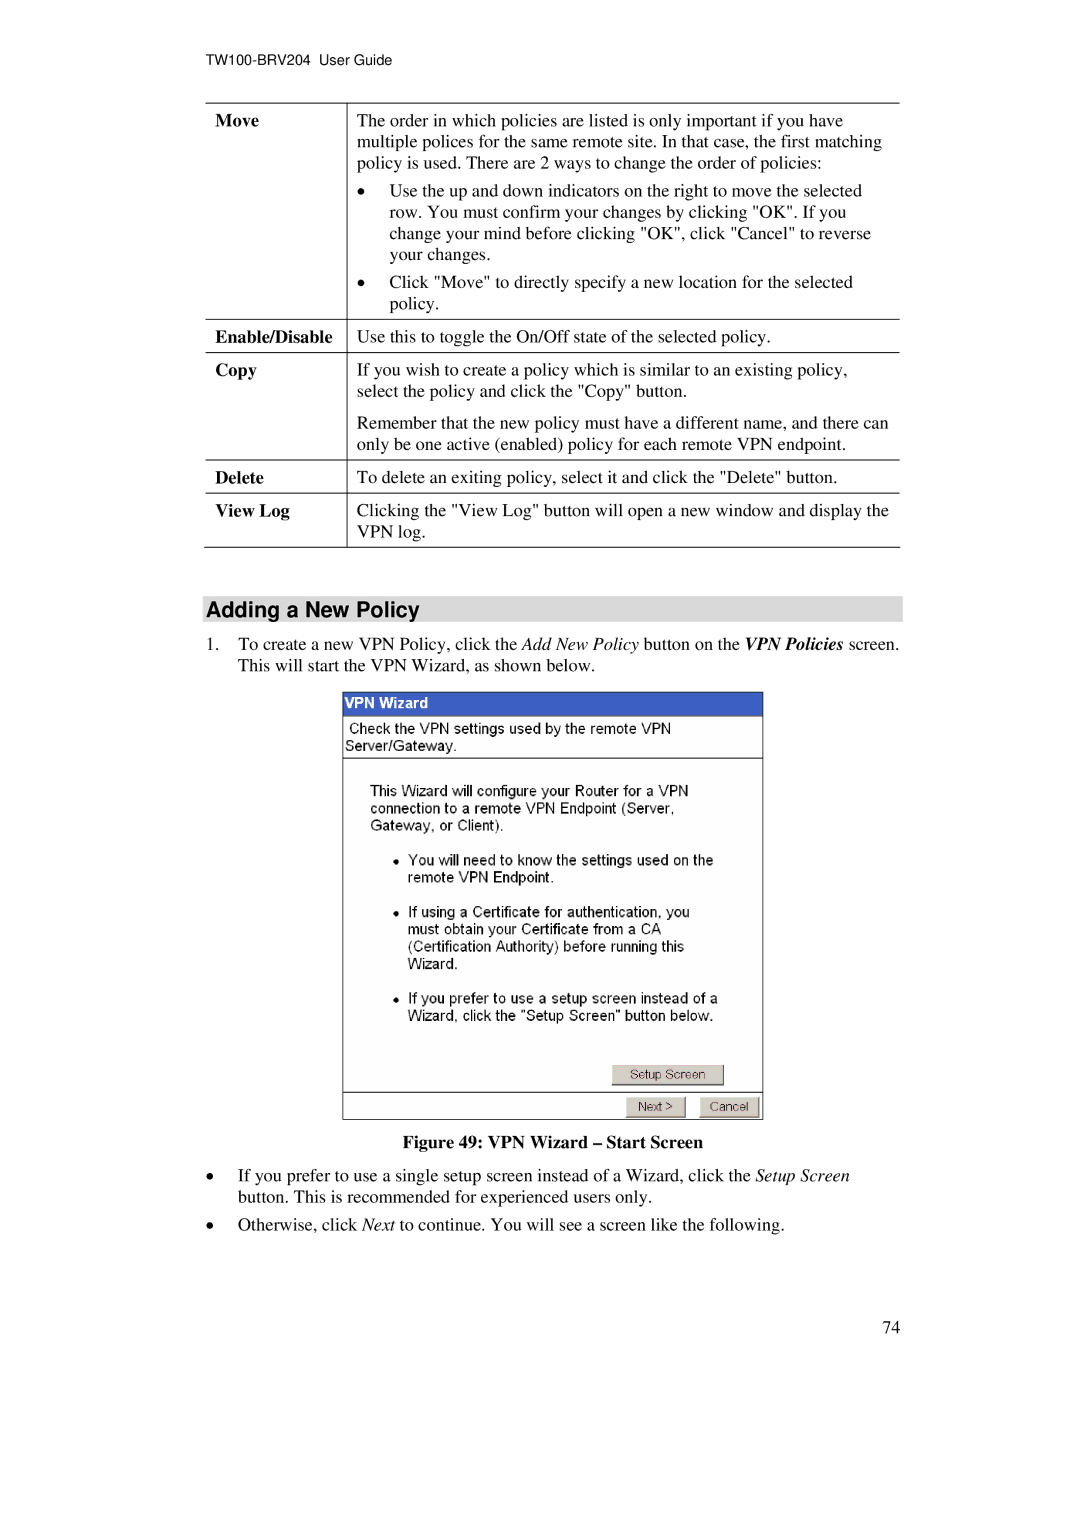
1.To create a new VPN Policy, click the Add New Policy button on the VPN Policies screen. This will start the VPN Wizard, as shown below.
Figure 49: VPN Wizard – Start Screen
•If you prefer to use a single setup screen instead of a Wizard, click the Setup Screen button. This is recommended for experienced users only.
•Otherwise, click Next to continue. You will see a screen like the following.
74