MAINTENANCE 102
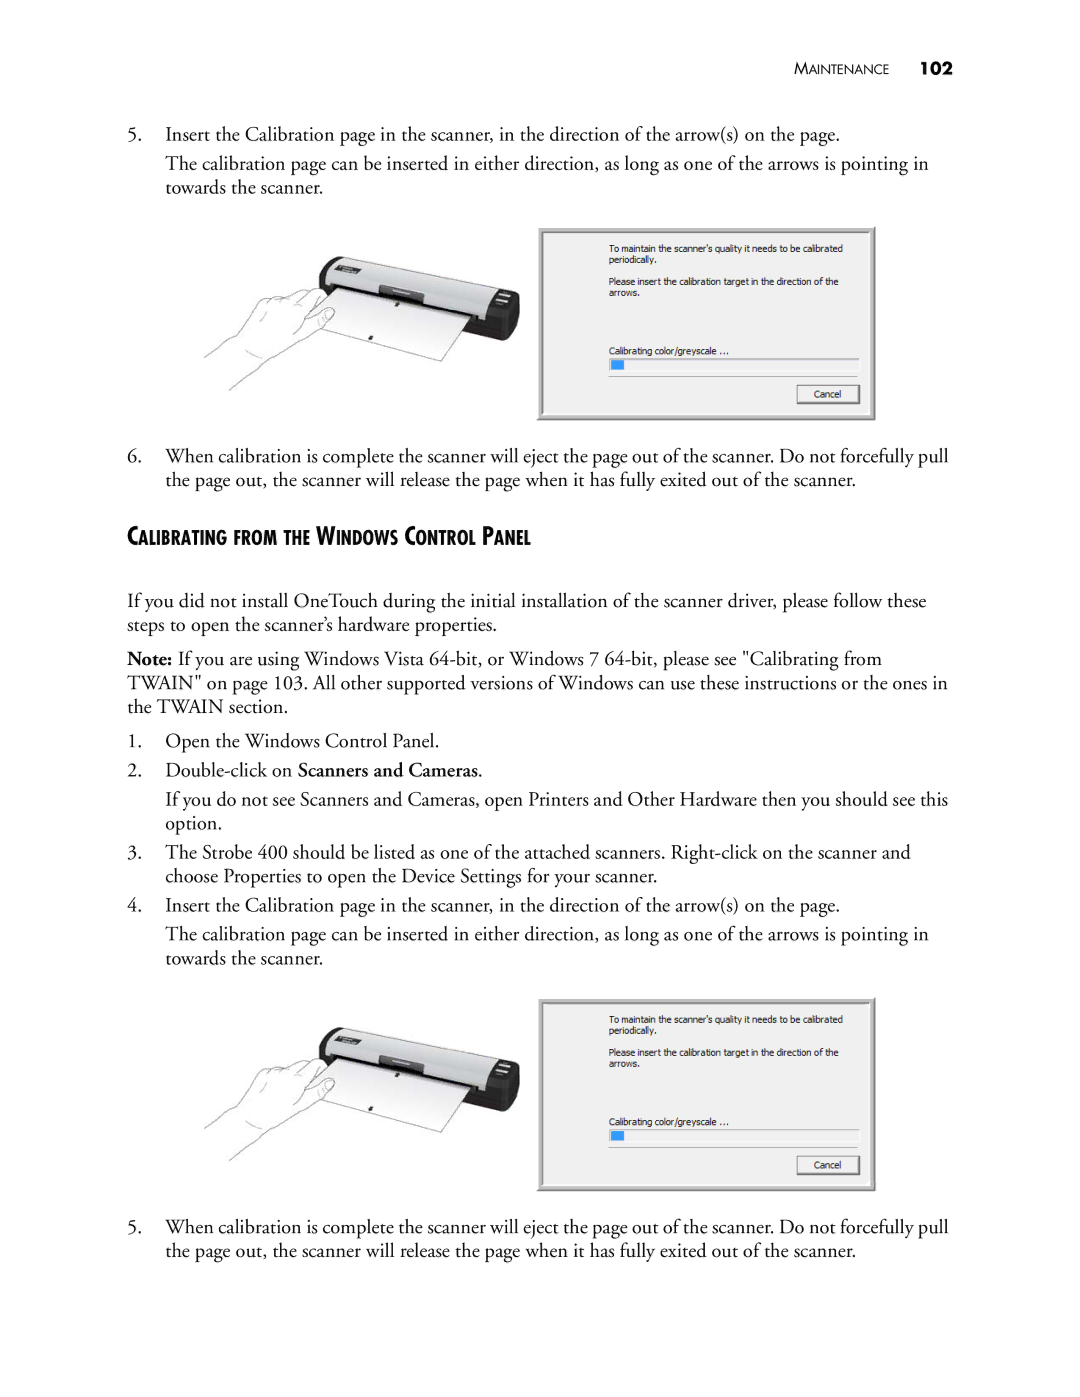
5.Insert the Calibration page in the scanner, in the direction of the arrow(s) on the page.
The calibration page can be inserted in either direction, as long as one of the arrows is pointing in towards the scanner.
6.When calibration is complete the scanner will eject the page out of the scanner. Do not forcefully pull the page out, the scanner will release the page when it has fully exited out of the scanner.
CALIBRATING FROM THE WINDOWS CONTROL PANEL
If you did not install OneTouch during the initial installation of the scanner driver, please follow these steps to open the scanner’s hardware properties.
Note: If you are using Windows Vista
1.Open the Windows Control Panel.
2.Double-click on Scanners and Cameras.
If you do not see Scanners and Cameras, open Printers and Other Hardware then you should see this option.
3.The Strobe 400 should be listed as one of the attached scanners.
4.Insert the Calibration page in the scanner, in the direction of the arrow(s) on the page.
The calibration page can be inserted in either direction, as long as one of the arrows is pointing in towards the scanner.
5.When calibration is complete the scanner will eject the page out of the scanner. Do not forcefully pull the page out, the scanner will release the page when it has fully exited out of the scanner.