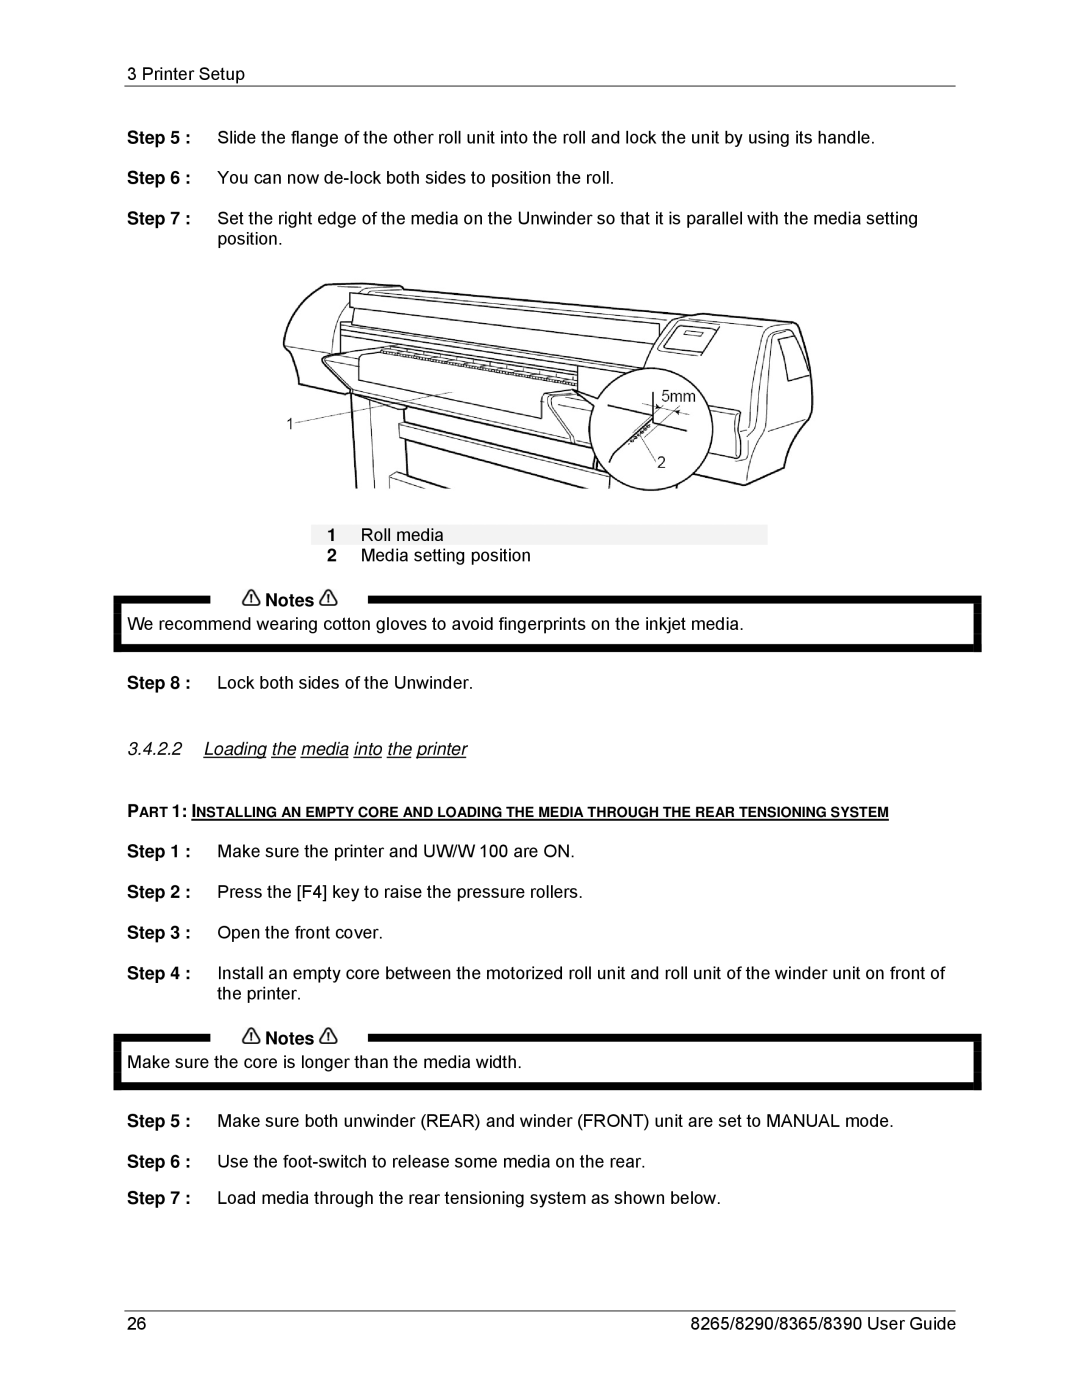
8365, 8390, 8265, 8290 specifications
The Xerox 8300 series represents a significant advancement in multifunction printing and imaging technology, aimed at enhancing productivity and efficiency in various business environments. Among the prominent models in this series are the Xerox 8365, 8290, 8265, and 8390, each offering a unique blend of features suited for different market needs.The Xerox 8365 is designed for high-volume printing, boasting impressive speeds of up to 65 pages per minute. This model is equipped with advanced imaging technology that ensures consistent, high-quality prints. Its robust paper handling capabilities allow for various media sizes and weights, making it ideal for diverse printing tasks. With a monthly duty cycle that can reach up to 300,000 pages, the 8365 is perfect for businesses with demanding print workflows.
Moving on to the Xerox 8290, this model is characterized by its user-friendly interface and versatile functionality. It supports both color and monochrome printing, offering exceptional clarity and vibrancy in its output. The 8290 features enhanced security protocols, safeguarding sensitive documents and enabling secure print release. Additionally, its compact design makes it suitable for smaller office spaces without compromising on performance.
The Xerox 8265 focus on delivering reliability and efficiency. This model offers robust scanning and copying features, including two-sided scanning and a strong document feeder, allowing businesses to streamline their document workflows. With a resolution that provides sharp text and vibrant images, the 8265 is ideal for professional presentations and marketing materials.
Finally, the Xerox 8390 stands out with its high-capacity ink and toner systems, which reduce the frequency of replacements and minimize overall costs. It also integrates seamlessly with cloud services, facilitating easy document sharing and collaboration among teams. The 8390's eco-friendly features, such as energy-efficient operation and reduced waste, make it a sustainable choice for environmentally-conscious organizations.
In summary, the Xerox 8365, 8290, 8265, and 8390 models represent a spectrum of innovative solutions for modern business printing needs. With high-speed capabilities, enhanced security features, and eco-friendly designs, these machines are tailored to meet the rigorous demands of today's fast-paced work environments, ensuring that efficiency and quality are always maintained.

