Pump User Guide
Dear ACCU-CHEKSpirit insulin pump owner
How to use this guide
Intended use of your ACCU-CHEK Spirit insulin pump
Guarantee
Contents
Boluses and Temporary Basal Rates
Appendix E Vibrations Appendix F Symbols183
Appendix C Abbreviations
This page left blank intentionally
Display
ACCU-CHEK Spirit Insulin Pump
To malfunction
Backlight
Hint
Pump Support at 1-800-688-4578 immediately
Key in areas of poor lighting as this will
Keys and Key Combinations
One beep in Stop mode
Key Combinations
Exiting menus, function screens,
Information screens without saving
Screens
Locking Keys Using KeyLock Feature
RUN Screen
Stop Screen
Information, Function, and Setup Screens
Quick Info Screen
Status Screen Messages, Beeps, and Vibrations
Follow the steps below to navigate through the screens
STOP-Warning
Alarm Signals
To Turn Off the STOP-Warning
Or void your warranty
Accessories and Disposables
Sterile Products
Out of the reach of children
Cartridges
Use only
Recommended Possible
Adapter
Battery
Battery Cover
Always make sure that you remove the battery if your
Battery Key
Emergency Kit
This page left blank intentionally
Inserting or Changing the Battery
32 for more information
Follow the steps below
Press d to move to the Stop Your ACCU-CHEK screen
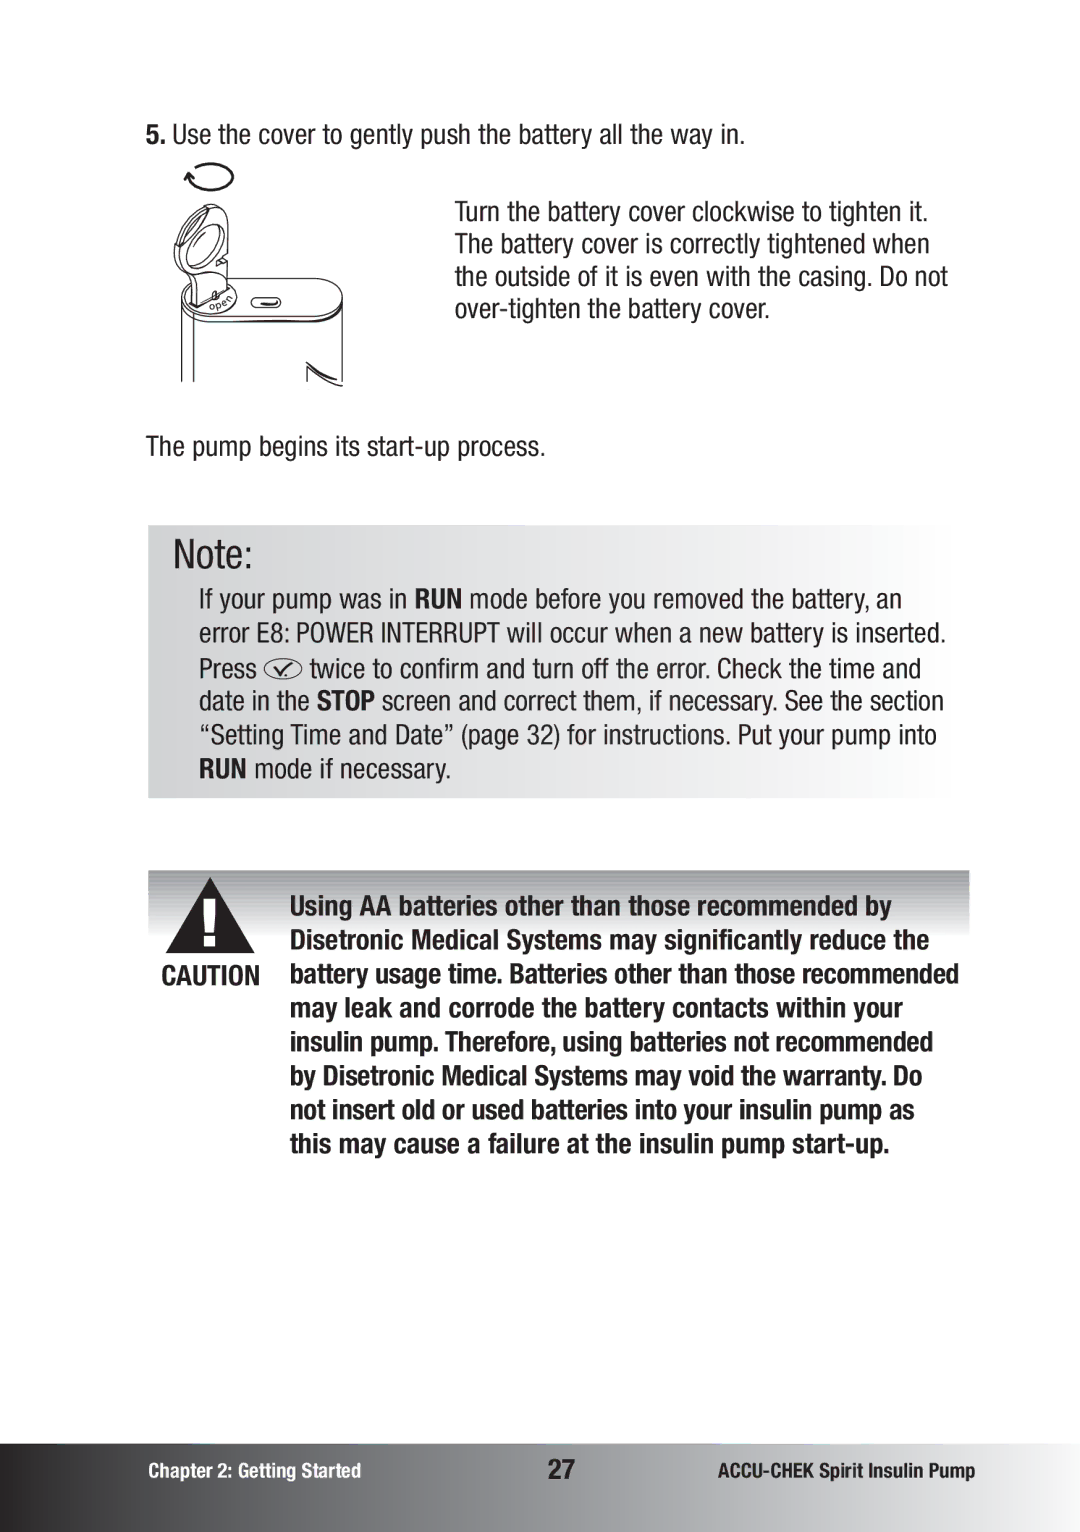
Use the cover to gently push the battery all the way
Pump begins its start-up process
Put the pump in Stop mode ACCU-CHEK logo appears
System Check Start-Up Process
Insulin pump
Pump Support at
Contact Pump Support at
Getting Started
Since you may not receive the correct information for
Settings are identical
Setting Time and Date
Insulin pump’s memory
Follow the steps below to set the Time and Date
Getting Started
Your Personal Settings
Team to understand how to use the pump
Insulin delivery
Your correction bolus ratio
Your Basal Rate Profile
Programming Your Basal Rate Profile
Follow the steps below
If you want to save the changes
If you want to undo the changes
Copying an Hourly Basal Rate
Basal Rate and Bolus
Always handle the items with clean hands
Preparing the Cartridge
Filling the Cartridge
To fill a cartridge, have the following materials ready
Plunger Plunger rod
Getting Started
System components if needed
Have the following materials ready
Connecting the Cartridge, Adapter, and Infusion Set
These parts
Do not over-tighten
Follow the instructions below
Result in leakage
Inserting the Cartridge
Use a soft cloth to dry the compartment
Follow the steps below
Cartridge volume decreases accordingly on the display
Press f after correctly inserting the cartridge
Priming the Infusion Set
To your body
Stop
Stopping the Priming Process
Infusion Site Selection
Infusion Site Preparation
Getting Started
Healthcare team
Healthcare team’s recommendations
Before Using
Wearing Your Pump
During insulin pump therapy
Pocket knives, and coins
Acceptable temperature range
Electromagnetic Fields and Hazardous Areas
When Not to Wear Your Pump
Pump if you have a cardiac pacemaker
Traveling
Sports and Exercise
If you have questions, contact Pump Support at
Disconnect and take off your insulin pump
Your Insulin Pump and Water
Accidental Contact with Water
Other Liquids
What to Do After Any Water Contact
Fog your display
Starting Insulin Delivery
Mode to continue insulin delivery
Stopping Insulin Delivery
STOP-Warning
Interruption of Insulin Pump Therapy
Put your pump in Stop mode
Short Interruption
Resuming Insulin Pump Therapy
For a long period of time
Changing the Infusion Set
Follow the steps below
Using Your Pump
Changing the Cartridge and Infusion Set
Using Your Pump
Your pump can deliver three types of boluses
Understanding Boluses
Standard Bolus
Personal settings
Team check your personal settings
Inappropriate insulin delivery
Insulin ratio and your correction bolus ratio
There are two ways to program a Standard Bolus
Programming a Standard Bolus
Programming a Quick Standard Bolus
RUN
Using the a and s keys of your insulin pump
Cancelling a Quick Standard Bolus
During programming the bolus amount blinks
No bolus is delivered
Programming a Menu-Guided Scroll Standard Bolus
Cancelling a Menu-Guided Scroll Standard Bolus
Set the bolus amount to 0.0 units. Press f to exit
Boluses and TBRs
Programming an Extended Bolus
Follow the steps below
At any function screen you have three options to exit
If you want to cancel the bolus
If you want to deliver the bolus
Cancelling an Extended Bolus
During bolus delivery
Boluses and TBRs
Programming a MultiWave Bolus
ACCU-CHEK
Boluses and TBRs
Cancelling a MultiWave Bolus
Set the total bolus amount to 0.0 units and press f
When your insulin pump is in Stop mode, it does not deliver
Insulin pump therapy
Programming a Temporary Basal Rate TBR
Typically, a basal rate is set to 100%, but you can
Press a or s to increase or decrease the basal rate
If you want to save the changes
TBR Over Alert
No Temporary Basal Rate is delivered
Cancelling a Temporary Basal Rate
Temporary Basal Rate delivery is interrupted
Insulin delivery
Advanced User Menu
Custom User Menu
Selecting a User Menu
100
101
New basal rate
102
Standard User Menu
103
Data Transfer
104
Setup for Data Transfer
105
106
Reviewing Pump Data
Review the Bolus History
Each Bolus History screen displays
107
Press a or s to review the entries Press f to exit
Press d to move to the Information screen Press f to select
108
Review the Alarm History
109
Review the History of Daily Insulin Totals
110
Review the Temporary Basal Rate History
111
Review the Time Remaining
112
Turning KeyLock On or Off
Setup Menu Standard
113
114
115
Adjusting the Beep Volume
116
Beep and vibrate
Setting Up Alarm Signals
117
Or healthcare team
Automatic Off
118
Battery Type
119
Display Orientation
120
Your screen orientation
By 180, the a and s keys will also reverse their
121
Advanced User Menu
Alarm Clock See the section Alarm Clock
122
Basal Rate Profiles
123
Programming Additional Basal Rate Profiles
Check your personal settings
124
Selecting a Basal Rate Profile
125
126
Set Single or Multiple Alarms
Alarm Clock
127
Turning Off the Alarm Clock
128
Time Format
Setup Menu Advanced
129
Date Format
You can set the date in the following formats American
European
130
May cause inappropriate insulin delivery
Bolus increment
131
Prime Quantity
132
Lock Basal Rate Profiles
133
To choose a language, do the following
Language
134
Display Contrast
Your pump lets you adjust the display contrast
135
Custom User Menu
136
Care of Your ACCU-CHEK Spirit Insulin Pump
System Inspection Checklist
137
138
What to Do When You Drop Your Pump
139
Storing Your ACCU-CHEK Spirit Insulin Pump
Disposal
Maintenance
Cleaning Your ACCU-CHEK Spirit Insulin Pump
Battery Information
Damage the pump
Repair
142
Troubleshooting
143
Troubleshooting Table Problem Recommended Actions
Therapy-Related Issues
144
Single use only
Problem Recommended Actions
145
146
Alerts and Errors
147
Confirming an Alert or Error
When you confirm A1 Cartridge LOW , E1 Cartridge Empty
Follow the steps below to confirm an alert or error
148
Alert A1 Cartridge LOW
List of Alerts
149
Alert A3 Review Time and Date
Alert A2 Battery LOW
150
Alert A4 Alarm Clock
See the section Alarm Clock page 127 for more information
Alert A5 Pump Timer
151
Alert A6 TBR Cancelled Temporary Basal Rate Cancelled
152
Alert A7 TBR Over Temporary Basal Rate Over
Alert A8 Bolus Cancelled
153
Error E1 Cartridge Empty
List of Errors
154
Error E2 Battery Depleted
Battery is out of power. Replace it immediately
Gathered data might not be meaningful
155
Error E3 Automatic OFF
Error E4 Occlusion
Your doctor’s or healthcare team’s instructions
156
157
Error E5 END of Operation
158
Error E6 Mechanical Error
159
Error E7 Electronic Error
160
Error E8 Power Interrupt
161
Error E11 SET not Primed
Error E10 Cartridge Error
162
Error E12 Data Interrupted
163
See the section Data Transfer page 104 for more information
Error E13 Language Error
164
General Technical Data
Appendix a Technical Data
165
166
167
168
Compliance
Technical Standards on Electromagnetic Emissions
169
E1 in V/m
KHz to 80 MHz MHz to
100
170
Technical Standards on Electromagnetic Immunity
IEC Compliance Electromagnetic
Test Level
171
172
Accuracy of Flow Rate for Plastic Cartridges
173
Start-up graph over the stabilization period
174
175
Bolus≤
176
Appendix B Configuration Parameters
177
Maximum Parameter
Basal Rate
Bolus
178
Typical Range Maximum Parameter Parameter Settings
179
Appendix C Abbreviations
180
Each press
Appendix D Beeps and Melodies
181
Your ACCU-CHEK Spirit insulin pump vibrates when
Appendix E Vibrations
182
General Symbols
Appendix F Symbols
183
184
Symbol Definition
185
186
187
Name Comments
Appendix G Sterile Products and Accessories
188
189
Appendix H Glossary
Factory settings
Headset also known as cannula housing
Daily insulin total
Diabetes Data Management DDM
Luer-lock connector
RUN mode
Infusion site
Insulin
Settings
Stop mode
Timeout
Scrolling
Limited FOUR-YEAR Warranty
194
Index
195
77-80
KeyLock
Turning On 80-82 Turning Off
196
Quick Reference Table for Errors
No. Error What You Need to Do
200
197
Quick Reference Table for Alerts
Diagram of User Menus
No. Alert What You Need to Do
Disetronic Medical Systems AG