LaserWriter12/640PS
Apple Computer, Inc
Content Overview
315 Appendix B
Part Troubleshooting
289
301 Part Appendixes Appendix a
Detailed Contents
Setting Up the Printer for Mac OS Users
Contents
Viii Contents
Installing Options 133
165
Mac OS Users
Windows 3.1 and DOS Users
Switching between printers
Using the Apple Printer Utility 195
197
255
225
Printing from a Unix workstation to the printer 254
301
Maintenance
315
329
Appendix C Using Fonts With the Printer
Appendix D Technical Information 345
Index 357
Radio and television interference
FCC statement
DOC statement
Laser information
How Much of This Book Do I Have to Read?
What the printer administrator should know
Printer administrators and users Who does what
Getting new users started
Which chapters should I read?
Set up the hardware and connect the printer
Chapter Computer Network interface and cable
Chapter Computer Utility name
Configure the printer
Add any hardware options
Help new users get started
User’s computer Where to find information
See Help New Users Get Started, earlier in this preface
See Configure the Printer, earlier in this preface
Setting Up the Printer for Unix Users Installing Options
Guide for Printer Administrators
Page
Main features of the LaserWriter 12/640 PS
Setting Up the LaserWriter 12/640 PS
Choosing a place for the printer
Important safety instructions
Chapter
Unpacking the printer
Parallel interface cable
Remove the plastic foam block from inside the printer
Take the cartridge out of its packaging
Installing the first toner cartridge
Setting Up the LaserWriter 12/640 PS
Page
Top cover clicks into place
Wait to install the LaserWriter 12/640 PS options
Close the printer
Slide the paper cassette out of the printer
Loading paper into the cassette
Prepare a stack of paper
Align letterhead and three-hole punched paper as shown
Slide the cassette into the printer
Push the cassette in all the way
Port Network protocols Computer
Connecting the printer
Obtain a LocalTalk connecting kit
Connecting to a LocalTalk network
What to do after connecting to a LocalTalk network
Obtain a System/Peripheral 8 cable
Connecting directly to a single Mac OS computer
What to do after connecting to a single Mac OS computer
Connecting to an Ethernet network
Setting Up the LaserWriter 12/640 PS
Obtain a parallel interface cable like this one
What to do after connecting to an Ethernet network
Secure the clips
Make sure the printer is turned off
Connecting the power and turning on the printer
Plug in the printer
Press the on the power switch to turn the printer on
Check the status lights
Saving energy
Why customize communication settings?
Adjusting communication settings
What to do next
How to customize communication settings
Setting Up the Printer for Mac OS Users
Before you begin
Initial AppleTalk setup
System requirements
After a moment, a Welcome dialog box appears
Installing the printer software
Installing from the CD-ROM disc
Disc’s icon appears on the desktop
Click the Install button
Creating installation disks from the CD-ROM disc
Click the Restart button
Make sure the disks are locked
Installing from the floppy disks
Disk’s icon appears on the desktop
Double-click the Floppy Disk Maker application. Click Full
Click Continue
Choosing the printer
More information about the Installer program
Chooser window appears
Making sure everything is working
Naming the printer and setting its zone
Click Print
Using the Apple Printer Utility
Configuring the printer
What to do next
Chapter
Double-click the Apple Printer Utility
Opening the Apple Printer Utility
Click Open Printer
Choose Quit from the File menu
Quitting the Apple Printer Utility
Viewing printer information
To quit the Apple Printer Utility
Name panel appears with the selected printer’s current name
Naming the printer
Open the Name category
Fonts panel appears
Downloading fonts to the printer
File selection dialog box appears
Choose Print Font Samples from the Utilities menu
Removing fonts
Printing font samples
Select the fonts you want to remove Click Remove Click OK
Open the Startup Page category
Click Send to send the startup page setting to the printer
Turning the startup page on or off
Startup Page panel appears
Print Density panel appears
Setting the print density
Open the Print Density category
Paper Handling panel appears
Setting paper-handling options
Open the Paper Handling category
If you want to You need this much printer memory
Choose the output tray from the pop-up menu
Selecting imaging options
Open the Imaging Options category
Imaging Options panel appears
Open the Extended Job Status category
Setting up job handling
You see a list of communication settings options
Setting the printer’s network zones
You can specify the EtherTalk network zone for the printer
List of the EtherTalk zones appears
Changing TCP/IP configurations
Open the Printer’s Zone category
Open the TCP/IP Configuration category
Viewing and changing the communication settings
Panel appears in which you can enter the IP address
List of port connections and protocol choices appears
Open the Port Configuration category
Choose the port settings you want
Resetting the communication settings
Choose Restart from the Utilities menu
Sending PostScript files to the printer
Restarting the printer
Choose Send PostScript File from the Utilities menu
Printing a configuration
Getting Mac OS users started using the printer
Choose Print Configuration Page from the Utilities menu
Preparing a server using the CD-ROM disc
Installing onto a server
Preparing a server using the floppy disks
Dialog box opens to describe the installation
Installing the printer software from the server
Click the Continue button to close the dialog box
If you want to See
Page
System requirements for Windows
NetWare Users
Setting up for DOS-based printing
Installing onto a Windows 95 computer
Setting up for parallel port printing
Installing the printer software for Windows 95 and Windows
Installing from the CD-ROM disc
Select Yes, if desired, and click Next
Setup Program Location dialog box appears
Click Express Installation
Click Next if you have no other open applications
Printer Properties dialog box appears
Install PostScript Printer from PPD dialog box appears
Installation is complete
Add Printer dialog box appears
Click Yes to view the README.WRI file
Installing onto a Windows 3.1 computer
Choose how to proceed
Click Continue if you have no other open applications
Click Restart Windows
Click Express Install
Click OK to dismiss the message
This chapter
Setup, later in this chapter
For example, LPT2, or a NetWare queue
Should suffice
From a Windows 3.1 computer
Window appears that displays the contents of the CD
Creating floppy disks from the CD-ROM disc
From a Windows 95 computer
Installing on a Windows 95 computer
Installing from the floppy disks
Setup Program Location dialog box appears
Installing on a Windows 3.1 computer
Start Windows
Click Express Installation
Choose Create Printer from the Print Manager’s Printer menu
Installing the printer software for Windows NT
Print Manager appears
Create Printer dialog box appears
Click Continue and OK to complete the installation
Initial Novell NetWare setup
Follow the instructions on the screen
Choosing an operating mode
What to do next
Command key Description
Using Pconsole
At the DOS prompt, type Pconsole and press Enter
Specifying a print server
Utility starts
Log on to a file server from DOS on a client computer
If available, a list of print servers appears
Assigning the operating mode
Example
Ethernet falls into the Other/Unknown category
Printer Configuration menu for your printer appears
Defined Printers list appears
Printer type list appears
Press Esc until Pconsole quits
Press Ins to view a list of available queue servers
Turn the printer off and then back on
Chapter
Log on to a file server from a DOS client PC
Press Send
Print Server Information menu appears
Configuration window for the selected printer appears
Configuration window appears for the selected printer
If available, a list of available print servers appears
Creating a print queue
Select Print Queues Assigned and press Enter
Window appears, showing the printer configuration
Associating a print server with the print queue
Select the printer you defined earlier and press Enter
Load pserver PS486
Retype the password and press Enter
Assigning a password for the print server optional
List of print servers appears
For Windows
Setting up the PostScript printer driver for NetWare
Connect dialog box opens
Making sure everything is working
Installing the Apple LaserWriter Utility for Windows
Name Printer dialog box appears
Naming the printer on AppleTalk networks
Prints confirming the choice
Paper Handling dialog box appears
Choose a default paper size for the multipurpose tray
Choose Paper Handling from the Utilities menu
Choose the output tray from the list box
Printing a list or samples of printer fonts
Viewing or changing communication settings
Click Print Font Catalog or Print Font Samples
Communication switch
Click Set Port
Configuring TCP/IP
Dialog box appears
Setting imaging options
Printing the Ethernet address
To print the printer’s Ethernet address
Choose Imaging Options from the Utilities menu
Imaging Options dialog box appears
Specifying a font symbol set
Printing the configuration
Printing the page count
Choose Restart Printer from the Utilities menu
Connecting to a network printer manually
Click Restart
Installing Type 1 fonts and Adobe Type Manager
Setting Up the Printer for Unix Users
Background information
Initial TCP/IP setup
Obtaining an IP address for the printer
Assigning an IP address to the printer
Printer IP name is the same name you used in steps 3
Ping printerIPname
Use telnet to make this the permanent IP address
Chapter
Configuring Sun Solaris
Configuring Users’ Workstations
Run admintool
Ps aux grep lpd
If -f /usr/lib/lpd then
Example
Log in to the system console as root
Configuring HP-UX version
Run the SAM utility by typing sam at the Unix prompt
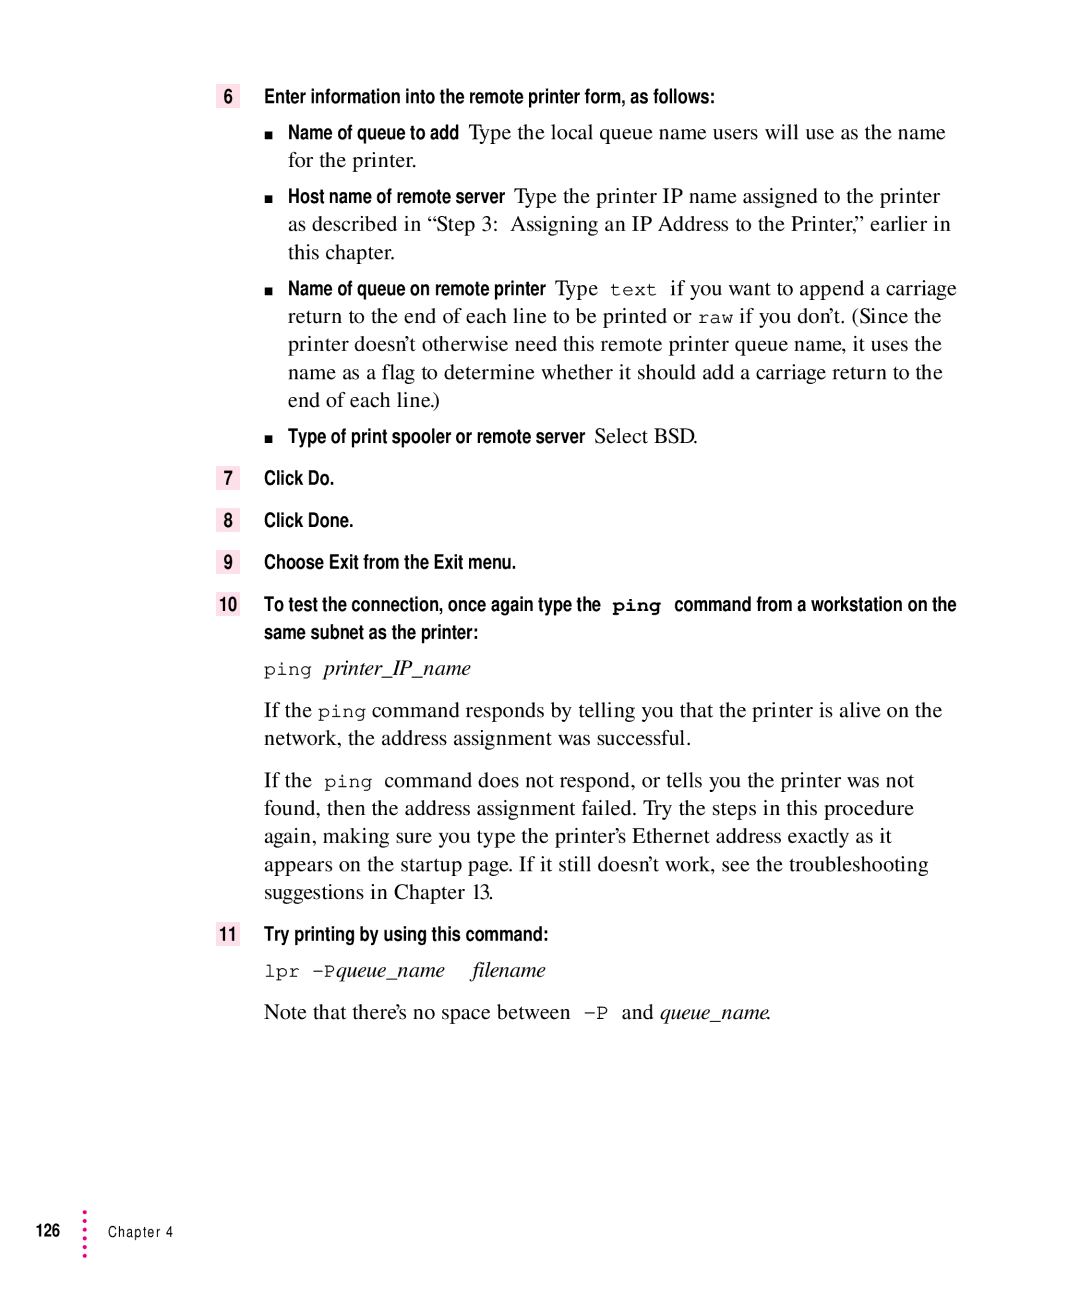
Enter information into the remote printer form, as follows
Select the following options, in order, from the SAM menu
If the test document doesn’t print, follow these steps
If the test print doesn’t work
Leave SAM Start the LP request scheduler by typing
Form appears for you to define a remote printer
Repeat the steps in Configuring HP-UX Version
Remote printer name Type text
Enter information into the remote printer form as follows
Printer class Optional
Printer stream tcp nowait root /usr/lib/rlpdaemon rlpdaemon
You return to the Unix prompt
Configuring SCO Unix
Chapter
Configuring IBM AIX version
Enter information into the remote printer form, as follows
Configuring Silicon Graphics Irix
To run the utility, follow these steps
Using the TCP/IP Printer Configuration Utility
Logging in to the TCP/IP Printer Configuration Utility
Enter a password
Displaying information about the printer’s TCP/IP interface
Quitting the Configuration Utility
Printing the configuration
Turning the banner page feature on or off
Viewing or changing the printer’s IP address
Setting the subnet mask
Characters you type will not appear on the screen
Setting the default gateway address
Enabling or disabling connection timeout checking
Changing the password for this utility
Restoring settings to their factory defaults
Resetting the printer’s TCP/IP interface
To restore the settings to their factory defaults
Installing Options
Installing the duplex printing unit
135
Unpack the duplex printing unit key
137
Locking connectors secure the paper guide to the printer
139
Chapter
141
Installing the 500-sheet cassette and feeder
143
Locking connectors secure the printer to the feeder
Removing the 500-sheet cassette and feeder
Configure your printer software to use the envelope feeder
Installing the envelope cassette
Slide out the tray until it locks into place
Installing the face-up output tray
Extend the tray
Slide out the tray until it locks into place Extend the tray
Removing the face-up output tray
Increasing the printer RAM
Installing RAM
Open the top cover of the printer
Removing the printer’s side cover
Pull the side cover off
Putting on the grounding strap
Copper-foil end Metal lip
155
Installing SIMMs
Gently angle
Replacing the side cover
Repeat to install the second Simm if necessary
Remove and discard the grounding wrist strap
Chapter
From the desktop printer icon
Configuring your printer software for new options
Configuring the printer from a Mac OS computer
LaserWriter Setup dialog box appears
Chooser dialog box appears
From the Chooser
Features dialog box appears
Configuring the printer from a Windows 3.1 computer
Click the Features button
Configuring the printer from a Windows 95 computer
Chapter Windows 95 Users Unix Users
Chapter Mac OS Users
Loading Paper
Page
Mac OS Users
Installing the printer software
Before you install the printer software
Drive
167
Installing from the floppy disks
169
Click the LaserWriter 8 icon in the left half of the Chooser
Selecting and setting up the printer
Click the name of your LaserWriter 12/640 PS
Small printer icon appears beside the printer name
Making changes to the printer setup
Printing
Selecting page setup options
Setup dialog box appears
Choose Page Setup from the File menu
PostScript Options dialog box appears
Select the page setup options you want
Printing documents
Click OK to close the Page Setup dialog box
Choose Print from the File menu
Print dialog box appears
Select the options you want
Printing a cover page automatically
Color Matching dialog box appears
Choose Color Matching from the Settings pop-up menu
Printing grayscale documents
Cover page options dialog box appears
Make the selection you want
Printing with FinePrint or PhotoGrade
Choose Imaging Options from the Settings pop-up menu
Printing on both sides of the paper
Choose Layout from the Settings pop-up menu
Layout dialog box appears
PostScript Printer Options dialog box appears
Printing to a file
Make the selections you want
Background printing and setting the print time
Background Printing dialog box appears
Choose Background Printing from the Settings pop-up menu
Choose Printer Options from the Settings pop-up menu
Selecting the output tray
Reporting errors
Choose Error Handling from the Settings pop-up menu
Error Handling dialog box appears
Printing with a desktop printer
Printing PostScript files as text
Switching between printers
Select a new printer using the Chooser
Select the printer using its desktop printer icon
Click the icon of the desktop printer you want to use
Determining the status of a printer by looking at its icon
Working with desktop printer icons
Double-click the desktop printer icon you’re interested
Monitoring printing
Choose what you’d like to do
Chapter
Turning off the Desktop PrintMonitor
Turning off or removing the desktop printing software
Removing the desktop printing software
Select the option that you want
Click Setup
Chapter
Windows 3.1 and DOS Users
System requirements for Windows
Installing the printer software for Windows
Select the drive that holds your CD from the Drives list box
Click Install
201
Installing from the floppy disks
203
What to do next
205
Printing from Windows applications
Opening the printer Setup dialog box from the Control Panel
Setting printer driver options
Opening the printer Setup dialog box from the Print Manager
Selecting printer options in the Setup dialog box
Opening the printer Setup dialog box from your application
This command usually displays the Print Setup dialog box
209
PostScript
Additional printer options
211
Fonts
213
Features
Job Control
Watermark
Edit Watermark
Downloading fonts
Printers dialog box appears
Downloading fonts manually to RAM
Click Download
You are returned to the Setup dialog box
Font Downloader dialog box appears
Click Fonts Click Font Downloader
Printing to a PostScript file
Connect dialog box appears
Using the driver to print to a PostScript file
Changing your printer setup to print to a PostScript file
Driver Setup dialog box appears
Dialog box appears that asks you to name the file
Restoring your printer setup options
Printing to a PostScript file
Your program’s Print dialog box appears
DOS notes
Using the Apple LaserWriter Utility for Windows
Capturing a print queue for DOS printing
Windows 95 Users
Before you begin
227
Add Printer dialog box appears
229
Setup Program Location dialog box appears
231
Setting up for NetWare-based printing
233
Setting printing properties
Choose Print from the File menu Click Properties
Selecting printer options in the Properties dialog box
Setting document margins
Setting duplex printing options
Graphics
Device Options
241
PostScript
243
Advanced PostScript options
Watermarks
Edit watermark
Specifying how to send TrueType or PostScript fonts
General
Details
Add Port
Spool Settings
Sharing
Using the Apple LaserWriter Utility for Windows
Unix Users
Examples for lpr
Printing from a Unix workstation to the printer
Examples for lp
Loading Paper
Automatic or manual printing with the LaserWriter 12/640 PS
Using the paper cassette
Letter-size paper
Legal and other size paper
Letterhead paper and three-hole punched paper
Using the multipurpose tray
To use the multipurpose tray you must first open it
Opening the multipurpose tray
Placing paper and envelopes in the multipurpose tray
Adjust this guide to fit the width of your paper
Loading three-hole punched paper in the multipurpose tray
Loading letterhead paper in the multipurpose tray
Loading envelopes in the multipurpose tray
Chapter
Printing an envelope
Set your program to print using the multipurpose tray
Set your program to print lengthwise on the envelope
Loading labels in the multipurpose tray
Loading transparencies in the multipurpose tray
Choosing paper
Filling the optional envelope cassette
Insert the envelope cassette into the 500-sheet feeder
Filling with postcards
273
Filling the optional 500-sheet cassette
Insert the paper cassette into the 500-sheet feeder
Page
Maintenance
Safety first
Precautions during maintenance
Regular maintenance
Replacing the toner cartridge
Open the printer cover
Remove the used cartridge
Slide the square back and forth
Maintenance
Page
Close the printer and resume printing
Cleaning the exterior
Fixing Paper and Image Problems Fixing Other Problems
Troubleshooting
Page
Fixing Paper and Image Problems
Light Off
Checking the indicator lights
Flashing
Checking for and clearing paper jams
Chapter
293
Checking the optional 500-sheet cassette and feeder
Checking the optional duplex printing unit
Avoiding paper and envelope jams and wrinkling
Toner does not stay fixed on the paper
Problems with printed documents
Paper curls when you print on it
Quality of grayscale art could be better
Image is too light
Nothing is printed on the paper
Image is too dark
Toner smudges appear on front or back of paper
Prints solid black
Unwanted lines or stripes appear
Image is wavy or distorted
Blotchy areas or ghost images appear on
Faded areas or white voids appear on
Printer isn’t printing from the correct paper tray
Chooser does not appear in the Apple K menu
Fixing Other Problems
Troubleshooting with the indicator lights
Mac OS computer troubleshooting
Printer is not listed in the Chooser
No LaserWriter 8 icon appears in the Chooser
303
Nothing is printed no paper comes out of the printer
Desktop printer icons appear as folders
Message on the screen says the printer can’t print
Desktop printing software needs more memory on the computer
Desktop printer icon has an X drawn through it
Want to turn the manual feed message on or off
IBM PC or compatible troubleshooting
Novell NetWare troubleshooting
Nb /na /nff /nt /ti=30
Turn off the banner page in the /etc/printcap file
Unix troubleshooting
Rarp server is not responding
Can ping the printer, but I can’t telnet to it
Bootp server is not responding
Only one user at a time can telnet to the printer
Can’t ping the printer by IP name or IP address
IVpart
Page
What each utility does
Appendix a Administrator Tools Quick Reference
Apple Printer Utility for Mac OS
Apple LaserWriter Utility for Windows
Utilities for Windows, DOS, and NetWare
317
TCP/IP Printer Configuration Utility for Unix
Which functions are in which utilities
Adjusting print quality
Managing fonts
Administering LocalTalk/EtherTalk networks for Mac OS users
Administering NetWare networks for DOS and Windows users
Administering TCP/IP networks for Unix users
Configuring options
Configuring the communication ports
Managing page-description languages
Page
Appendix B Setting Up the Printer as an Atps Remote Printer
Configuring Atps for the first time on a NetWare 4 server
Window appears, displaying the fields contents
Configuring Atps for the first time on a NetWare 3.x server
Prompt appears, asking if you want to create a new file
Press Esc to quit editing
List of configuration files reappears
Prompt appears, asking if you want to save your changes
Type y and press Enter
Select the SYS\SYSTEM\AUTOEXEC.NCF file and press Enter
Window appears, displaying the file’s contents
New configuration is immediately available
Kinds of fonts
Appendix C Using Fonts With the Printer
Bitmapped fonts
PostScript fonts
TrueType fonts
QuickDraw GX imaging technology
TrueType and bitmapped fonts
How TrueType fonts work with other kinds of fonts
Keeping two font versions available
TrueType and PostScript fonts
How the Mac OS looks for fonts
Where fonts are stored
Suitcases
339
Styled fonts
What kind of fonts should I buy?
Why don’t all of my fonts appear in the Fonts menu?
Common questions about fonts
Here are some questions that often come up about fonts
What does the term Apple classic fonts mean?
What’s a downloadable font?
What is font substitution?
Page
Appendix D Technical Information
Specifications
Fuji Xerox P893 laser-xerographic
Twisted Pair 10BASE-T Thick Coax 10BASE-5
Printer fonts
Average number of prints between failure is 180,000 pages
Paper Type Size
Envelope sizes and weights Weight Size
Dimensions Printer only
Height .2 cm Width 15.9 in .5 cm Depth 16.7 in .4 cm
Approximately 30 lb kg
Environmental information
Height
Height 16.2 in .1cm Width
26 W
Power consumption
Voltage requirements
103.5 to 126.5 VAC, 58 to 62 Hz
About PostScript Printer Description PPD files
Simm dimensions
RAM upgrade specifications
Simm sizes and speeds Size Configuration Speed
Ozone emission
These settings can be changed to the following modes
Communication settings
Part Number
Accessories
Index
Index
Sheet cassette and feeder option paper cassette
Atps
Index
Index
Index
Index
Index
Index
Index
Index
Index
Index
Index
See Rarp
ROM
Index
Telnet
Index
Index
Index