Section 3: Operation
To create or adjust a user defined (custom) color temperature: NOTE: Use an external test pattern when adjusting color temperature. (Figure 3.13.)
1.Select User1 or User2 and adjust Red, Green and Blue slidebars until the desired color temperature is achieved.
2.Exit the menu to save settings.
Figure 3.13. Creating a Custom Color Temperature
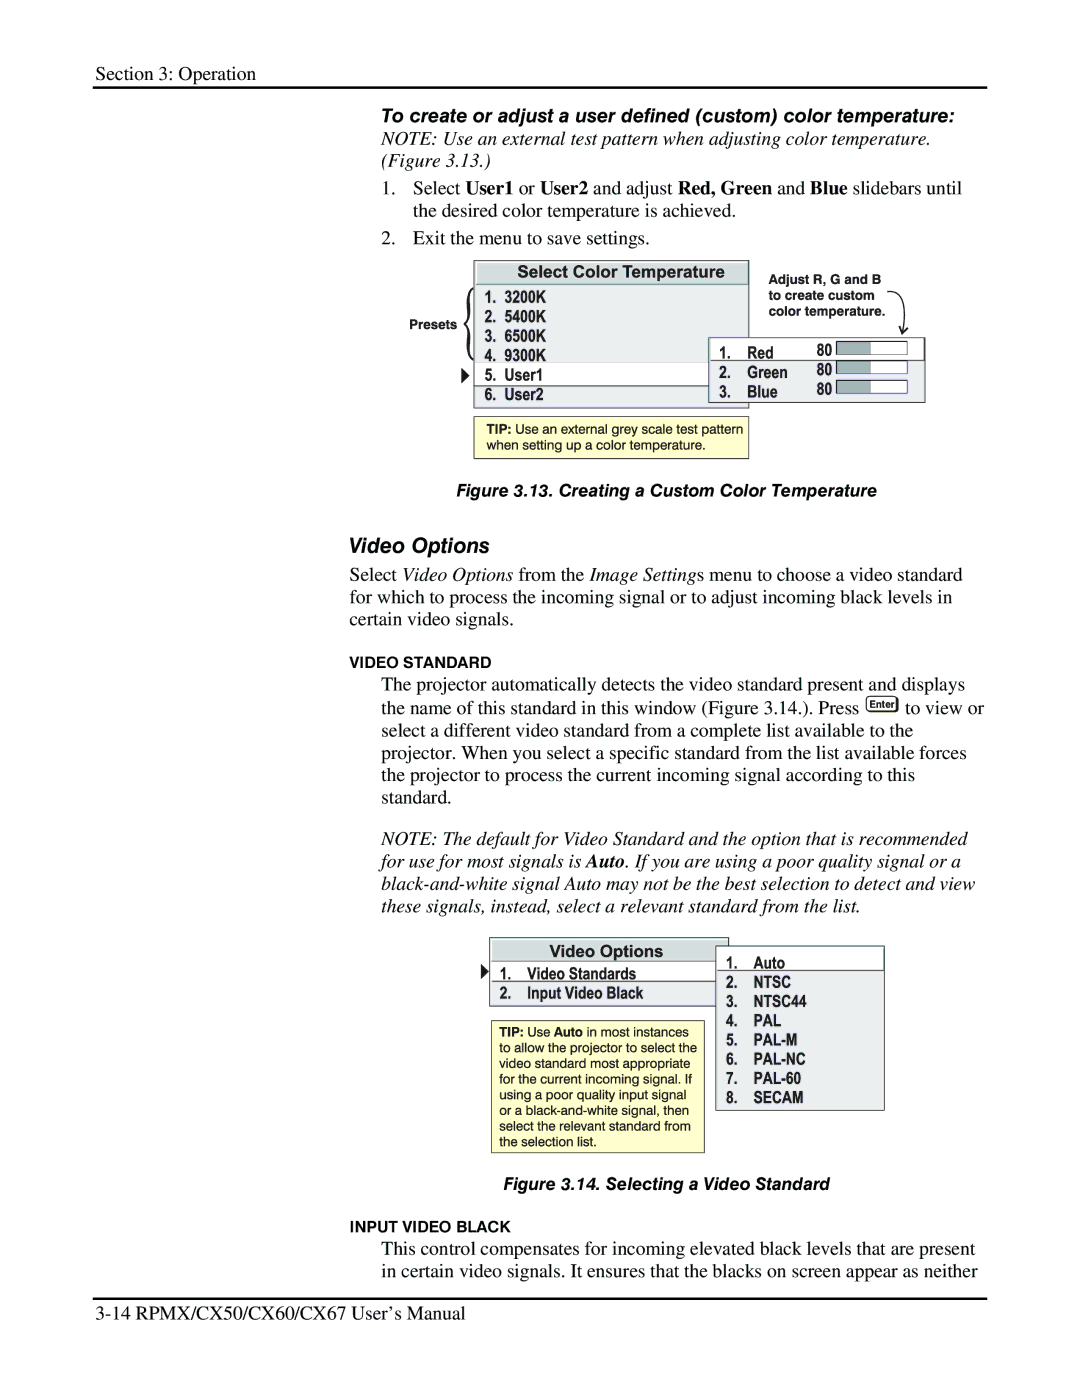
Video Options
Select Video Options from the Image Settings menu to choose a video standard for which to process the incoming signal or to adjust incoming black levels in certain video signals.
VIDEO STANDARD
The projector automatically detects the video standard present and displays the name of this standard in this window (Figure 3.14.). Press Enter to view or select a different video standard from a complete list available to the projector. When you select a specific standard from the list available forces the projector to process the current incoming signal according to this standard.
NOTE: The default for Video Standard and the option that is recommended for use for most signals is Auto. If you are using a poor quality signal or a
Figure 3.14. Selecting a Video Standard
INPUT VIDEO BLACK
This control compensates for incoming elevated black levels that are present in certain video signals. It ensures that the blacks on screen appear as neither