Section 3: Operation
3.5System Status
3.6Auto Setup
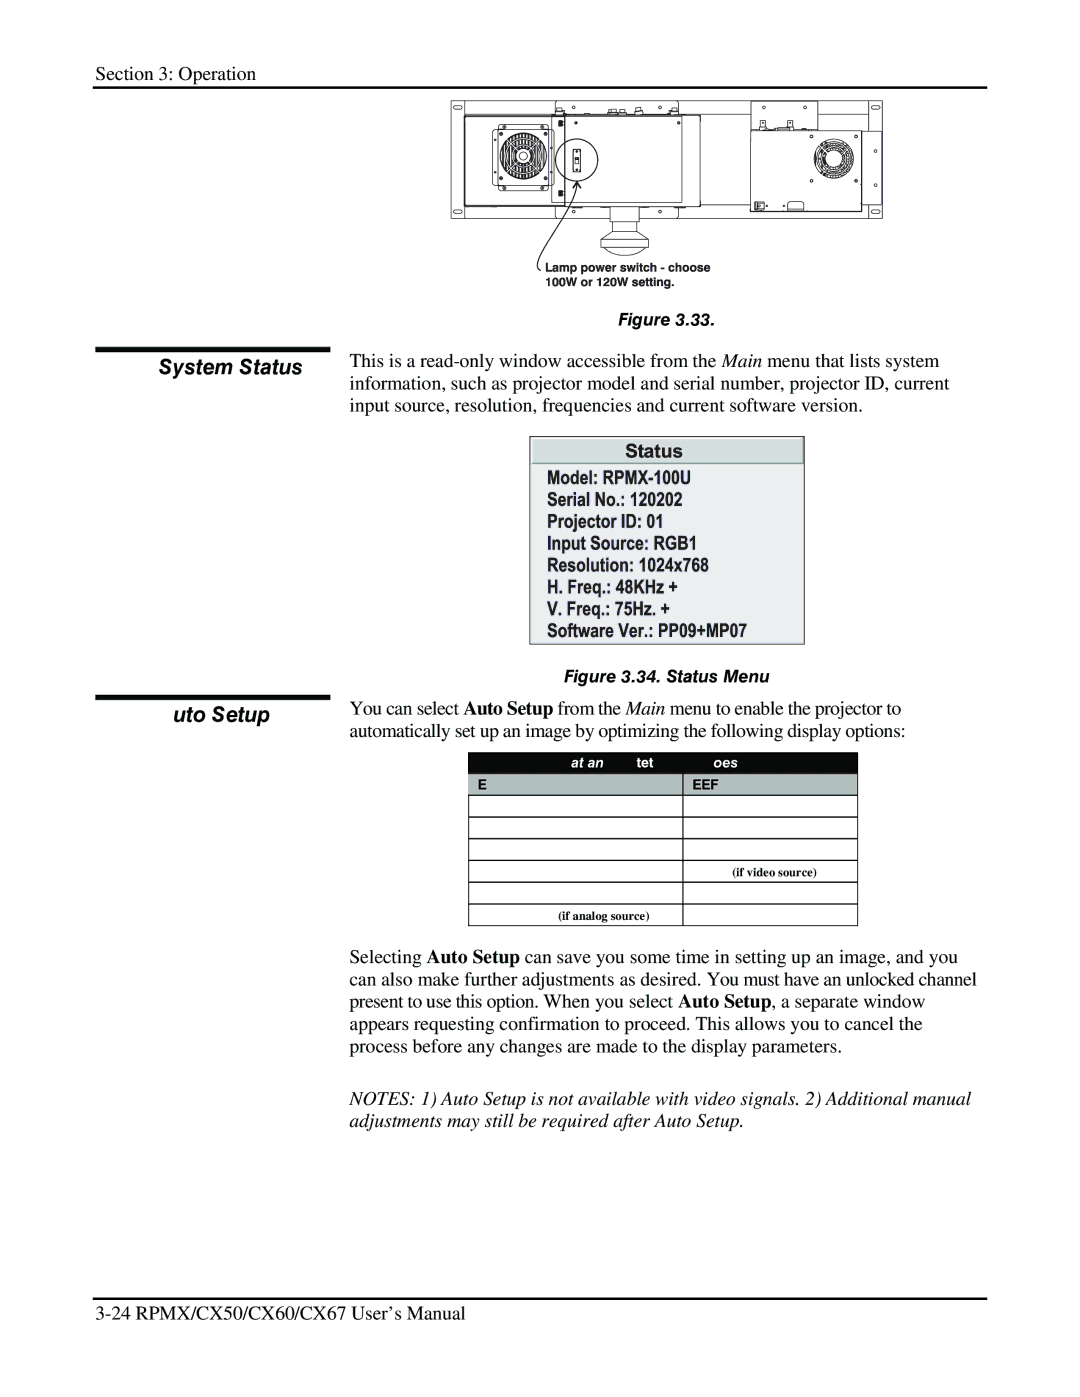
Figure 3.33.
This is a
Figure 3.34. Status Menu
You can select Auto Setup from the Main menu to enable the projector to automatically set up an image by optimizing the following display options:
What an “Auto Setup” Does
OPTIMIZES: | SETS TO DEFAULT: |
Pixel Tracking | Contrast & Brightness |
Pixel Phase | Auto Input Level (off) |
Size | Blanking |
|
|
Vertical Stretch | Detail (if video source) |
Position | Filter |
|
|
Input Levels (if analog source) | Luma Delay |
Selecting Auto Setup can save you some time in setting up an image, and you can also make further adjustments as desired. You must have an unlocked channel present to use this option. When you select Auto Setup, a separate window appears requesting confirmation to proceed. This allows you to cancel the process before any changes are made to the display parameters.
NOTES: 1) Auto Setup is not available with video signals. 2) Additional manual adjustments may still be required after Auto Setup.