Section 3: Operation
start numbering in the
PROJECTOR ID
This is a read only item that shows the ID of the projector for which you are defining its location in the Tiling Setup menu. See Figure 3.26., item 5.
RESIZE PRESETS
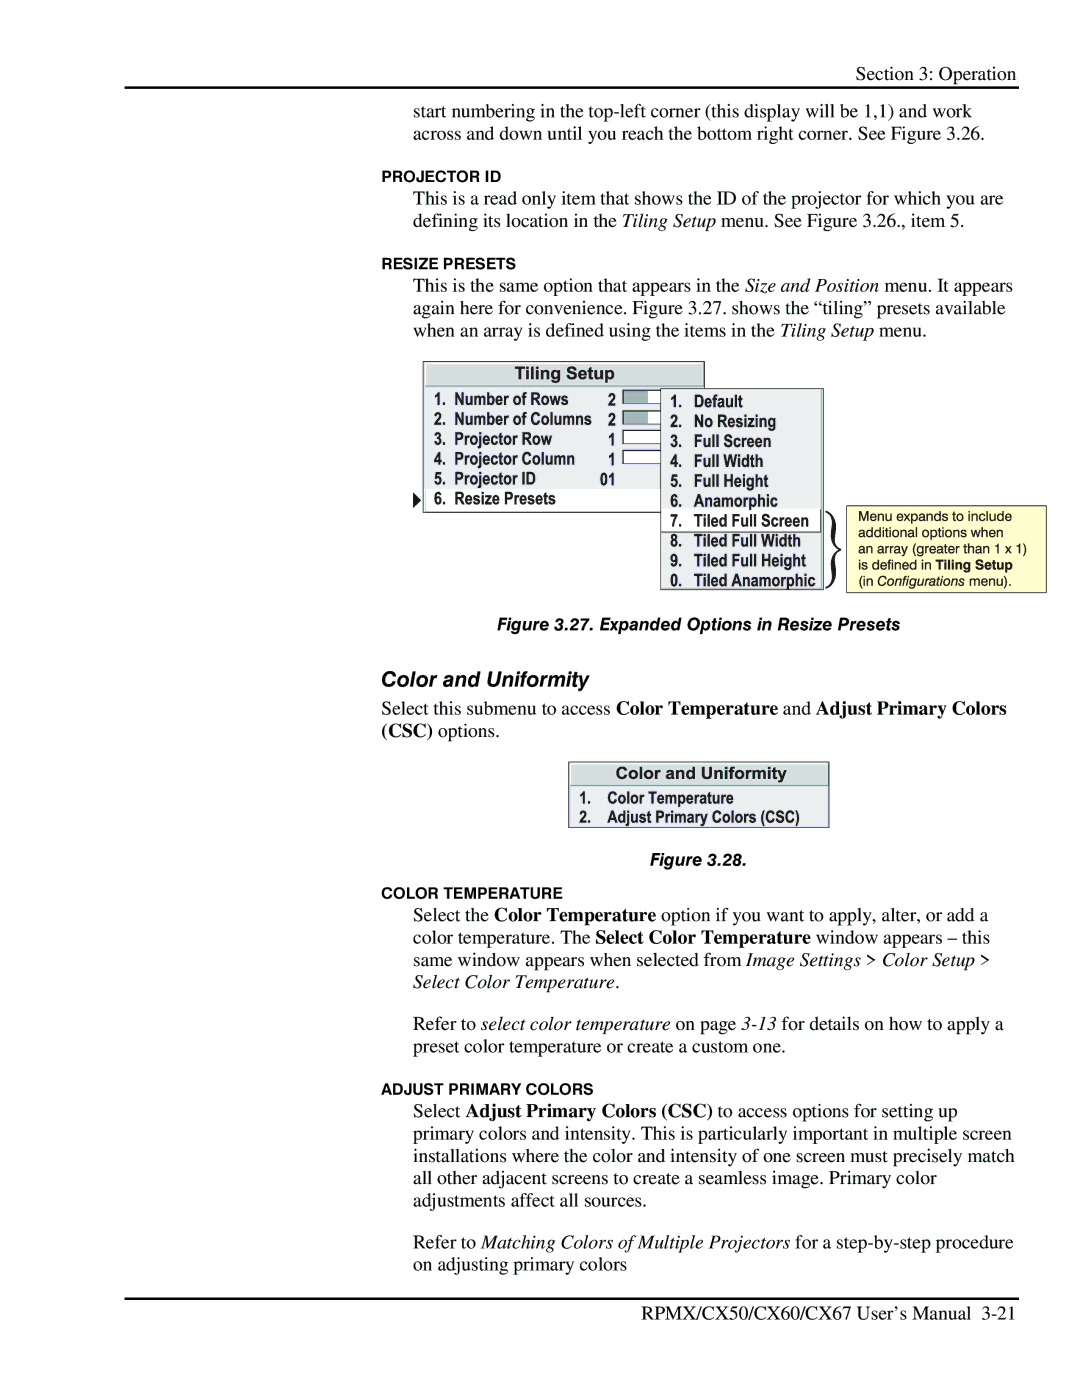
This is the same option that appears in the Size and Position menu. It appears again here for convenience. Figure 3.27. shows the “tiling” presets available when an array is defined using the items in the Tiling Setup menu.
Figure 3.27. Expanded Options in Resize Presets
Color and Uniformity
Select this submenu to access Color Temperature and Adjust Primary Colors (CSC) options.
Figure 3.28.
COLOR TEMPERATURE
Select the Color Temperature option if you want to apply, alter, or add a color temperature. The Select Color Temperature window appears – this same window appears when selected from Image Settings > Color Setup > Select Color Temperature.
Refer to select color temperature on page
ADJUST PRIMARY COLORS
Select Adjust Primary Colors (CSC) to access options for setting up primary colors and intensity. This is particularly important in multiple screen installations where the color and intensity of one screen must precisely match all other adjacent screens to create a seamless image. Primary color adjustments affect all sources.
Refer to Matching Colors of Multiple Projectors for a
RPMX/CX50/CX60/CX67 User’s Manual