Section 2: Source Setup
Analog VGA Signals ' Connect Analog VGA signals to the
Figure 2.2. Analog VGA Connector
DVI Digital Video Signals ' The second input interface is dedicated to digital video input signals conforming
to the DVI (Digital Visual Interface) standard.
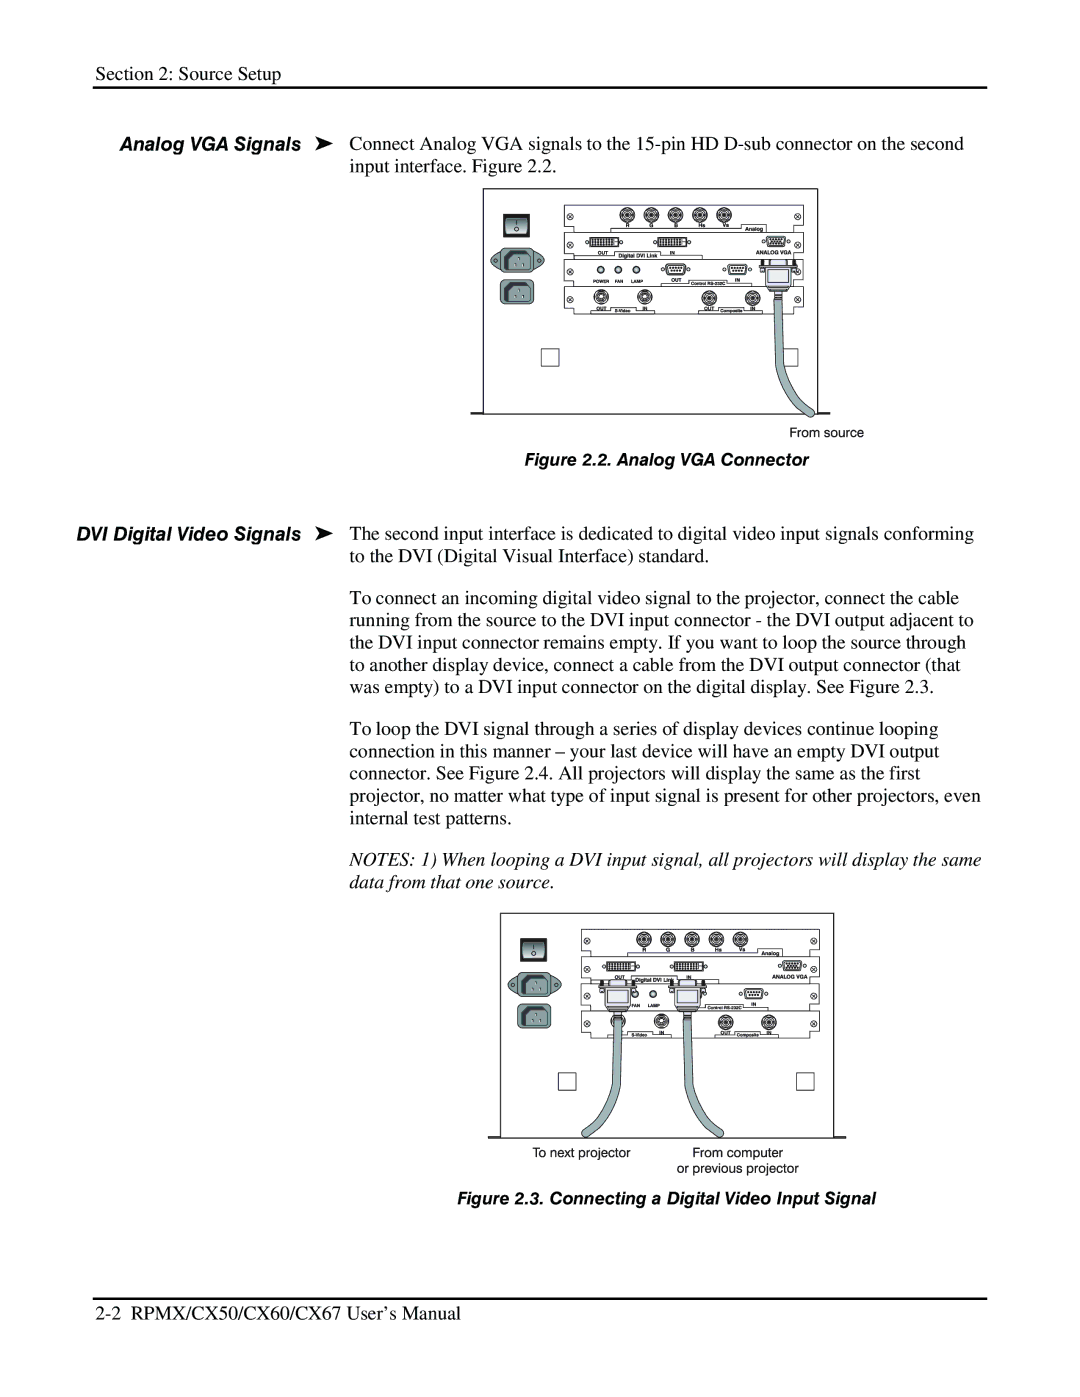
To connect an incoming digital video signal to the projector, connect the cable running from the source to the DVI input connector - the DVI output adjacent to the DVI input connector remains empty. If you want to loop the source through to another display device, connect a cable from the DVI output connector (that was empty) to a DVI input connector on the digital display. See Figure 2.3.
To loop the DVI signal through a series of display devices continue looping connection in this manner – your last device will have an empty DVI output connector. See Figure 2.4. All projectors will display the same as the first projector, no matter what type of input signal is present for other projectors, even internal test patterns.
NOTES: 1) When looping a DVI input signal, all projectors will display the same data from that one source.