Chapter 3 Installing the Switch
Install the Switch On a Desk or Shelf
Install the Switch On a Desk or Shelf
Follow these steps:
Step 1 | Locate the adhesive strip with the rubber feet in the accessory kit. | ||||
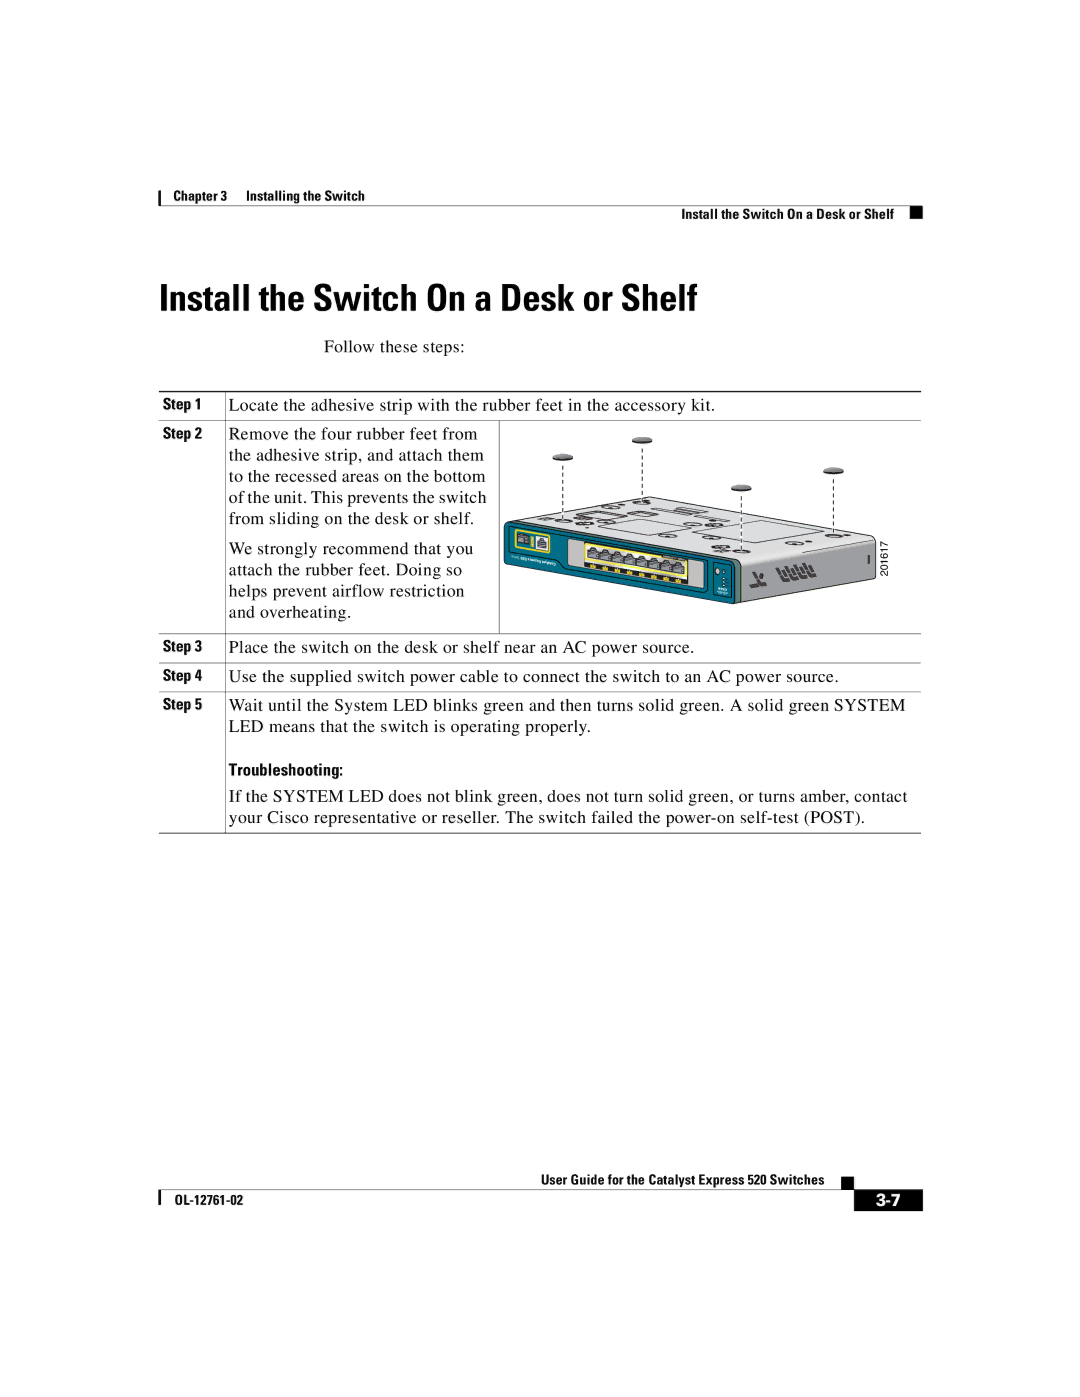
Step 2 | Remove the four rubber feet from |
|
|
|
|
| the adhesive strip, and attach them |
|
|
|
|
| to the recessed areas on the bottom |
|
|
|
|
| of the unit. This prevents the switch |
|
|
|
|
| from sliding on the desk or shelf. |
|
|
|
|
| We strongly recommend that you | 1 |
|
|
|
| ies erS 520 ss | Exprest |
| ETN R HE T E R EPOW | |
| attach the rubber feet. Doing so |
|
|
| |
|
| lyaatC | 3 | 2 | |
|
| 4 | |||
|
|
| 8 |
|
|
|
|
| 7 |
|
|
|
|
| 6 |
|
|
|
|
| 5 |
|
|
| helps prevent airflow restriction |
|
|
| 1 |
|
|
|
|
| |
| and overheating. |
|
|
|
|
NI MD A |
|
EPo | |
| RTL A |
T | YS S |
201617
Step 3 | Place the switch on the desk or shelf near an AC power source. |
|
|
Step 4 | Use the supplied switch power cable to connect the switch to an AC power source. |
|
|
Step 5 | Wait until the System LED blinks green and then turns solid green. A solid green SYSTEM |
| LED means that the switch is operating properly. |
| Troubleshooting: |
| If the SYSTEM LED does not blink green, does not turn solid green, or turns amber, contact |
| your Cisco representative or reseller. The switch failed the |
|
| User Guide for the Catalyst Express 520 Switches |
|
|
|
|
| ||
|
|
| ||
|
|
|
