Chapter 2 Unpacking and Installing the Chassis
Use this procedure to install the chassis in the equipment rack:
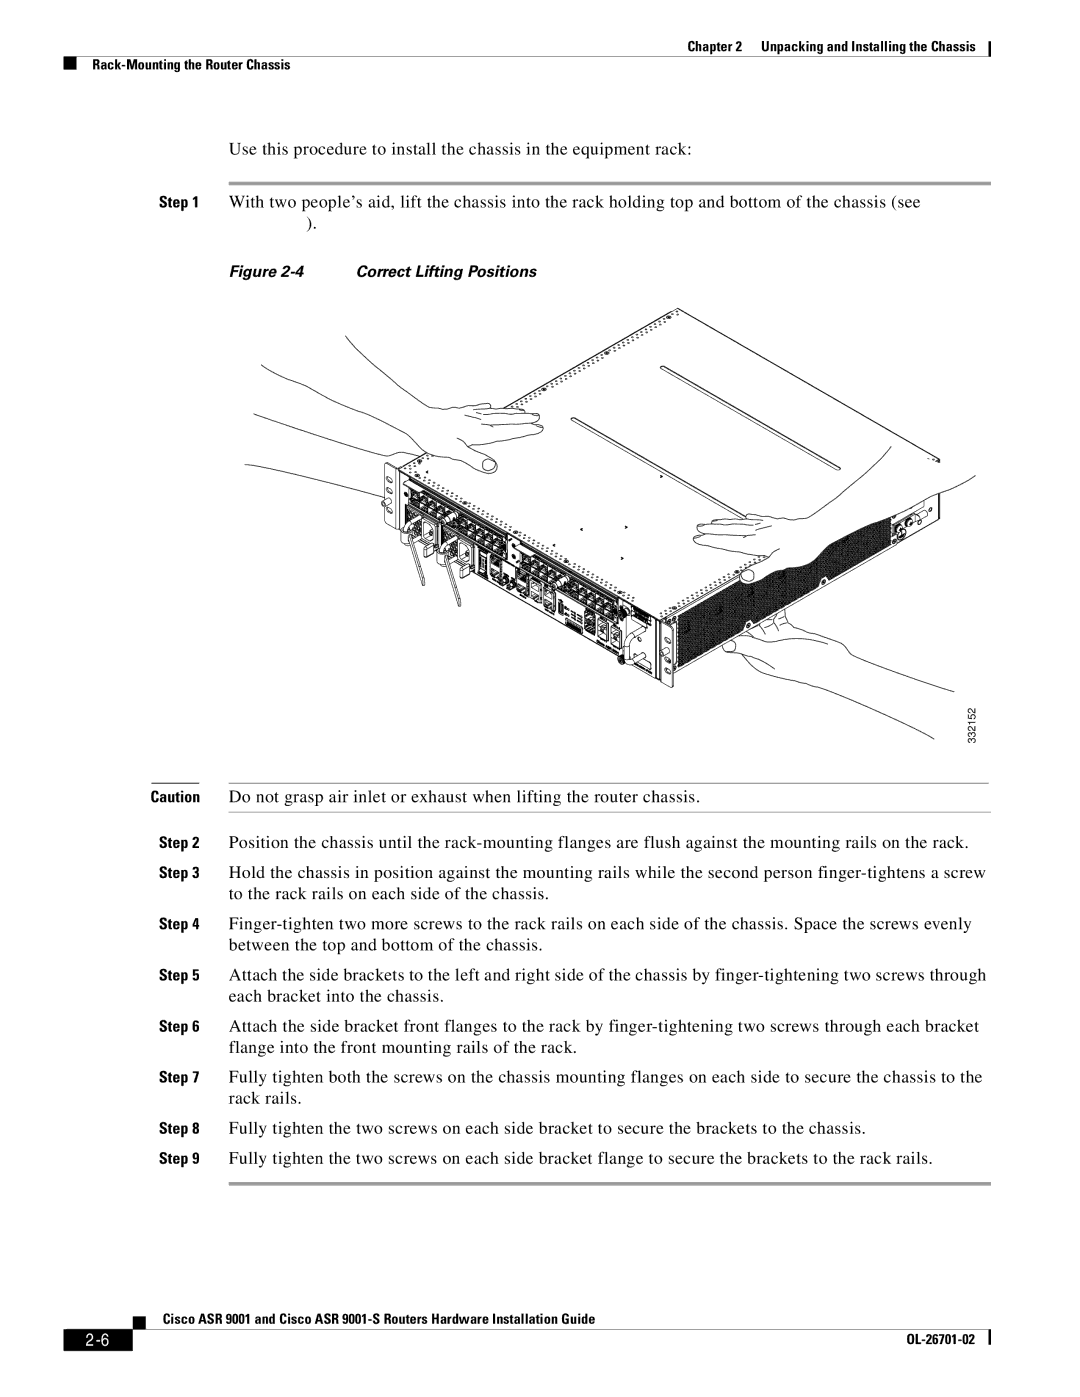
Step 1 With two people’s aid, lift the chassis into the rack holding top and bottom of the chassis (see Figure
Figure 2-4 Correct Lifting Positions
332152
Caution Do not grasp air inlet or exhaust when lifting the router chassis.
Step 2 Position the chassis until the
Step 3 Hold the chassis in position against the mounting rails while the second person
Step 4
Step 5 Attach the side brackets to the left and right side of the chassis by
Step 6 Attach the side bracket front flanges to the rack by
Step 7 Fully tighten both the screws on the chassis mounting flanges on each side to secure the chassis to the rack rails.
Step 8 Fully tighten the two screws on each side bracket to secure the brackets to the chassis.
Step 9 Fully tighten the two screws on each side bracket flange to secure the brackets to the rack rails.
Cisco ASR 9001 and Cisco ASR
|
| |
|
