Chapter 3 Installing the Cisco uBR7225VXR Router
Installing the Brackets on the Chassis
Installing the Brackets on the Chassis
This section explains how to install the
The parts and tools required for installing the
Installing Rack-Mount Brackets on the Rear of the Chassis
To install the
Step 1 Locate the threaded holes in the rear sides of the chassis.
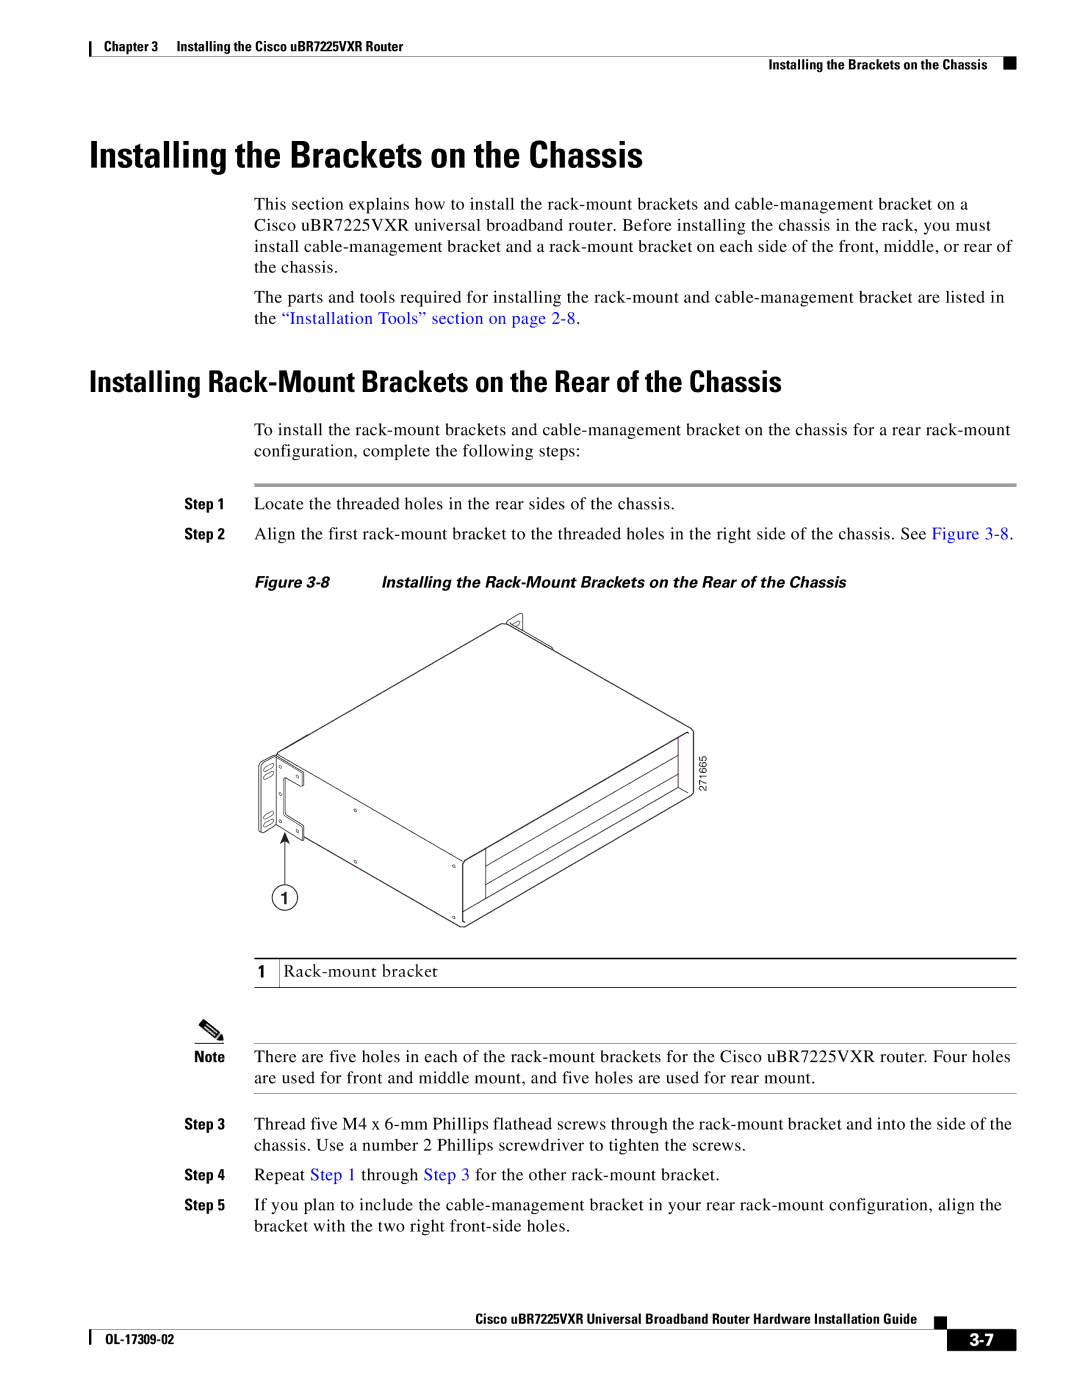
Step 2 Align the first
Figure 3-8 Installing the Rack-Mount Brackets on the Rear of the Chassis

![]()
![]() 271665
271665
1
1
| Note | There are five holes in each of the | |||
|
| are used for front and middle mount, and five holes are used for rear mount. | |||
|
|
| |||
| Step 3 | Thread five M4 x | |||
|
| chassis. Use a number 2 Phillips screwdriver to tighten the screws. | |||
| Step 4 | Repeat Step 1 through Step 3 for the other | |||
| Step 5 | If you plan to include the | |||
|
| bracket with the two right | |||
|
| Cisco uBR7225VXR Universal Broadband Router Hardware Installation Guide |
|
| |
|
|
| |||
|
|
|
|
|
|
|
|
|
|
| |
|
|
|
| ||