Chapter 3 Installing the Cisco uBR7225VXR Router
Installing the Brackets on the Chassis
Step 6 Thread two M3 x
This completes the procedure for installing the
Caution To prevent injury, review the safety precautions in Chapter 2, “Preparing the Cisco uBR7225VXR Router for Installation,” before installing the Cisco uBR7225VXR router in a rack.
Installing Rack-Mount Brackets on the Front of the Chassis
To install the
Step 1 Locate the threaded holes in the front sides of the chassis.
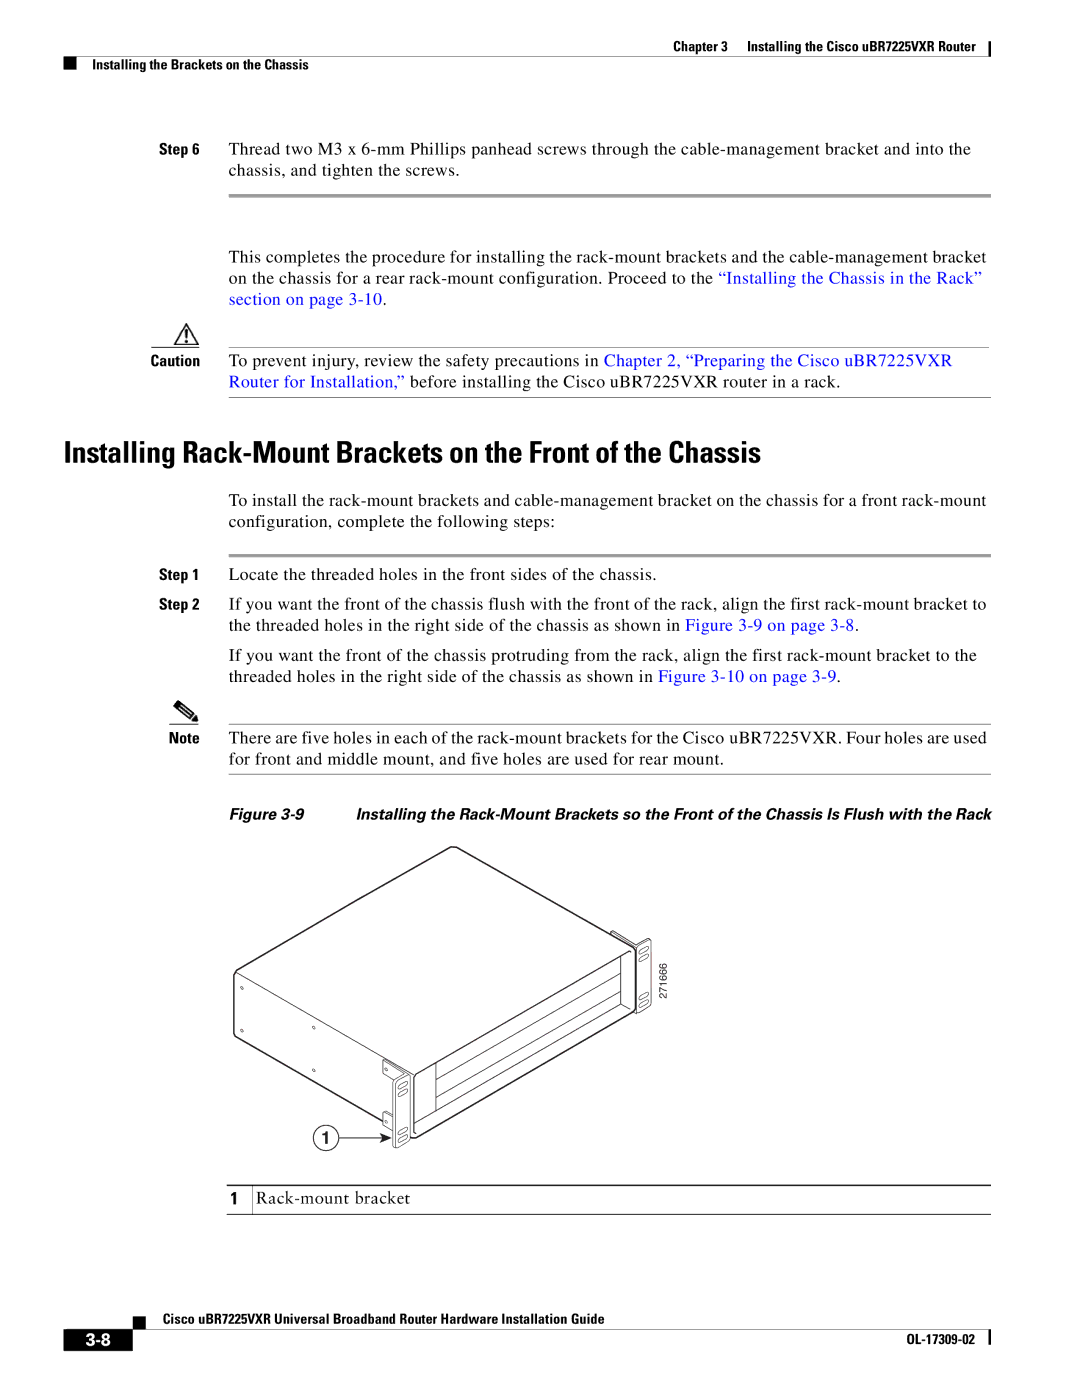
Step 2 If you want the front of the chassis flush with the front of the rack, align the first
If you want the front of the chassis protruding from the rack, align the first
Note There are five holes in each of the
Figure 3-9 Installing the Rack-Mount Brackets so the Front of the Chassis Is Flush with the Rack
271666
1
1
Rack-mount bracket
Cisco uBR7225VXR Universal Broadband Router Hardware Installation Guide
|
| |
|