Printhead assembly electronic adjustment
A
Note: Before aligning the printhead electronically, first align the printhead mechanically, if needed. See
“Printhead assembly mechanical adjustment” on page
1.Enter the Diagnostics menu. See “Entering Diagnostics menu” on page
2.Press ![]() to enter the Registration menu.
to enter the Registration menu.
3.Press ![]() to print the Quick test page.
to print the Quick test page.
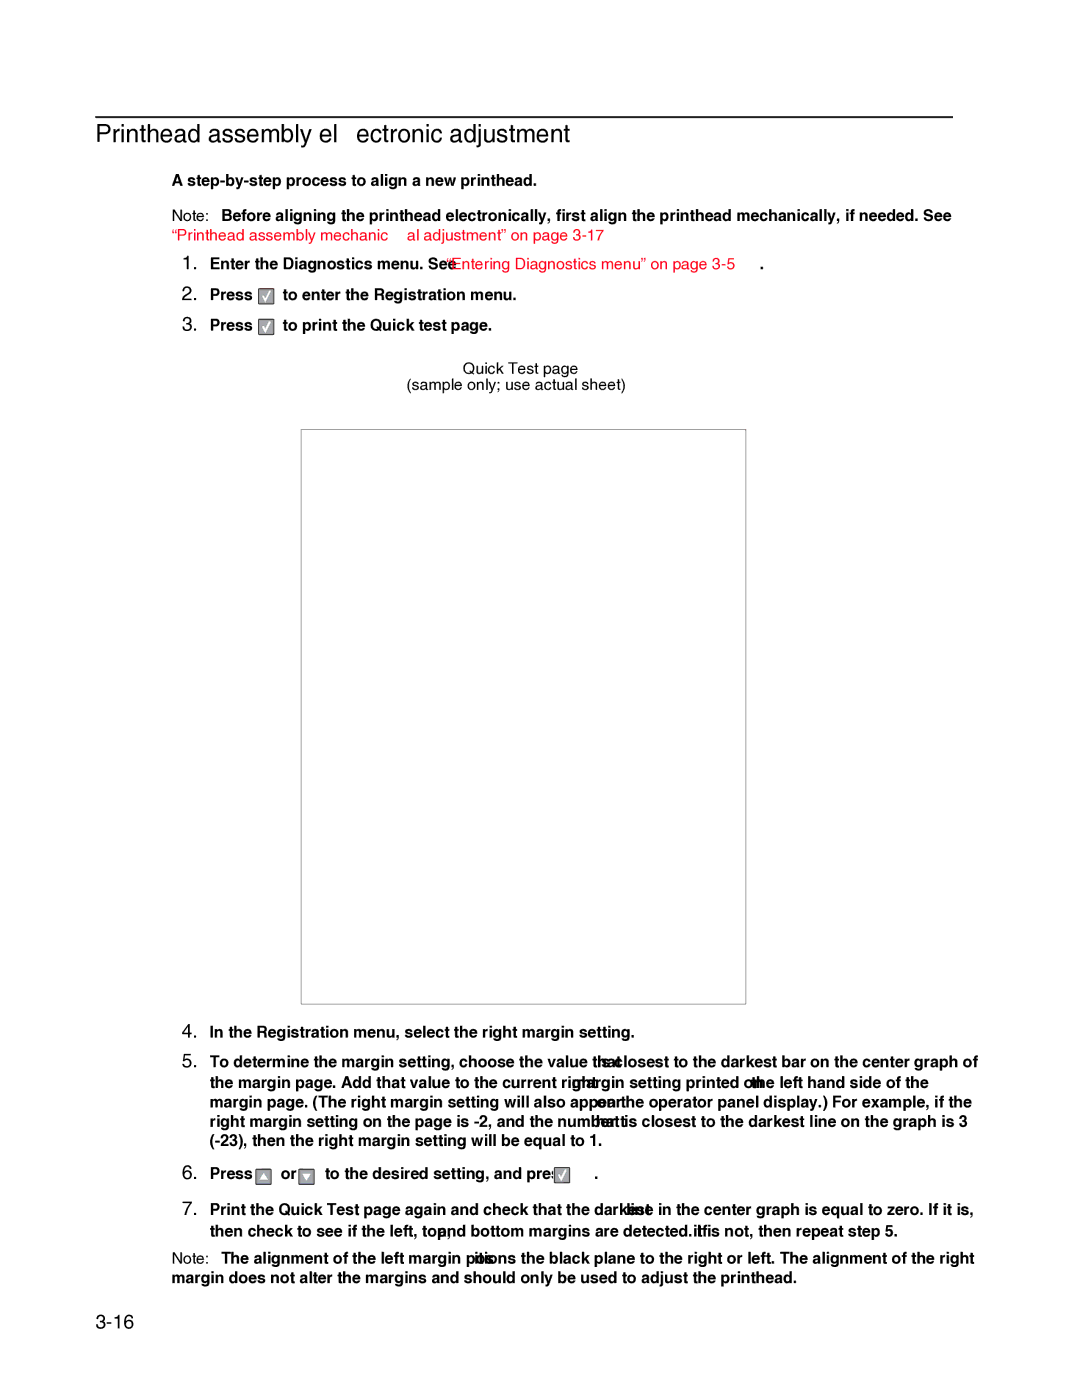
Quick Test page
(sample only; use actual sheet)
4.In the Registration menu, select the right margin setting.
5.To determine the margin setting, choose the value that is closest to the darkest bar on the center graph of the margin page. Add that value to the current right margin setting printed on the left hand side of the margin page. (The right margin setting will also appear on the operator panel display.) For example, if the right margin setting on the page is
6.Press ![]() or
or ![]() to the desired setting, and press
to the desired setting, and press ![]() .
.
7.Print the Quick Test page again and check that the darkest line in the center graph is equal to zero. If it is, then check to see if the left, top, and bottom margins are detected. If it is not, then repeat step 5.
Note: The alignment of the left margin positions the black plane to the right or left. The alignment of the right margin does not alter the margins and should only be used to adjust the printhead.