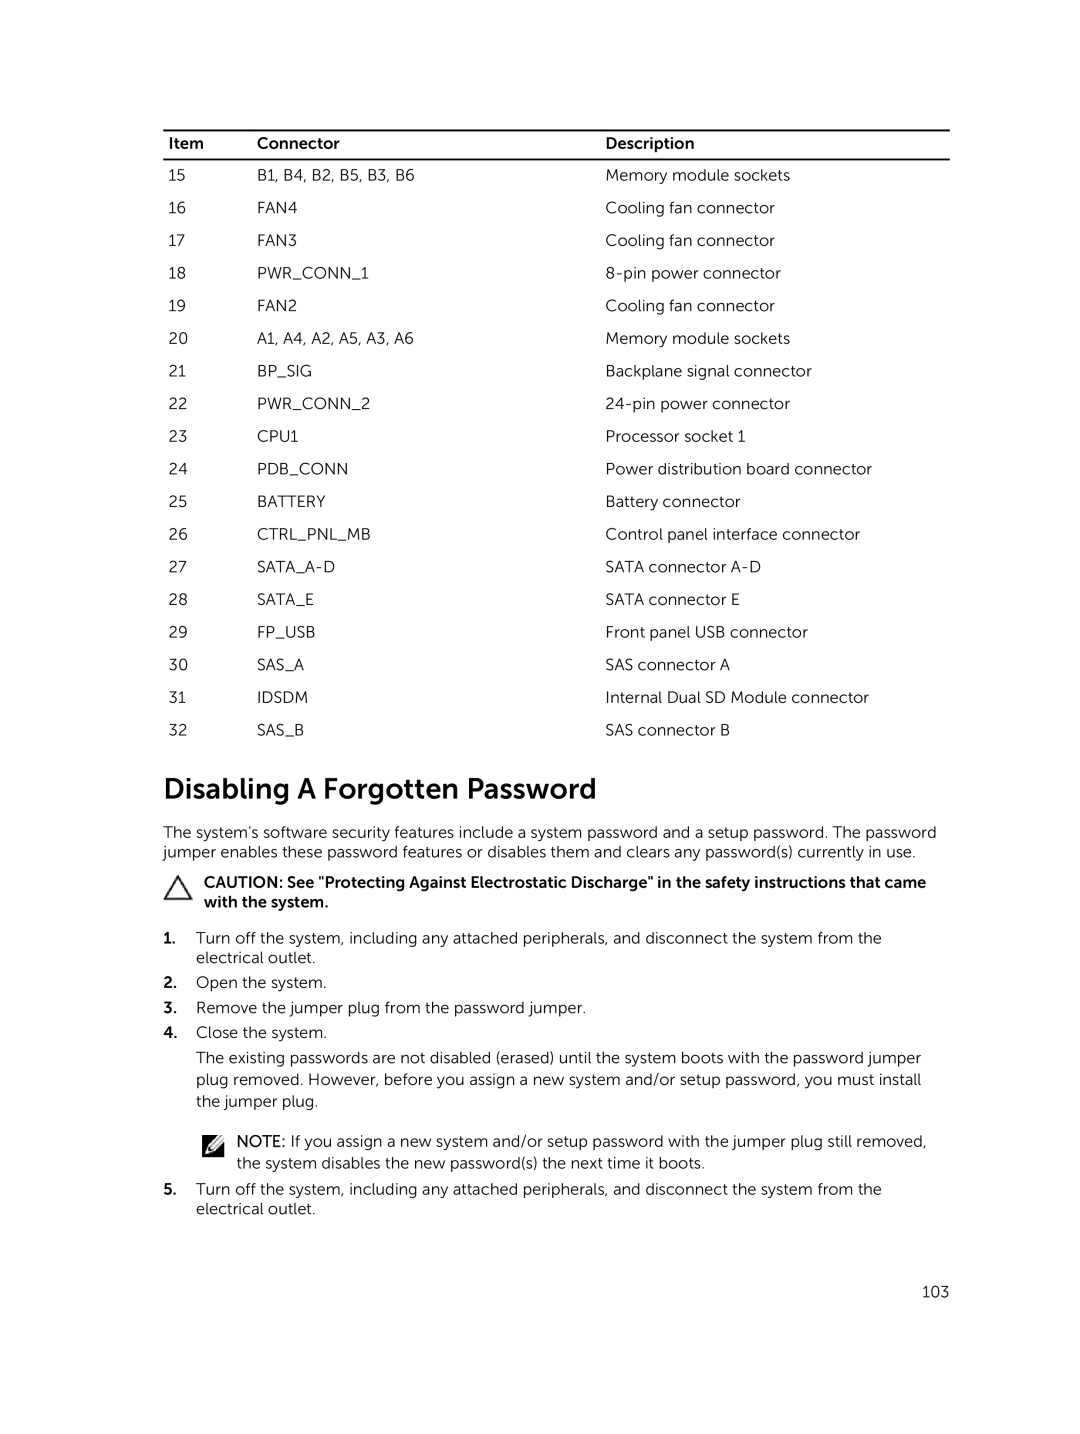
Item | Connector | Description |
|
|
|
15 | B1, B4, B2, B5, B3, B6 | Memory module sockets |
16 | FAN4 | Cooling fan connector |
17 | FAN3 | Cooling fan connector |
18 | PWR_CONN_1 | |
19 | FAN2 | Cooling fan connector |
20 | A1, A4, A2, A5, A3, A6 | Memory module sockets |
21 | BP_SIG | Backplane signal connector |
22 | PWR_CONN_2 | |
23 | CPU1 | Processor socket 1 |
24 | PDB_CONN | Power distribution board connector |
25 | BATTERY | Battery connector |
26 | CTRL_PNL_MB | Control panel interface connector |
27 | SATA connector | |
28 | SATA_E | SATA connector E |
29 | FP_USB | Front panel USB connector |
30 | SAS_A | SAS connector A |
31 | IDSDM | Internal Dual SD Module connector |
32 | SAS_B | SAS connector B |
Disabling A Forgotten Password
The system's software security features include a system password and a setup password. The password jumper enables these password features or disables them and clears any password(s) currently in use.
CAUTION: See "Protecting Against Electrostatic Discharge" in the safety instructions that came with the system.
1.Turn off the system, including any attached peripherals, and disconnect the system from the electrical outlet.
2.Open the system.
3.Remove the jumper plug from the password jumper.
4.Close the system.
The existing passwords are not disabled (erased) until the system boots with the password jumper plug removed. However, before you assign a new system and/or setup password, you must install the jumper plug.
NOTE: If you assign a new system and/or setup password with the jumper plug still removed, the system disables the new password(s) the next time it boots.
5.Turn off the system, including any attached peripherals, and disconnect the system from the electrical outlet.
103
