1.Insert the hard drive into the
2.Align the screw holes on the hard drive with the back set of holes on the
When aligned correctly, the back of the hard drive will be flush with the back of the
3.Install the screws to secure the hard drive to the
NOTE: When installing new hard drives into blank
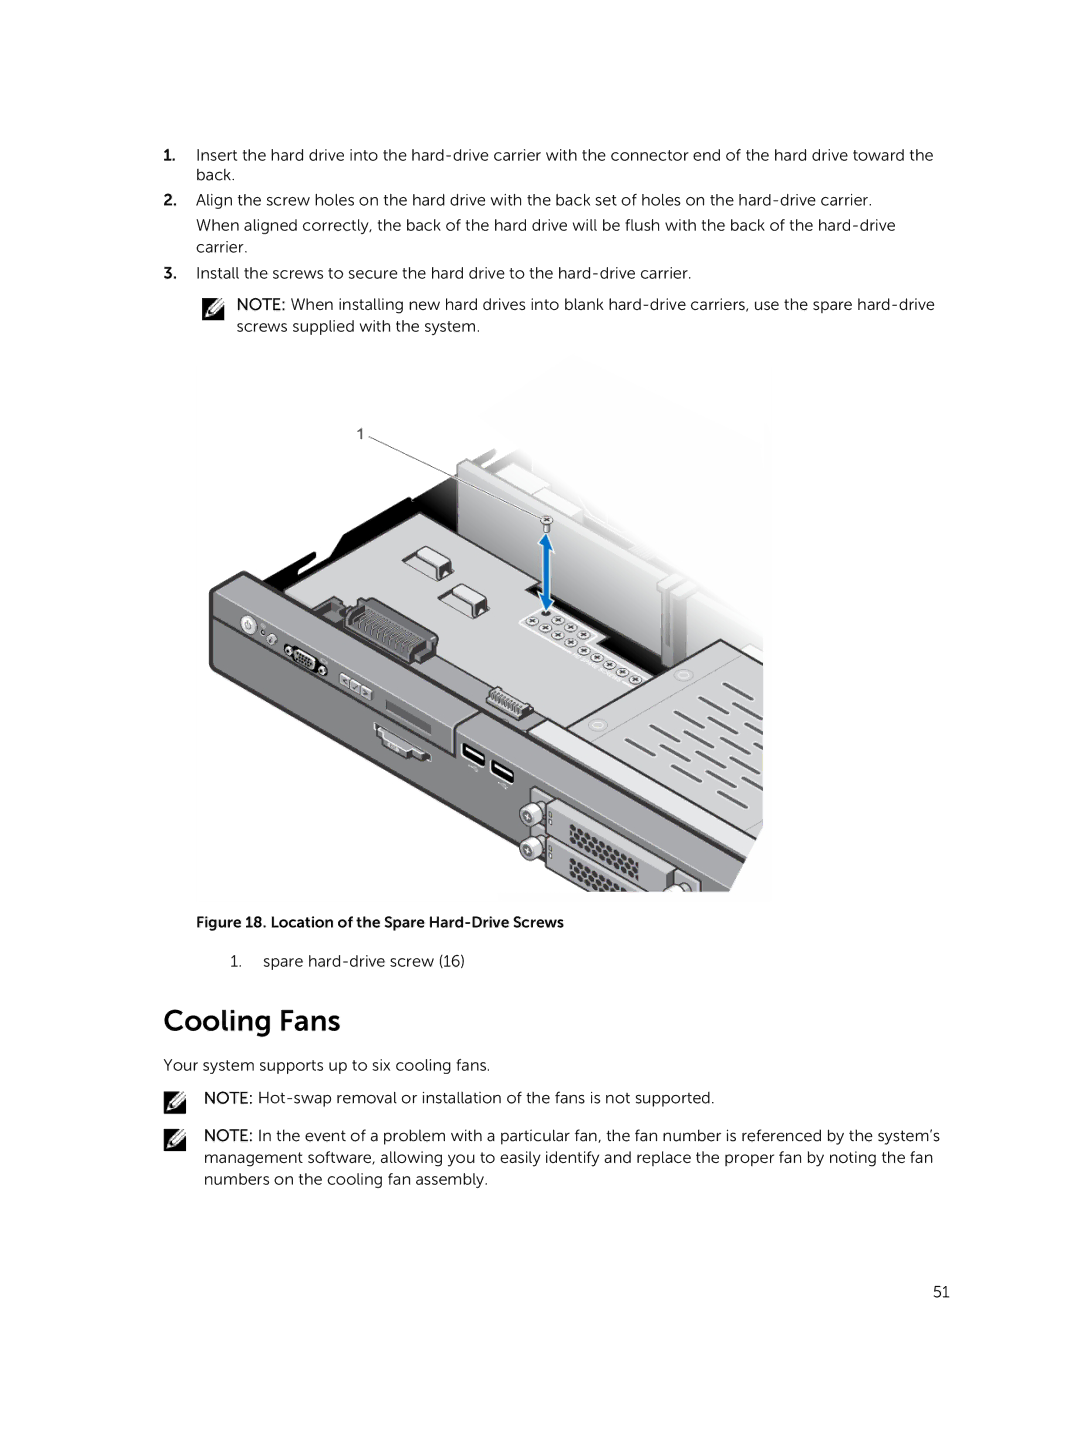
Figure 18. Location of the Spare Hard-Drive Screws
1.spare
Cooling Fans
Your system supports up to six cooling fans.
NOTE:
NOTE: In the event of a problem with a particular fan, the fan number is referenced by the system’s management software, allowing you to easily identify and replace the proper fan by noting the fan numbers on the cooling fan assembly.
51