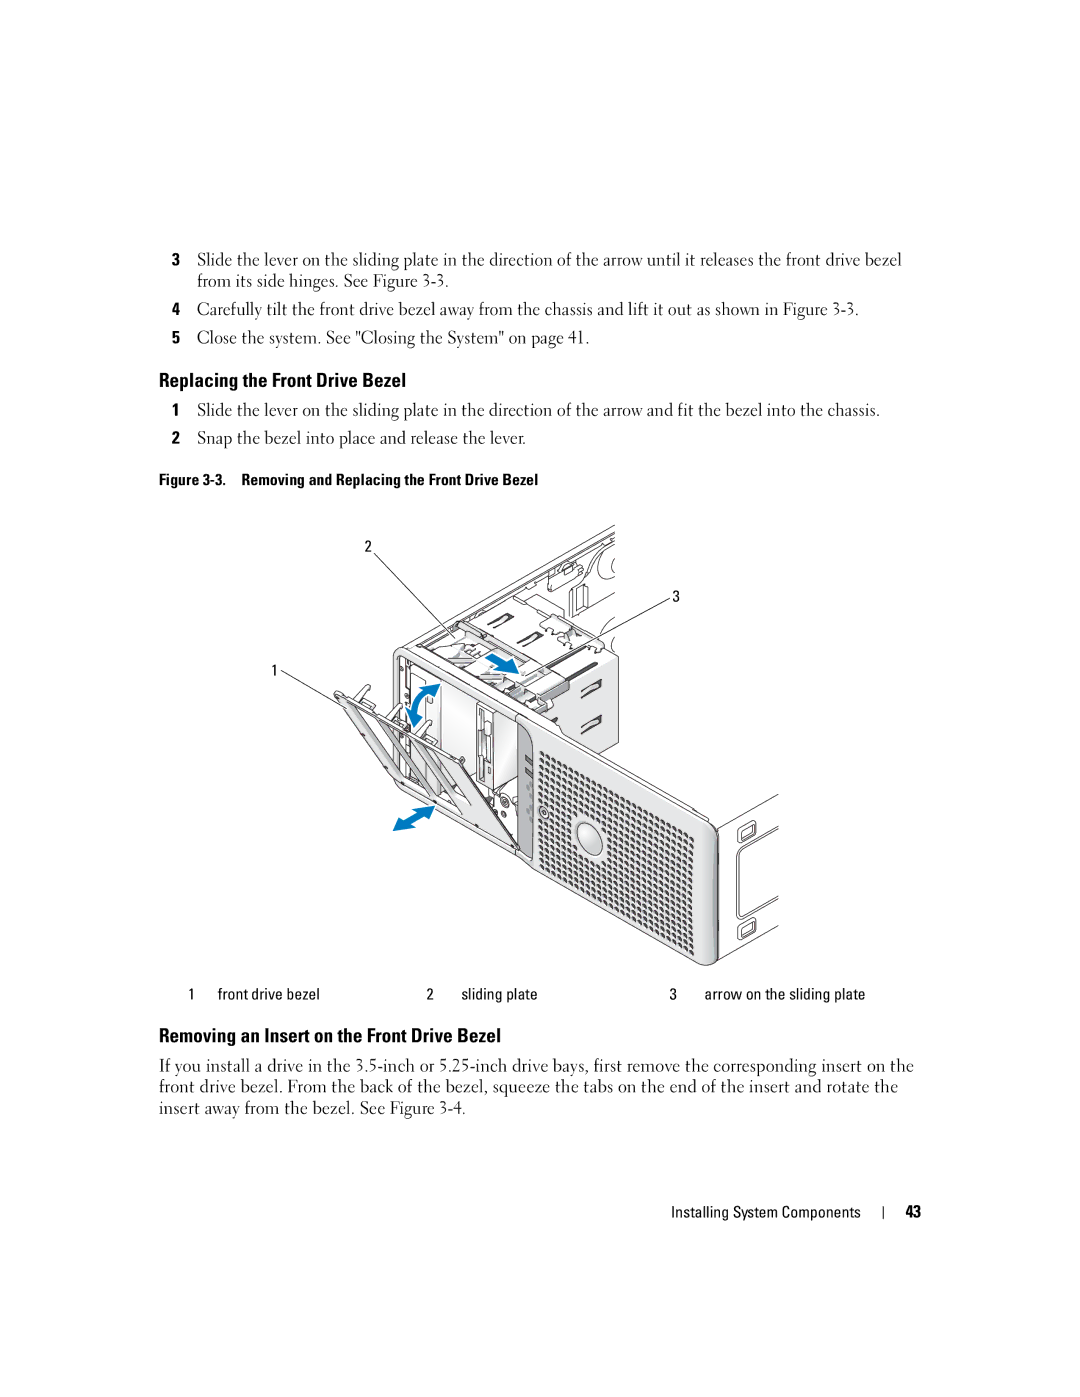
3Slide the lever on the sliding plate in the direction of the arrow until it releases the front drive bezel from its side hinges. See Figure
4Carefully tilt the front drive bezel away from the chassis and lift it out as shown in Figure
5Close the system. See "Closing the System" on page 41.
Replacing the Front Drive Bezel
1Slide the lever on the sliding plate in the direction of the arrow and fit the bezel into the chassis.
2Snap the bezel into place and release the lever.
Figure 3-3. Removing and Replacing the Front Drive Bezel
2
3
1
1 front drive bezel | 2 | sliding plate | 3 | arrow on the sliding plate |
Removing an Insert on the Front Drive Bezel
If you install a drive in the
Installing System Components
43