RESTRICTED USE ONLYFargo Electronics, Inc.

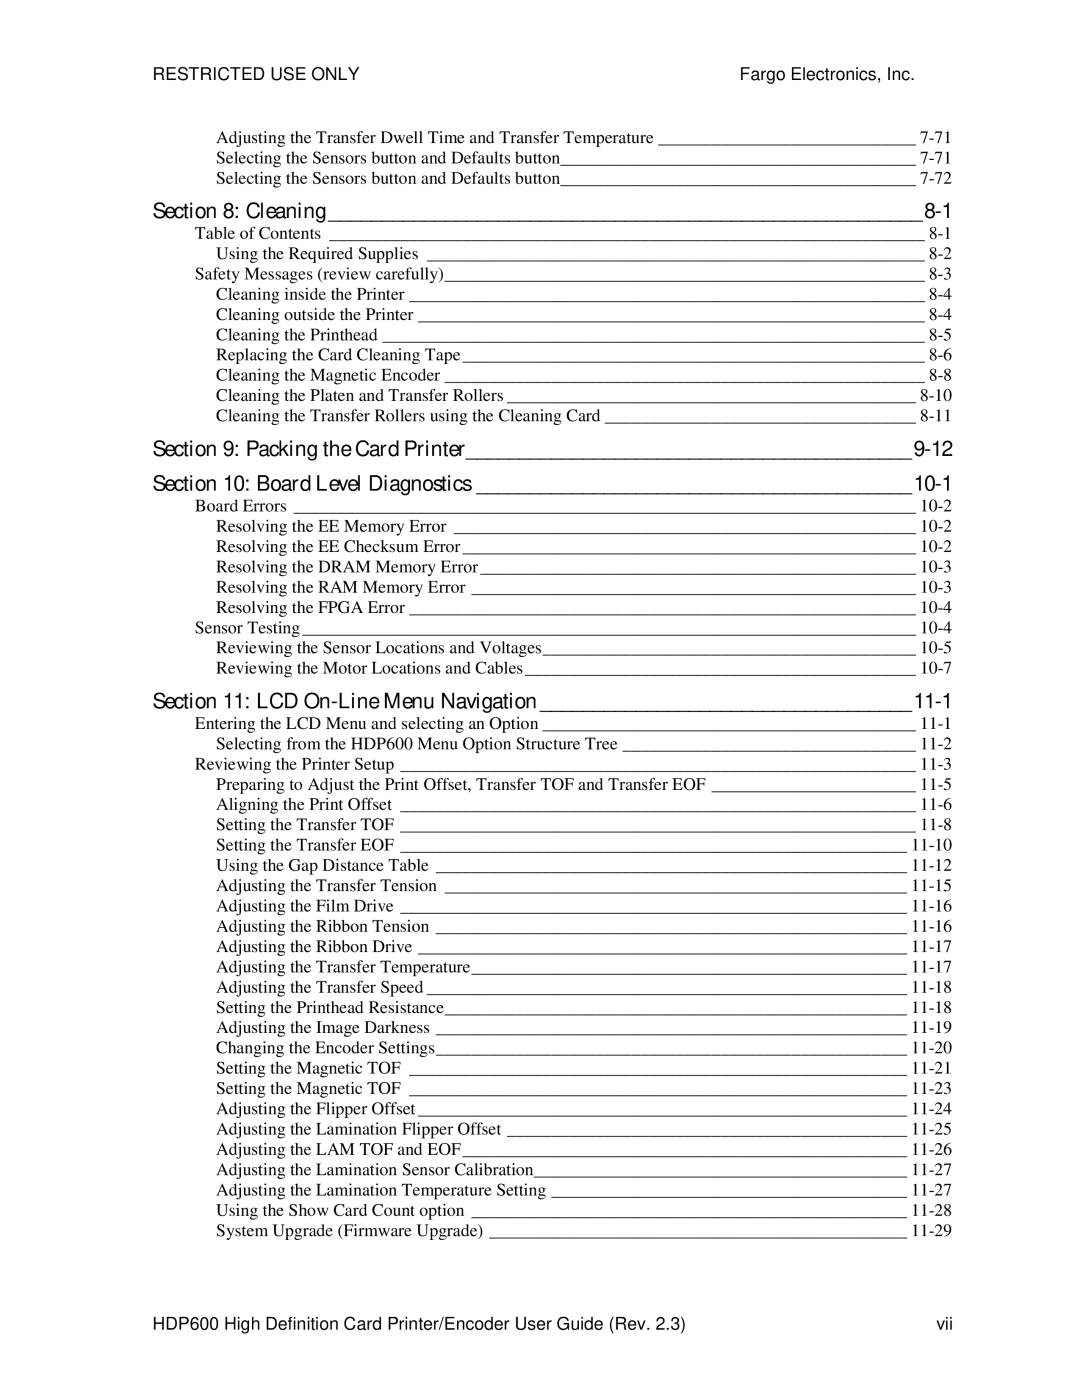
Adjusting the Transfer Dwell Time and Transfer Temperature _____________________________ 7-71

Selecting the Sensors button and Defaults button________________________________________ 7-71

Selecting the Sensors button and Defaults button________________________________________ 7-72

Section 8: Cleaning ________________________________________________________ 8-1

Table of Contents ___________________________________________________________________ 8-1

Using the Required Supplies ________________________________________________________ 8-2

Safety Messages (review carefully)______________________________________________________ 8-3

Cleaning inside the Printer __________________________________________________________ 8-4

Cleaning outside the Printer _________________________________________________________ 8-4

Cleaning the Printhead _____________________________________________________________ 8-5

Replacing the Card Cleaning Tape ____________________________________________________ 8-6

Cleaning the Magnetic Encoder ______________________________________________________ 8-8

Cleaning the Platen and Transfer Rollers ______________________________________________ 8-10

Cleaning the Transfer Rollers using the Cleaning Card ___________________________________ 8-11

Section 9: Packing the Card Printer__________________________________________ 9-12

Section 10: Board Level Diagnostics _________________________________________ 10-1

Board Errors ______________________________________________________________________ 10-2

Resolving the EE Memory Error ____________________________________________________ 10-2

Resolving the EE Checksum Error ___________________________________________________ 10-2

Resolving the DRAM Memory Error _________________________________________________ 10-3

Resolving the RAM Memory Error __________________________________________________ 10-3

Resolving the FPGA Error _________________________________________________________ 10-4

Sensor Testing _____________________________________________________________________ 10-4

Reviewing the Sensor Locations and Voltages__________________________________________ 10-5

Reviewing the Motor Locations and Cables ____________________________________________ 10-7

Section 11: LCD On-Line Menu Navigation ___________________________________ 11-1

Entering the LCD Menu and selecting an Option __________________________________________ 11-1

Selecting from the HDP600 Menu Option Structure Tree _________________________________ 11-2

Reviewing the Printer Setup __________________________________________________________ 11-3

Preparing to Adjust the Print Offset, Transfer TOF and Transfer EOF _______________________ 11-5

Aligning the Print Offset __________________________________________________________ 11-6

Setting the Transfer TOF __________________________________________________________ 11-8

Setting the Transfer EOF _________________________________________________________ 11-10

Using the Gap Distance Table _____________________________________________________ 11-12

Adjusting the Transfer Tension ____________________________________________________ 11-15

Adjusting the Film Drive _________________________________________________________ 11-16

Adjusting the Ribbon Tension _____________________________________________________ 11-16

Adjusting the Ribbon Drive _______________________________________________________ 11-17

Adjusting the Transfer Temperature_________________________________________________ 11-17

Adjusting the Transfer Speed ______________________________________________________ 11-18

Setting the Printhead Resistance____________________________________________________ 11-18

Adjusting the Image Darkness _____________________________________________________ 11-19

Changing the Encoder Settings_____________________________________________________ 11-20

Setting the Magnetic TOF ________________________________________________________ 11-21

Setting the Magnetic TOF ________________________________________________________ 11-23

Adjusting the Flipper Offset _______________________________________________________ 11-24

Adjusting the Lamination Flipper Offset _____________________________________________ 11-25

Adjusting the LAM TOF and EOF __________________________________________________ 11-26

Adjusting the Lamination Sensor Calibration__________________________________________ 11-27

Adjusting the Lamination Temperature Setting ________________________________________ 11-27

Using the Show Card Count option _________________________________________________ 11-28

System Upgrade (Firmware Upgrade) _______________________________________________ 11-29

HDP600 High Definition Card Printer/Encoder User Guide (Rev. 2.3)

vii

Page 7
Image 7
FARGO electronic HDP600-LC, HDP600 CR100 manual Cleaning

HDP600, HDP600 CR100, HDP600-LC specifications

FARGO, a renowned name in the world of identification and card printing technologies, has created a powerful lineup of printers, including the HDP600-LC, HDP600 CR100, and the HDP600. These models are designed to cater to a variety of needs, from corporate identification to secure access control, making them essential tools for businesses and organizations.

The FARGO HDP600-LC is known for its high-definition printing capabilities. It utilizes a unique retransfer printing process that allows for better image quality and durability. This process involves transferring the image onto a clear film before embedding it onto the card surface, resulting in vibrant colors and sharp details. The HDP600-LC also supports a range of card sizes, including CR80 and CR100, and is versatile enough to handle different card types, such as PVC, PET, and composite cards. Additionally, this model has an easy-to-use interface that makes it accessible for operators of all skill levels, featuring a simple LCD screen for convenient monitoring.

The FARGO HDP600 CR100 is specifically designed for printing CR100-sized cards, catering to industries that utilize larger card formats. This printer shares the same high-definition retransfer technology as the HDP600-LC, ensuring consistent image quality. Moreover, the HDP600 CR100 is equipped with advanced security features, including encryption and password protection, making it ideal for applications that require secure credentialing.

The FARGO HDP600 model stands out for its flexibility and efficiency. It allows for dual-sided printing, making it efficient for operations needing to print on both sides of the card without compromise. The printer can handle high-volume printing tasks with ease, thanks to its rapid throughput. Furthermore, its modular design makes it easy to upgrade and expand, ensuring that the HDP600 can evolve with an organization’s needs.

In terms of connectivity, all three models offer USB and Ethernet options, allowing for easy integration into existing systems. They are designed for durability and reliability, with components built to withstand regular usage in a busy environment. With features such as automatic card thickness detection and a range of finishing modules for laminating and encoding, the FARGO HDP600 series represents the culmination of advanced technologies for modern card printing needs.

In conclusion, whether it's the HDP600-LC, HDP600 CR100, or HDP600, FARGO delivers robust identification solutions that meet diverse printing demands while prioritizing quality, security, and user-friendliness.