RESTRICTED USE ONLYFargo Electronics, Inc.

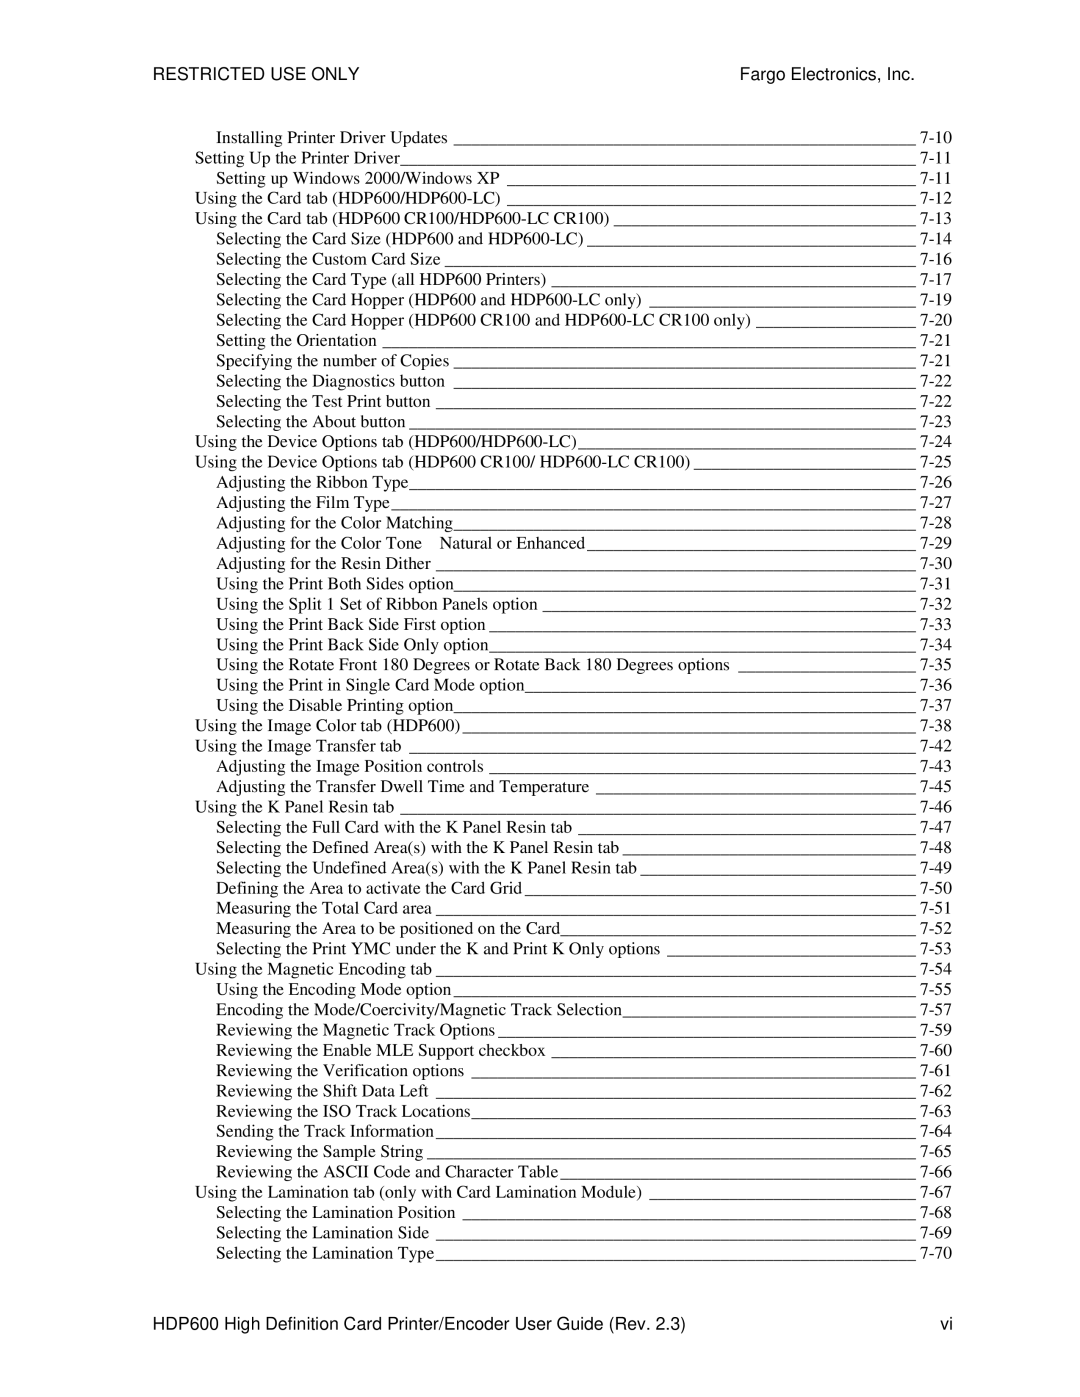
Installing Printer Driver Updates ____________________________________________________ 7-10

Setting Up the Printer Driver__________________________________________________________ 7-11

Setting up Windows 2000/Windows XP ______________________________________________ 7-11

Using the Card tab (HDP600/HDP600-LC) ______________________________________________ 7-12

Using the Card tab (HDP600 CR100/HDP600-LC CR100) __________________________________ 7-13

Selecting the Card Size (HDP600 and HDP600-LC) _____________________________________ 7-14

Selecting the Custom Card Size _____________________________________________________ 7-16

Selecting the Card Type (all HDP600 Printers) _________________________________________ 7-17

Selecting the Card Hopper (HDP600 and HDP600-LC only) ______________________________ 7-19

Selecting the Card Hopper (HDP600 CR100 and HDP600-LC CR100 only) __________________ 7-20

Setting the Orientation ____________________________________________________________ 7-21

Specifying the number of Copies ____________________________________________________ 7-21

Selecting the Diagnostics button ____________________________________________________ 7-22

Selecting the Test Print button ______________________________________________________ 7-22

Selecting the About button _________________________________________________________ 7-23

Using the Device Options tab (HDP600/HDP600-LC) ______________________________________ 7-24

Using the Device Options tab (HDP600 CR100/ HDP600-LC CR100) _________________________ 7-25

Adjusting the Ribbon Type_________________________________________________________ 7-26

Adjusting the Film Type ___________________________________________________________ 7-27

Adjusting for the Color Matching____________________________________________________ 7-28

Adjusting for the Color Tone Natural or Enhanced _____________________________________ 7-29

Adjusting for the Resin Dither ______________________________________________________ 7-30

Using the Print Both Sides option____________________________________________________ 7-31

Using the Split 1 Set of Ribbon Panels option __________________________________________ 7-32

Using the Print Back Side First option ________________________________________________ 7-33

Using the Print Back Side Only option________________________________________________ 7-34

Using the Rotate Front 180 Degrees or Rotate Back 180 Degrees options ____________________ 7-35

Using the Print in Single Card Mode option____________________________________________ 7-36

Using the Disable Printing option____________________________________________________ 7-37

Using the Image Color tab (HDP600) ___________________________________________________ 7-38

Using the Image Transfer tab _________________________________________________________ 7-42

Adjusting the Image Position controls ________________________________________________ 7-43

Adjusting the Transfer Dwell Time and Temperature ____________________________________ 7-45

Using the K Panel Resin tab __________________________________________________________ 7-46

Selecting the Full Card with the K Panel Resin tab ______________________________________ 7-47

Selecting the Defined Area(s) with the K Panel Resin tab _________________________________ 7-48

Selecting the Undefined Area(s) with the K Panel Resin tab _______________________________ 7-49

Defining the Area to activate the Card Grid ____________________________________________ 7-50

Measuring the Total Card area ______________________________________________________ 7-51

Measuring the Area to be positioned on the Card________________________________________ 7-52

Selecting the Print YMC under the K and Print K Only options ____________________________ 7-53

Using the Magnetic Encoding tab ______________________________________________________ 7-54

Using the Encoding Mode option ____________________________________________________ 7-55

Encoding the Mode/Coercivity/Magnetic Track Selection_________________________________ 7-57

Reviewing the Magnetic Track Options _______________________________________________ 7-59

Reviewing the Enable MLE Support checkbox _________________________________________ 7-60

Reviewing the Verification options __________________________________________________ 7-61

Reviewing the Shift Data Left ______________________________________________________ 7-62

Reviewing the ISO Track Locations__________________________________________________ 7-63

Sending the Track Information ______________________________________________________ 7-64

Reviewing the Sample String _______________________________________________________ 7-65

Reviewing the ASCII Code and Character Table ________________________________________ 7-66

Using the Lamination tab (only with Card Lamination Module) ______________________________ 7-67

Selecting the Lamination Position ___________________________________________________ 7-68

Selecting the Lamination Side ______________________________________________________ 7-69

Selecting the Lamination Type ______________________________________________________ 7-70

HDP600 High Definition Card Printer/Encoder User Guide (Rev. 2.3)

vi

Page 6
Image 6
FARGO electronic HDP600 CR100, HDP600-LC manual Restricted USE ONLYFargo Electronics, Inc

HDP600, HDP600 CR100, HDP600-LC specifications

FARGO, a renowned name in the world of identification and card printing technologies, has created a powerful lineup of printers, including the HDP600-LC, HDP600 CR100, and the HDP600. These models are designed to cater to a variety of needs, from corporate identification to secure access control, making them essential tools for businesses and organizations.

The FARGO HDP600-LC is known for its high-definition printing capabilities. It utilizes a unique retransfer printing process that allows for better image quality and durability. This process involves transferring the image onto a clear film before embedding it onto the card surface, resulting in vibrant colors and sharp details. The HDP600-LC also supports a range of card sizes, including CR80 and CR100, and is versatile enough to handle different card types, such as PVC, PET, and composite cards. Additionally, this model has an easy-to-use interface that makes it accessible for operators of all skill levels, featuring a simple LCD screen for convenient monitoring.

The FARGO HDP600 CR100 is specifically designed for printing CR100-sized cards, catering to industries that utilize larger card formats. This printer shares the same high-definition retransfer technology as the HDP600-LC, ensuring consistent image quality. Moreover, the HDP600 CR100 is equipped with advanced security features, including encryption and password protection, making it ideal for applications that require secure credentialing.

The FARGO HDP600 model stands out for its flexibility and efficiency. It allows for dual-sided printing, making it efficient for operations needing to print on both sides of the card without compromise. The printer can handle high-volume printing tasks with ease, thanks to its rapid throughput. Furthermore, its modular design makes it easy to upgrade and expand, ensuring that the HDP600 can evolve with an organization’s needs.

In terms of connectivity, all three models offer USB and Ethernet options, allowing for easy integration into existing systems. They are designed for durability and reliability, with components built to withstand regular usage in a busy environment. With features such as automatic card thickness detection and a range of finishing modules for laminating and encoding, the FARGO HDP600 series represents the culmination of advanced technologies for modern card printing needs.

In conclusion, whether it's the HDP600-LC, HDP600 CR100, or HDP600, FARGO delivers robust identification solutions that meet diverse printing demands while prioritizing quality, security, and user-friendliness.