Managing the FortiLog unit | Network Sharing |
|
|
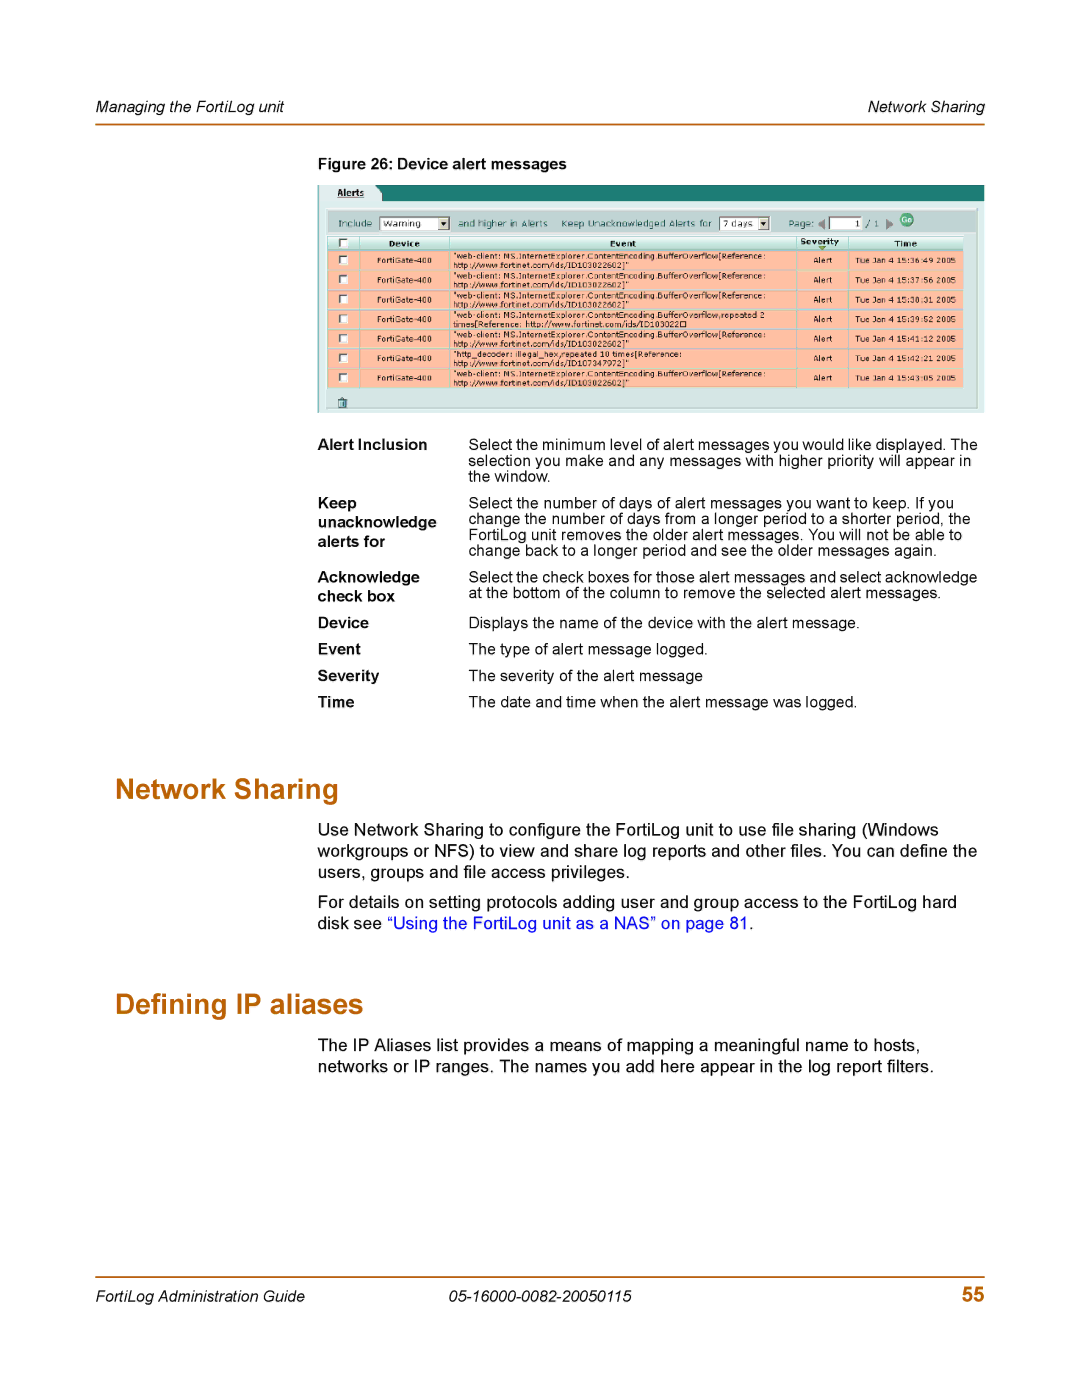
Figure 26: Device alert messages
Alert Inclusion | Select the minimum level of alert messages you would like displayed. The | |
| selection you make and any messages with higher priority will appear in | |
| the window. | |
Keep | Select the number of days of alert messages you want to keep. If you | |
unacknowledge | change the number of days from a longer period to a shorter period, the | |
alerts for | FortiLog unit removes the older alert messages. You will not be able to | |
change back to a longer period and see the older messages again. | ||
| ||
Acknowledge | Select the check boxes for those alert messages and select acknowledge | |
check box | at the bottom of the column to remove the selected alert messages. | |
Device | Displays the name of the device with the alert message. | |
Event | The type of alert message logged. | |
Severity | The severity of the alert message | |
Time | The date and time when the alert message was logged. |
Network Sharing
Use Network Sharing to configure the FortiLog unit to use file sharing (Windows workgroups or NFS) to view and share log reports and other files. You can define the users, groups and file access privileges.
For details on setting protocols adding user and group access to the FortiLog hard disk see “Using the FortiLog unit as a NAS” on page 81.
Defining IP aliases
The IP Aliases list provides a means of mapping a meaningful name to hosts, networks or IP ranges. The names you add here appear in the log report filters.
FortiLog Administration Guide | 55 |
