Clear jams
If a jam occurs, a message appears on the control panel to describe where the jam is located. The message also contains instructions for finding the jam, including a short video that shows which components to move and which doors to open.
Precautions for clearing jams
![]() WARNING! To avoid injury, do not touch moving parts. Do not reach into the device except to clear jams, to replace ink cartridges, or to add or remove paper.
WARNING! To avoid injury, do not touch moving parts. Do not reach into the device except to clear jams, to replace ink cartridges, or to add or remove paper.
WARNING! To avoid injuring your fingers, do not attempt to clear a staple jam while the device is processing other jobs. Wait until the
![]() CAUTION: To protect the printheads from electrostatic discharge, be sure to touch the horizontal metal bar to ground yourself before clearing jams that are near the printheads. The printheads are above the
CAUTION: To protect the printheads from electrostatic discharge, be sure to touch the horizontal metal bar to ground yourself before clearing jams that are near the printheads. The printheads are above the
CAUTION: Be careful not to get ink on your skin or clothes when clearing jams. If ink gets on your skin or clothes, wash with warm soap and water.
Method for clearing jams
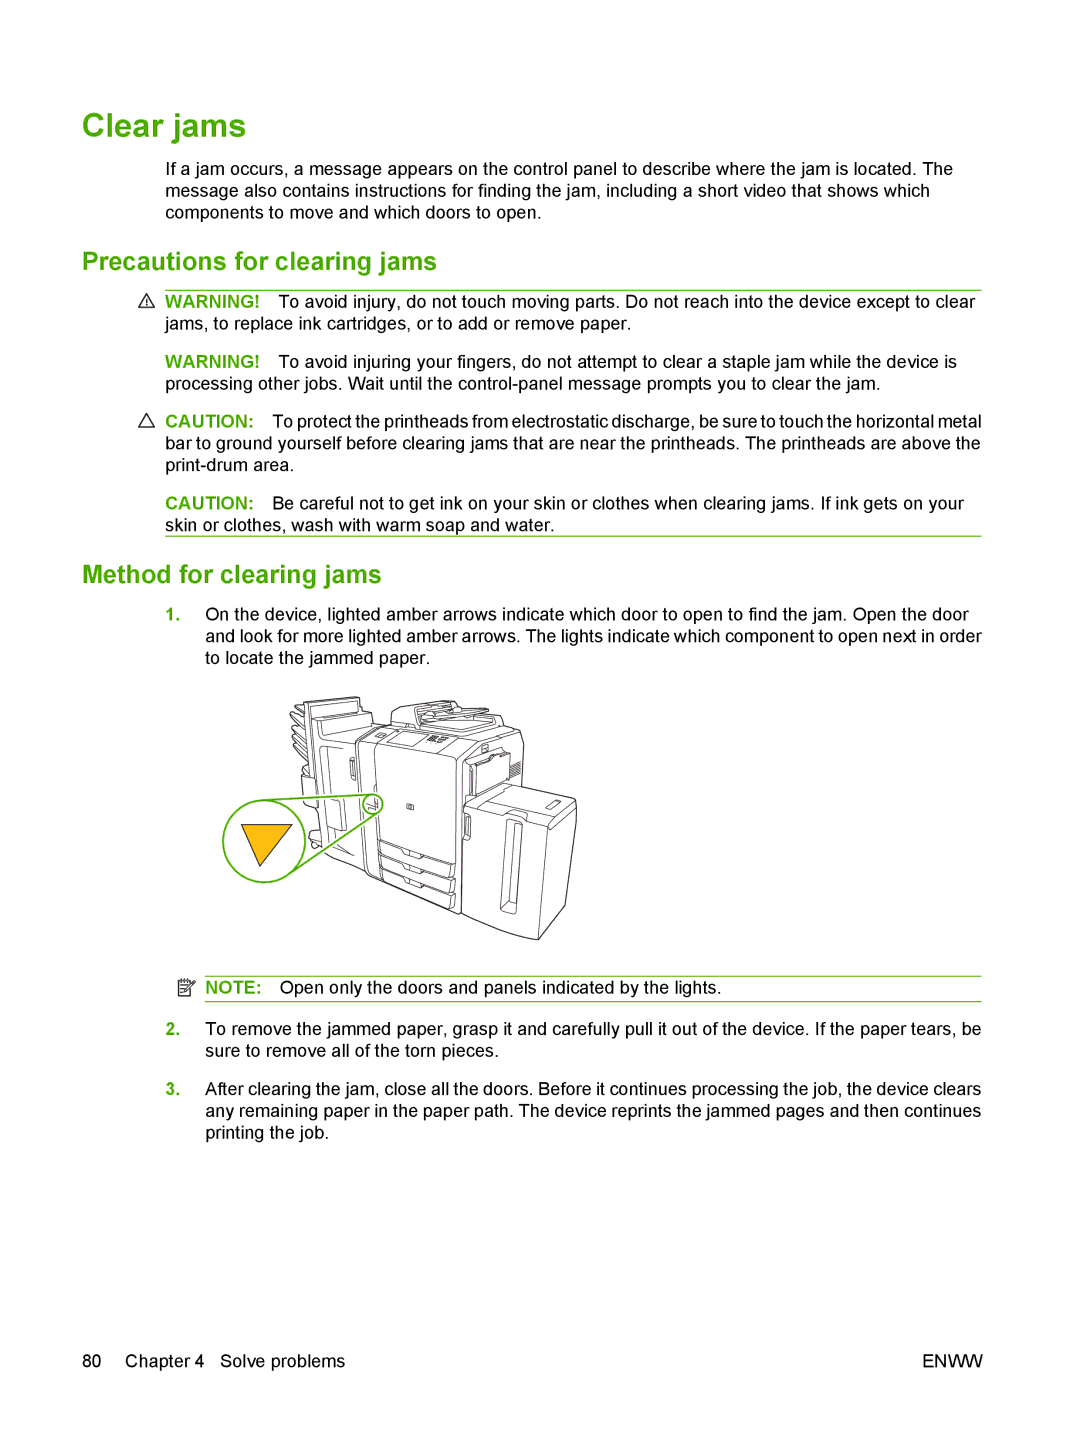
1.On the device, lighted amber arrows indicate which door to open to find the jam. Open the door and look for more lighted amber arrows. The lights indicate which component to open next in order to locate the jammed paper.
![]() NOTE: Open only the doors and panels indicated by the lights.
NOTE: Open only the doors and panels indicated by the lights.
2.To remove the jammed paper, grasp it and carefully pull it out of the device. If the paper tears, be sure to remove all of the torn pieces.
3.After clearing the jam, close all the doors. Before it continues processing the job, the device clears any remaining paper in the paper path. The device reprints the jammed pages and then continues printing the job.
80 Chapter 4 Solve problems | ENWW |
