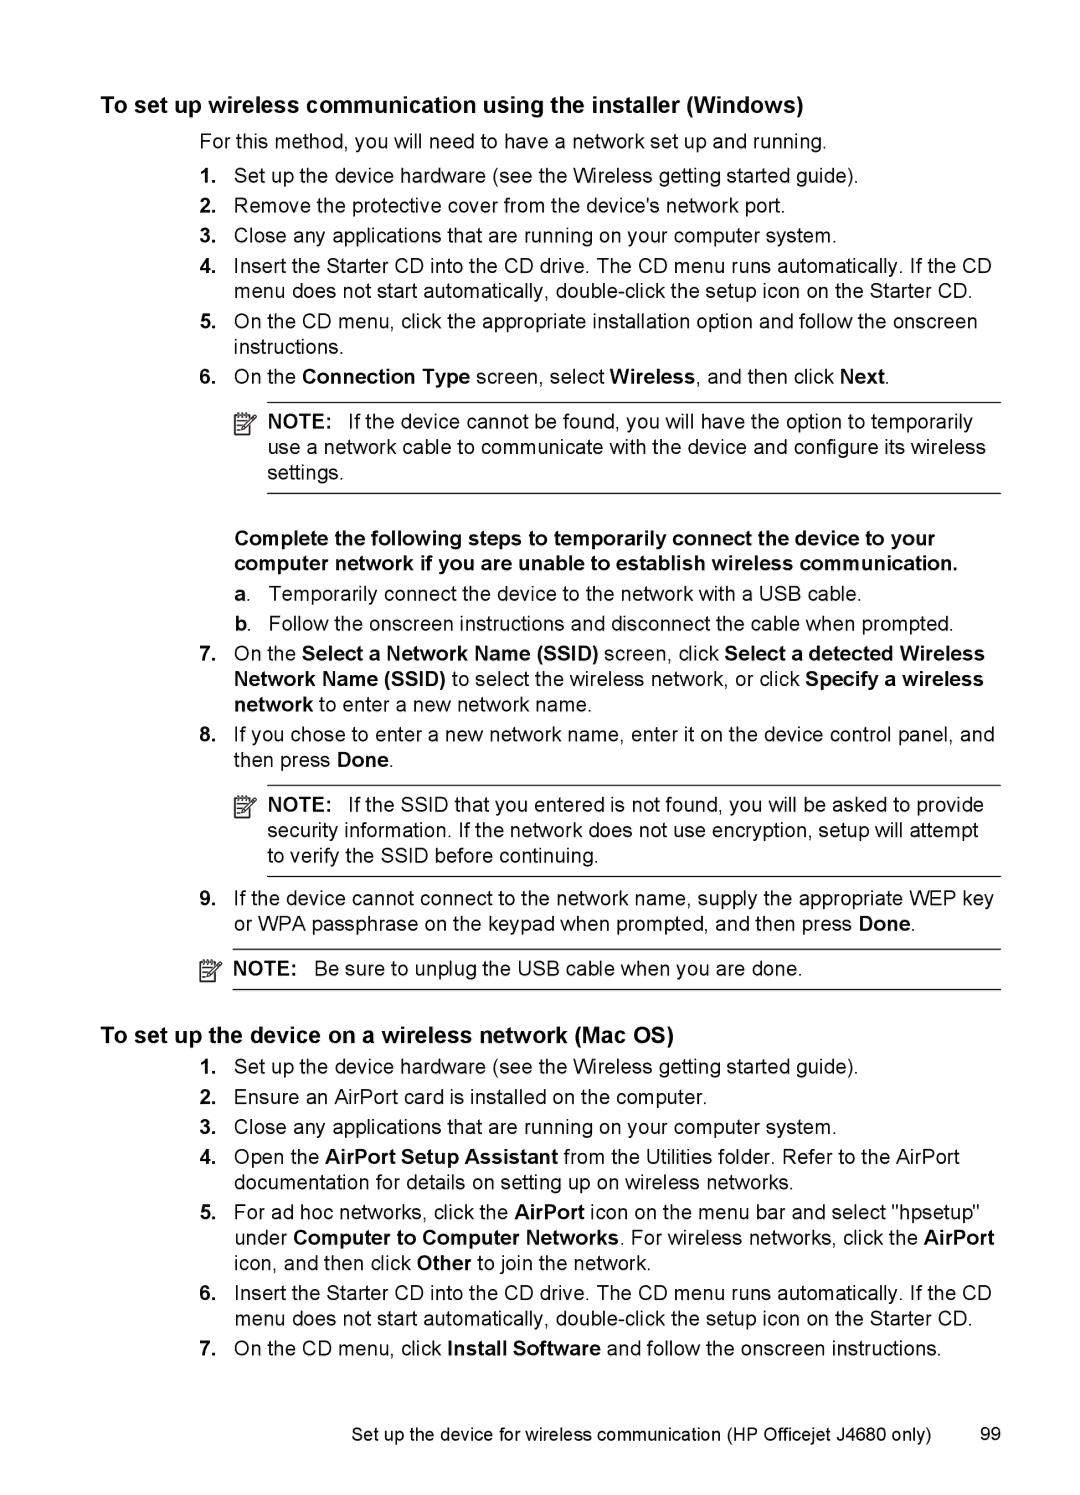
To set up wireless communication using the installer (Windows)

For this method, you will need to have a network set up and running.

1.Set up the device hardware (see the Wireless getting started guide).

2.Remove the protective cover from the device's network port.

3.Close any applications that are running on your computer system.

4.Insert the Starter CD into the CD drive. The CD menu runs automatically. If the CD menu does not start automatically, double-click the setup icon on the Starter CD.

5.On the CD menu, click the appropriate installation option and follow the onscreen instructions.

6.On the Connection Type screen, select Wireless, and then click Next.

NOTE: If the device cannot be found, you will have the option to temporarily use a network cable to communicate with the device and configure its wireless settings.

Complete the following steps to temporarily connect the device to your computer network if you are unable to establish wireless communication. a. Temporarily connect the device to the network with a USB cable.

b. Follow the onscreen instructions and disconnect the cable when prompted.

7.On the Select a Network Name (SSID) screen, click Select a detected Wireless Network Name (SSID) to select the wireless network, or click Specify a wireless network to enter a new network name.

8.If you chose to enter a new network name, enter it on the device control panel, and then press Done.

NOTE: If the SSID that you entered is not found, you will be asked to provide security information. If the network does not use encryption, setup will attempt to verify the SSID before continuing.

9.If the device cannot connect to the network name, supply the appropriate WEP key or WPA passphrase on the keypad when prompted, and then press Done.

NOTE: Be sure to unplug the USB cable when you are done.

To set up the device on a wireless network (Mac OS)

1.Set up the device hardware (see the Wireless getting started guide).

2.Ensure an AirPort card is installed on the computer.

3.Close any applications that are running on your computer system.

4.Open the AirPort Setup Assistant from the Utilities folder. Refer to the AirPort documentation for details on setting up on wireless networks.

5.For ad hoc networks, click the AirPort icon on the menu bar and select "hpsetup" under Computer to Computer Networks. For wireless networks, click the AirPort icon, and then click Other to join the network.

6.Insert the Starter CD into the CD drive. The CD menu runs automatically. If the CD menu does not start automatically, double-click the setup icon on the Starter CD.

7.On the CD menu, click Install Software and follow the onscreen instructions.

Set up the device for wireless communication (HP Officejet J4680 only)

99

Page 103
Image 103
HP J4540 To set up wireless communication using the installer Windows, To set up the device on a wireless network Mac OS

J4540, J4580, J4680, J4660, J4550 specifications

The HP J4580 and J4500 series printers are versatile all-in-one devices that cater to both home and small office environments. Designed to deliver high-quality printing, scanning, copying, and faxing capabilities, these models combine functionality with ease of use.

The HP J4580 model stands out with its compact design, making it an ideal choice for users with limited space. One of its main features is the ability to print in color and black-and-white at speeds up to 28 pages per minute (ppm). Additionally, the J4580 boasts a maximum print resolution of 4800 x 1200 optimized dpi, ensuring that both text and images look sharp and vibrant.

The J4500 model, while similar in design, introduces enhanced features suitable for slightly larger workloads. It offers a slightly higher performance, handling printing tasks with even greater efficiency. The J4500 can also print at impressive speeds, providing users with fast output without sacrificing quality.

Both models come equipped with advanced scanner technology, featuring a flatbed scanner that allows for high-resolution scanning to digital formats. The J4580 and J4500 are capable of scanning documents up to 1200 dpi, making it easy to capture intricate details from photos and pages. Moreover, users can copy documents quickly with a one-touch button that simplifies the copying process.

One of the standout characteristics is the built-in fax functionality. The fax modem included in both models can transmit documents at speeds of up to 33.6 kbps, ensuring that important information is sent swiftly. Additionally, they feature a 50-sheet automatic document feeder (ADF) for quicker faxing and scanning of multi-page documents.

Connectivity options are also essential for modern office needs, and both the J4580 and J4500 support USB and Ethernet connections, allowing users to print and share documents seamlessly over a network. Furthermore, wireless connectivity options enable quick access from mobile devices.

Overall, the HP J4580 and J4500 series printers provide comprehensive solutions for daily printing, scanning, copying, and faxing tasks. With their combination of speed, quality, and multifunction capabilities, these all-in-one printers are reliable assets for enhancing productivity in any workspace.