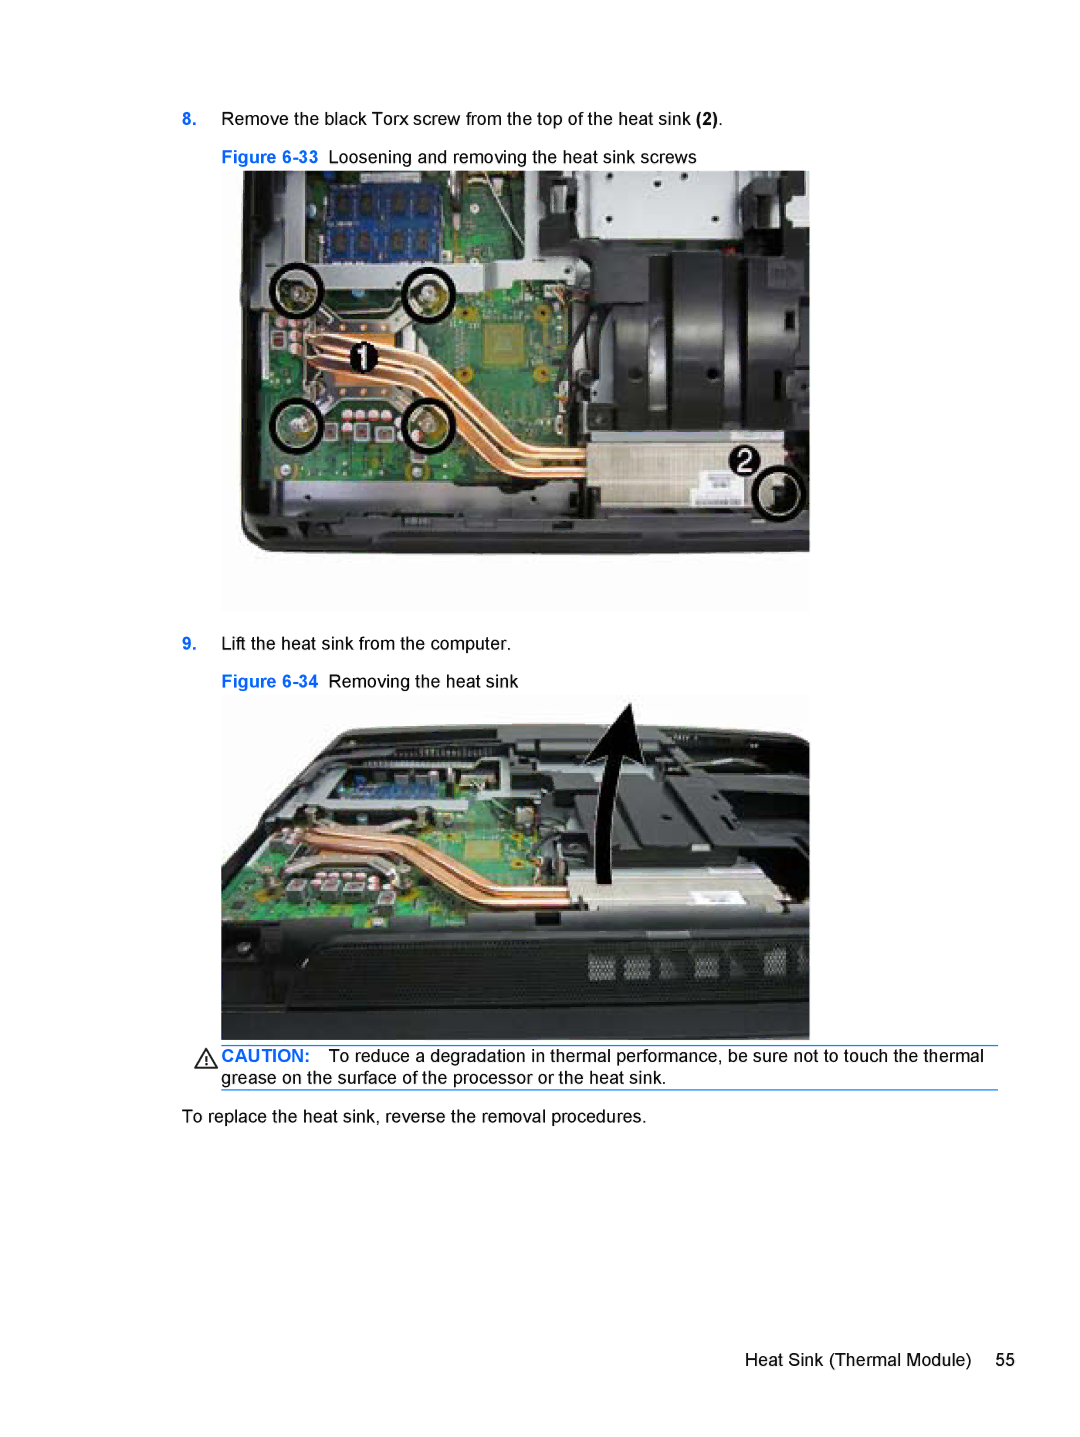
8.Remove the black Torx screw from the top of the heat sink (2). Figure
9.Lift the heat sink from the computer.
Figure 6-34 Removing the heat sink
CAUTION: To reduce a degradation in thermal performance, be sure not to touch the thermal grease on the surface of the processor or the heat sink.