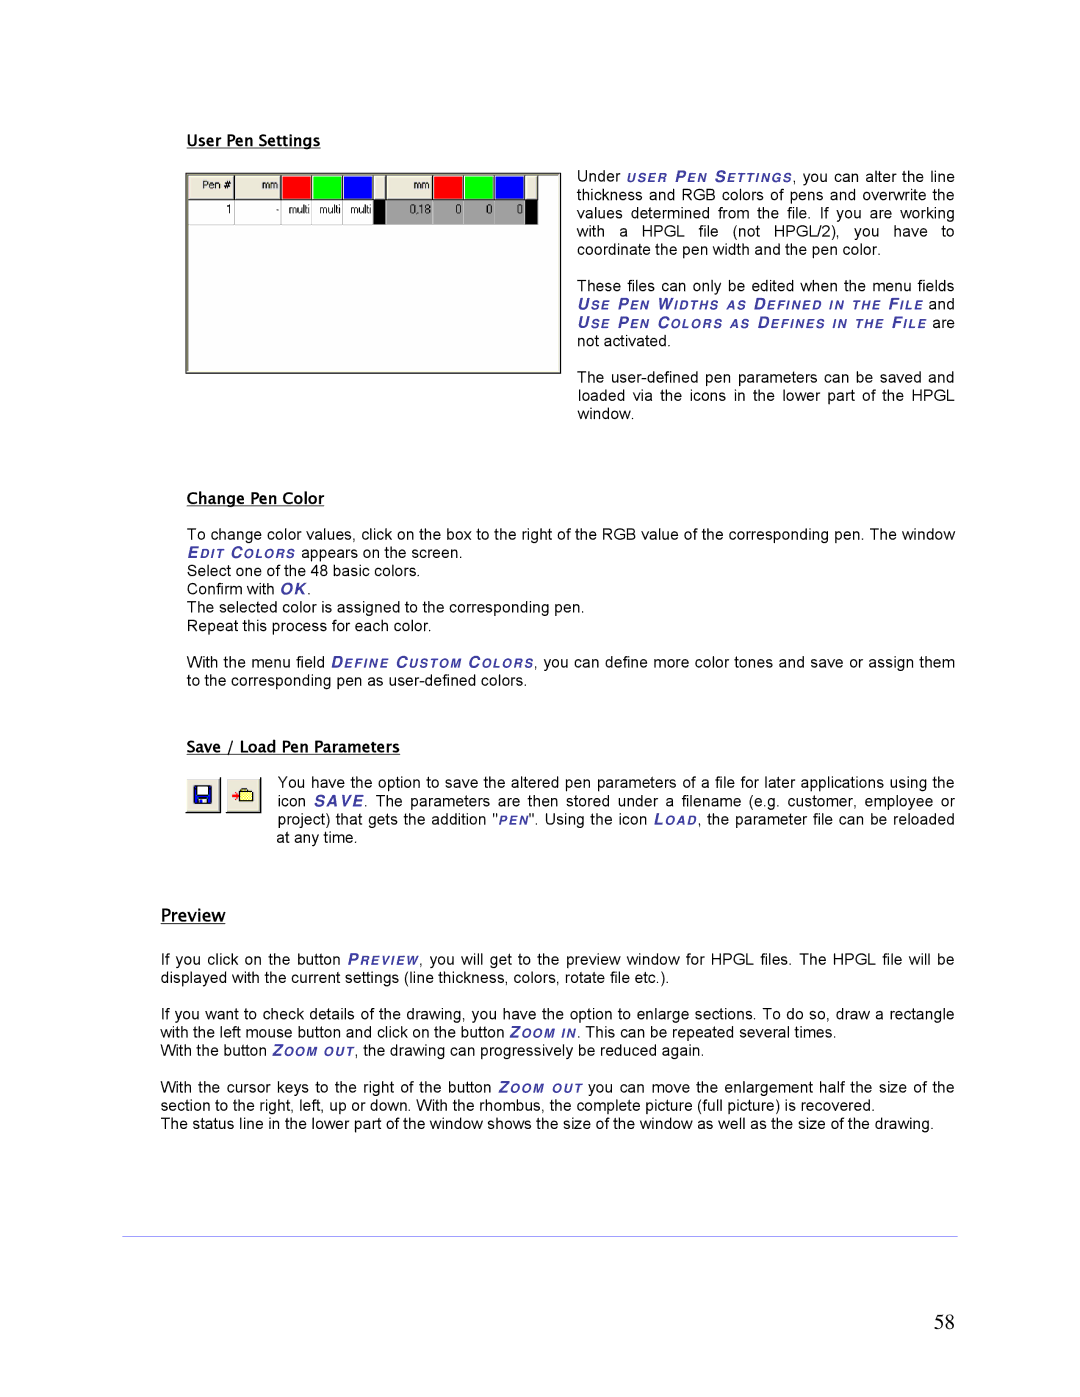
User Pen Settings
Under USER PEN SETTI NGS , you can alter the line thickness and RGB colors of pens and overwrite the values determined from the file. If you are working with a HPGL file (not HPGL/2), you have to coordinate the pen width and the pen color.
These files can only be edited when the menu fields US E PEN W IDTHS AS DE FI NE D I N T H E FI LE and US E PEN COLO RS AS DE FI NE S I N T HE FI LE are not activated.
The
Change Pen Color
To change color values, click on the box to the right of the RGB value of the corresponding pen. The window EDI T CO LO RS appears on the screen.
Select one of the 48 basic colors. Confirm with OK.
The selected color is assigned to the corresponding pen. Repeat this process for each color.
With the menu field DE F I N E CUSTOM CO LO R S , you can define more color tones and save or assign them to the corresponding pen as
Save / Load Pen Parameters
You have the option to save the altered pen parameters of a file for later applications using the icon SAVE. The parameters are then stored under a filename (e.g. customer, employee or project) that gets the addition "P E N ". Using the icon L OAD , the parameter file can be reloaded at any time.
Preview
If you click on the button PRE VI EW , you will get to the preview window for HPGL files. The HPGL file will be displayed with the current settings (line thickness, colors, rotate file etc.).
If you want to check details of the drawing, you have the option to enlarge sections. To do so, draw a rectangle with the left mouse button and click on the button Z OO M I N . This can be repeated several times.
With the button ZO O M O U T , the drawing can progressively be reduced again.
With the cursor keys to the right of the button Z OOM OUT you can move the enlargement half the size of the section to the right, left, up or down. With the rhombus, the complete picture (full picture) is recovered.
The status line in the lower part of the window shows the size of the window as well as the size of the drawing.
58
