INSTALLATION
4.Check that all parts for the installation are included. The numbers in brackets refer to the component illustration. See 2.1 What is what? on page 10.
• Operator’s Manual (28) • Robotic lawnmower
• Charging station (10)
• Loop wire for boundary loop and guide wire (21)
• Transformer (20)
• Low voltage cable (22) • Pegs (23)
• Connectors for the loop wire (24)
• Screws for the charging station (25) • Measurement gauge (26)
• Couplers for the loop wire (27) During installation you will also need:
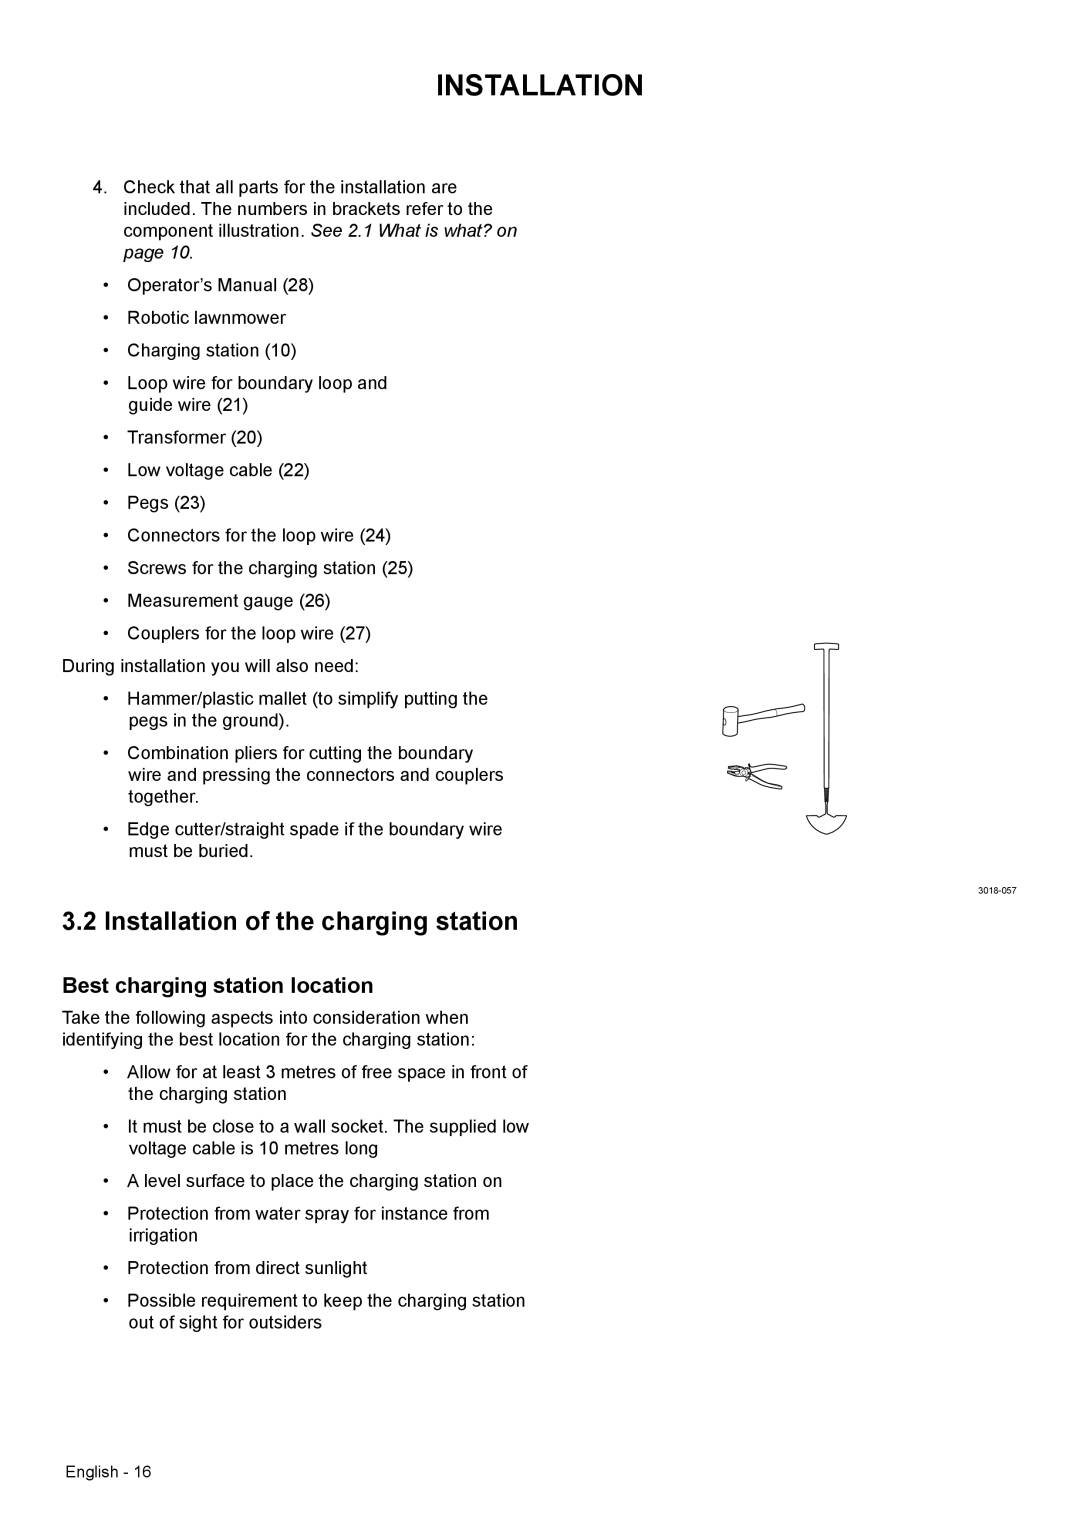
• Hammer/plastic mallet (to simplify putting the pegs in the ground).
• Combination pliers for cutting the boundary wire and pressing the connectors and couplers together.
• Edge cutter/straight spade if the boundary wire must be buried.
3.2 Installation of the charging station
Best charging station location
Take the following aspects into consideration when identifying the best location for the charging station:
• Allow for at least 3 metres of free space in front of the charging station
• It must be close to a wall socket. The supplied low voltage cable is 10 metres long
• A level surface to place the charging station on
• Protection from water spray for instance from irrigation
• Protection from direct sunlight
• Possible requirement to keep the charging station out of sight for outsiders
English - 16