Points of Interest (POI)
City followed by category
In this example the order is: city, followed by category, then POI name.
•From the Input POI Name screen, touch City.
•Enter the city name required.
The Input POI Name screen is displayed again.
•From the Input POI Name screen, touch Category.
•Select the category and
The Input POI Name screen is displayed again.
•Enter the POI name.
Category followed by city
In this example the order is: category, followed by city, then POI name.
•From the Input POI Name screen, touch Category.
•Select the category and
The Input POI Name screen is displayed again.
•From the Input POI Name screen, touch City.
The screen now shows ‘Input City Name’.
•Enter the city name required.
The Input POI Name screen is displayed again.
•Enter the POI name required.
City centres
The POI database also holds city centre locations. To select a city centre, proceed as follows:
•From the Input POI Name screen, enter the city name required in the Name text area. (Do not select the City button.)
•Touch List to display the list of matches.
•For the city centre, select the entry showing the city name only.
The map is displayed showing the city centre location.
Note: In some cases, more than one city centre location may be listed.
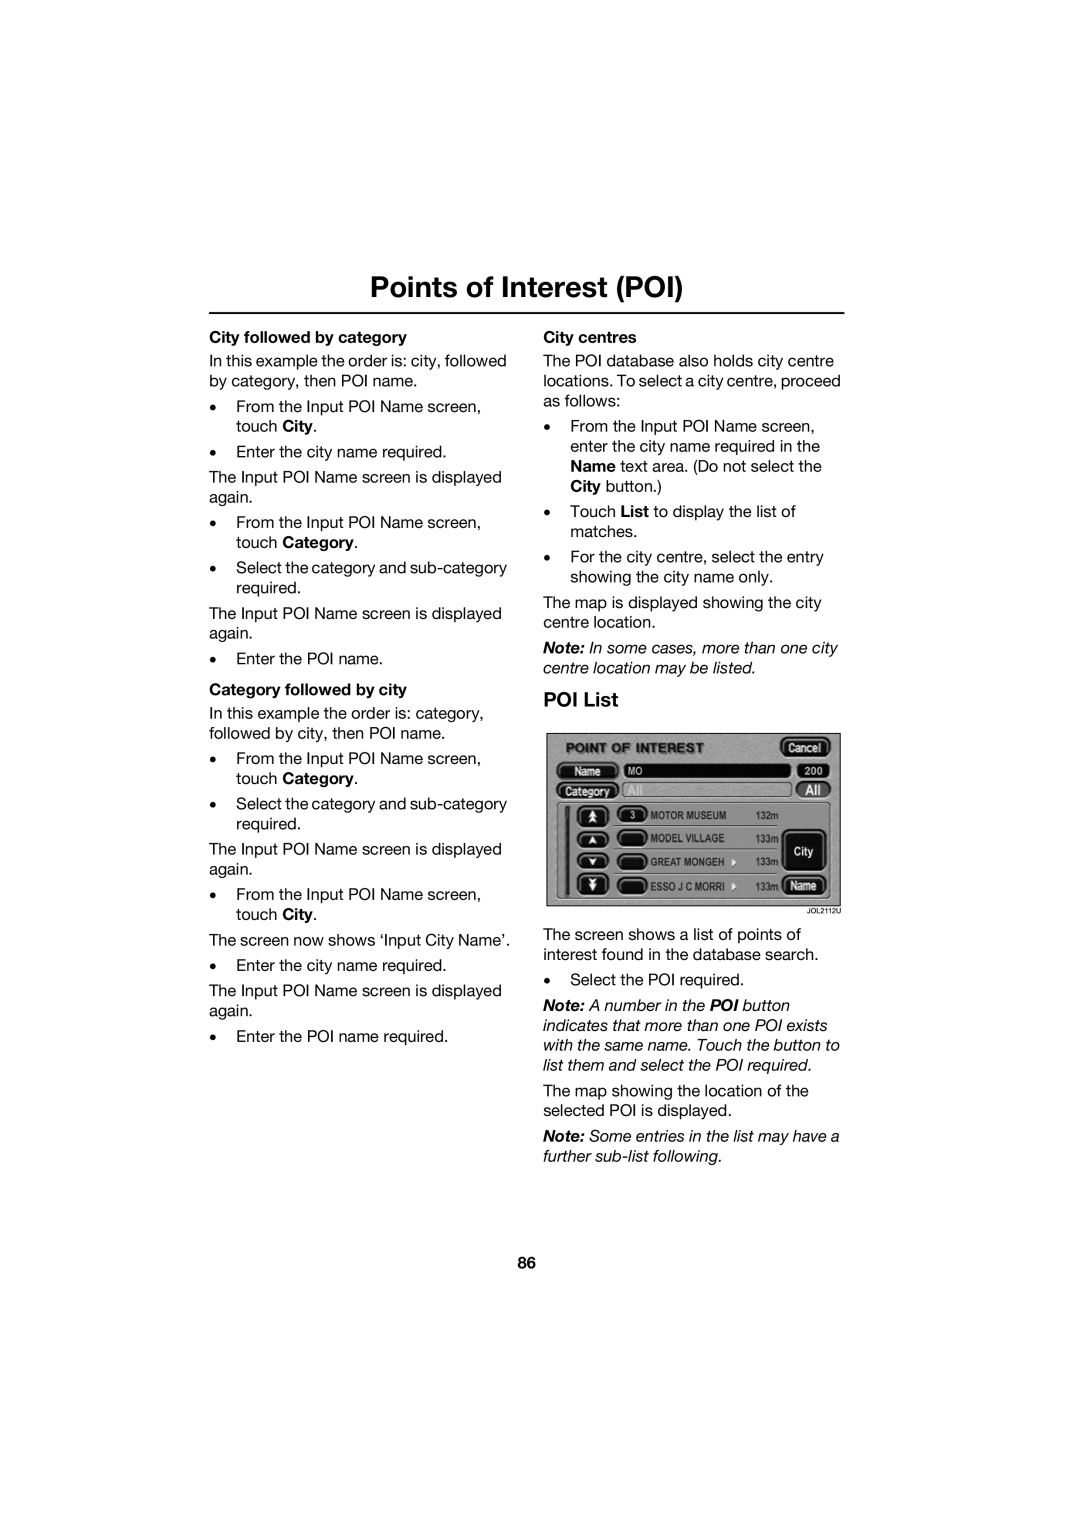
POI List
The screen shows a list of points of interest found in the database search.
•Select the POI required.
Note: A number in the POI button indicates that more than one POI exists with the same name. Touch the button to list them and select the POI required.
The map showing the location of the selected POI is displayed.
Note: Some entries in the list may have a further
86
