Copying
0Files that are not on the index screen during playback cannot be copied. Special files cannot be copied either.
0All DVDs will be finalized automatically.
While files cannot be added to the
0DVDs that are created in “DVD(AVCHD)” format are playable only on AVCHD compatible devices.
Memo :
0A list of playlists is displayed on the top menu of the created DVD.
0To check the created disc, refer to ““Playing Back with a BD Writer (External
“Playing Back with a BD Writer (External
0To create a playlist
“Creating Playlists from the Recorded Videos” (A p. 79)
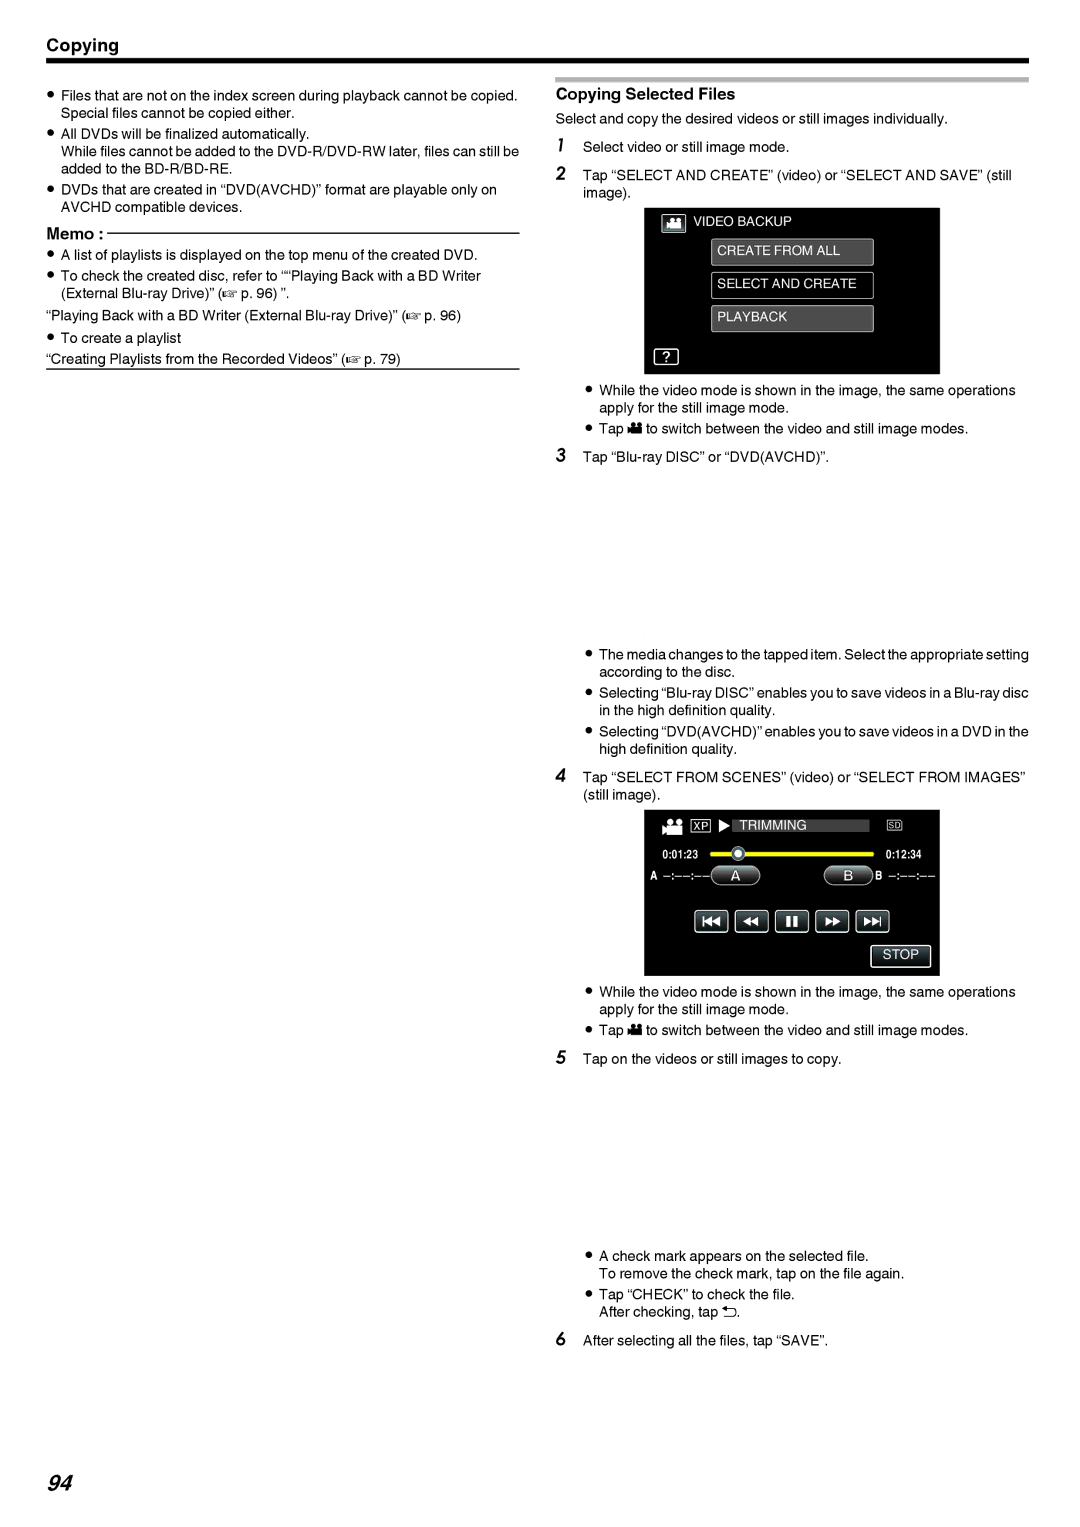
Copying Selected Files
Select and copy the desired videos or still images individually.
1Select video or still image mode.
2Tap “SELECT AND CREATE” (video) or “SELECT AND SAVE” (still image).
![]() VIDEO BACKUP
VIDEO BACKUP
CREATE FROM ALL
SELECT AND CREATE
PLAYBACK
.
0While the video mode is shown in the image, the same operations apply for the still image mode.
0Tap A to switch between the video and still image modes.
3Tap
 SELECT AND CREATE
CHANGE REC. MEDIA
DVD(AVCHD) |
.
0The media changes to the tapped item. Select the appropriate setting according to the disc.
0Selecting
0Selecting “DVD(AVCHD)” enables you to save videos in a DVD in the high definition quality.
4Tap “SELECT FROM SCENES” (video) or “SELECT FROM IMAGES” (still image).
![]() SELECT AND CREATE
SELECT AND CREATE
CREATE BY DATE
CREATE BY PLAYLIST
SELECT FROM SCENES
.
0While the video mode is shown in the image, the same operations apply for the still image mode.
0Tap A to switch between the video and still image modes.
5Tap on the videos or still images to copy.
![]() SELECT FROM SCENES
SELECT FROM SCENES
CHECK QUIT
.
0A check mark appears on the selected file.
To remove the check mark, tap on the file again.
0Tap “CHECK” to check the file. After checking, tap J.
6After selecting all the files, tap “SAVE”.
94