Copying
Dubbing Files to a Disc by Connecting to a DVD Recorder
You can dub videos in standard quality by connecting to a DVD recorder.
0Refer also to the instruction manuals of the TV and DVD recorder.
1Remove the AC adapter and battery pack from this unit.
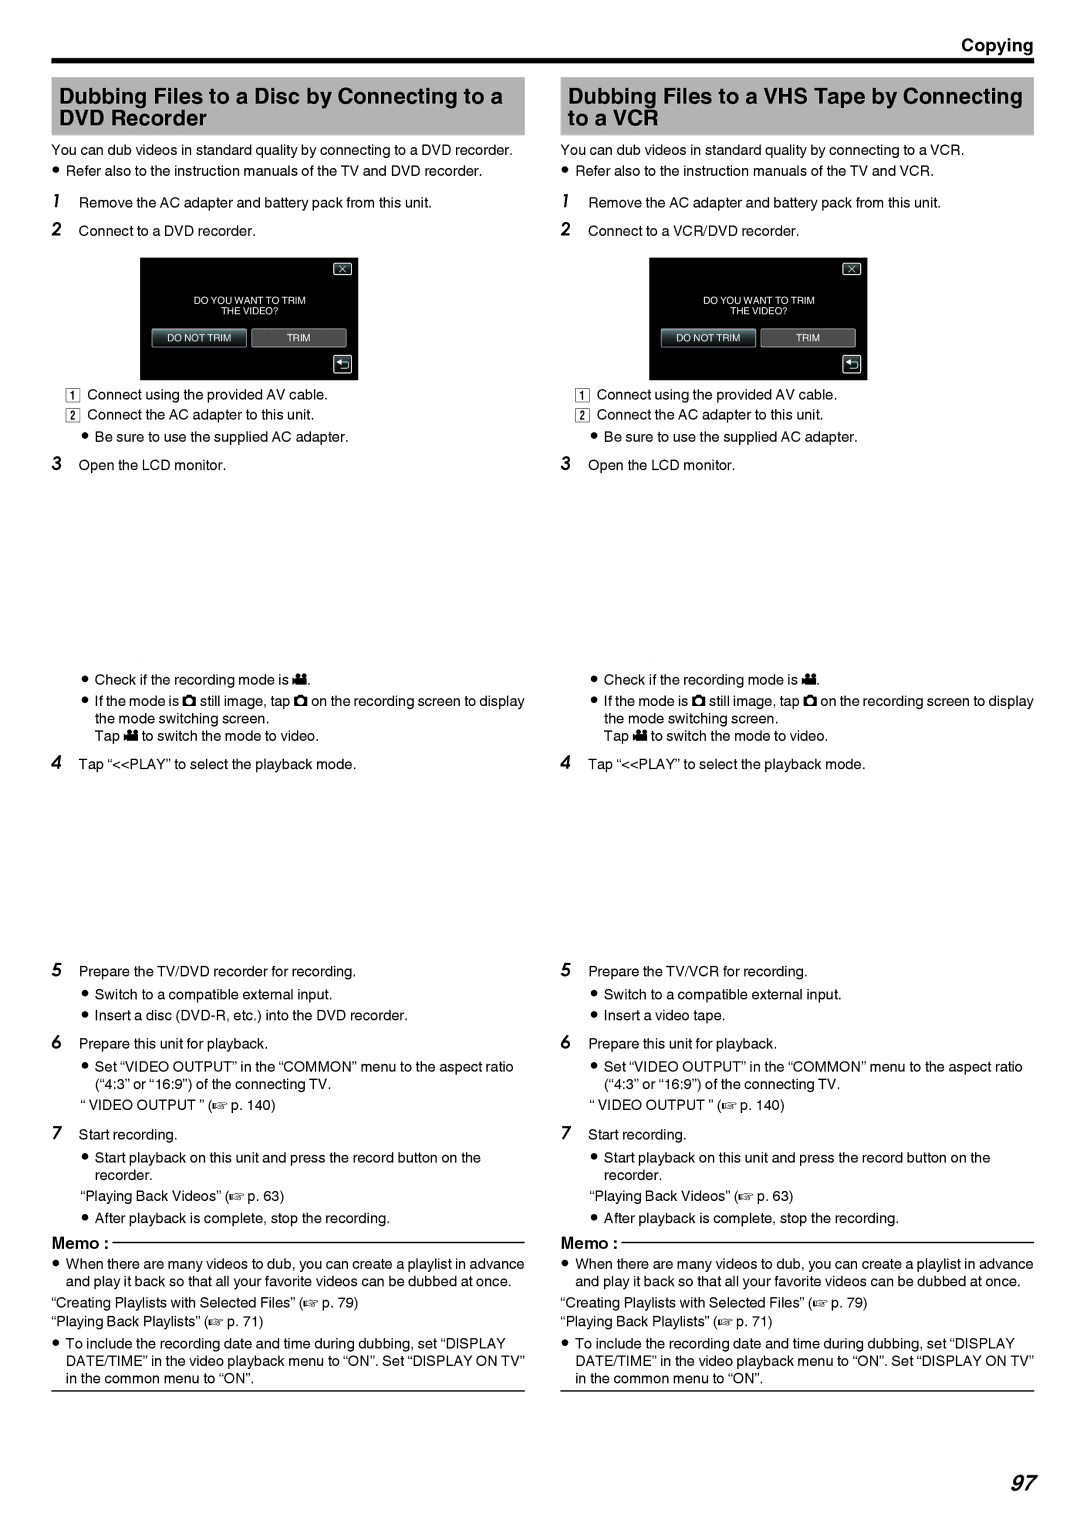
2 Connect to a DVD recorder.
To AV Connector | Yellow Video Input |
| Video Input |
| White |
AV Cable (Provided) | Audio Input (L) |
Red | |
| Audio Input (R) |
Record | VCR/DVD Recorder |
| |
To DC Connector | |
| AC Adapter To AC Outlet (110 |
| V to 240 V) |
.
AConnect using the provided AV cable. B Connect the AC adapter to this unit.
0 Be sure to use the supplied AC adapter.
3Open the LCD monitor.
A
. 
0Check if the recording mode is A.
0If the mode is B still image, tap B on the recording screen to display the mode switching screen.
Tap A to switch the mode to video.
4Tap “<<PLAY” to select the playback mode.
≪PLAYREC MENU
.
5Prepare the TV/DVD recorder for recording.
0 Switch to a compatible external input.
0 Insert a disc
6Prepare this unit for playback.
0 Set “VIDEO OUTPUT” in the “COMMON” menu to the aspect ratio (“4:3” or “16:9”) of the connecting TV.
“ VIDEO OUTPUT ” (A p. 140)
7Start recording.
0 Start playback on this unit and press the record button on the recorder.
“Playing Back Videos” (A p. 63)
0 After playback is complete, stop the recording.
Memo :
0When there are many videos to dub, you can create a playlist in advance and play it back so that all your favorite videos can be dubbed at once.
“Creating Playlists with Selected Files” (A p. 79) “Playing Back Playlists” (A p. 71)
0To include the recording date and time during dubbing, set “DISPLAY DATE/TIME” in the video playback menu to “ON”. Set “DISPLAY ON TV” in the common menu to “ON”.
Dubbing Files to a VHS Tape by Connecting to a VCR
You can dub videos in standard quality by connecting to a VCR.
0Refer also to the instruction manuals of the TV and VCR.
1Remove the AC adapter and battery pack from this unit.
2 Connect to a VCR/DVD recorder.
To AV Connector | Yellow Video Input |
| Video Input |
| White |
AV Cable (Provided) | Audio Input (L) |
Red | |
| Audio Input (R) |
Record | VCR/DVD Recorder |
| |
To DC Connector | |
| AC Adapter To AC Outlet (110 |
| V to 240 V) |
.
AConnect using the provided AV cable. B Connect the AC adapter to this unit.
0 Be sure to use the supplied AC adapter.
3Open the LCD monitor.
A
. 
0Check if the recording mode is A.
0If the mode is B still image, tap B on the recording screen to display the mode switching screen.
Tap A to switch the mode to video.
4Tap “<<PLAY” to select the playback mode.
≪PLAYREC MENU
.
5Prepare the TV/VCR for recording.
0 Switch to a compatible external input.
0 Insert a video tape.
6Prepare this unit for playback.
0 Set “VIDEO OUTPUT” in the “COMMON” menu to the aspect ratio (“4:3” or “16:9”) of the connecting TV.
“ VIDEO OUTPUT ” (A p. 140)
7Start recording.
0 Start playback on this unit and press the record button on the recorder.
“Playing Back Videos” (A p. 63)
0 After playback is complete, stop the recording.
Memo :
0When there are many videos to dub, you can create a playlist in advance and play it back so that all your favorite videos can be dubbed at once.
“Creating Playlists with Selected Files” (A p. 79) “Playing Back Playlists” (A p. 71)
0To include the recording date and time during dubbing, set “DISPLAY DATE/TIME” in the video playback menu to “ON”. Set “DISPLAY ON TV” in the common menu to “ON”.
97