V i e w i n g a n d C u s t o m i z i n g L o o k s
Creating a Print Film Look
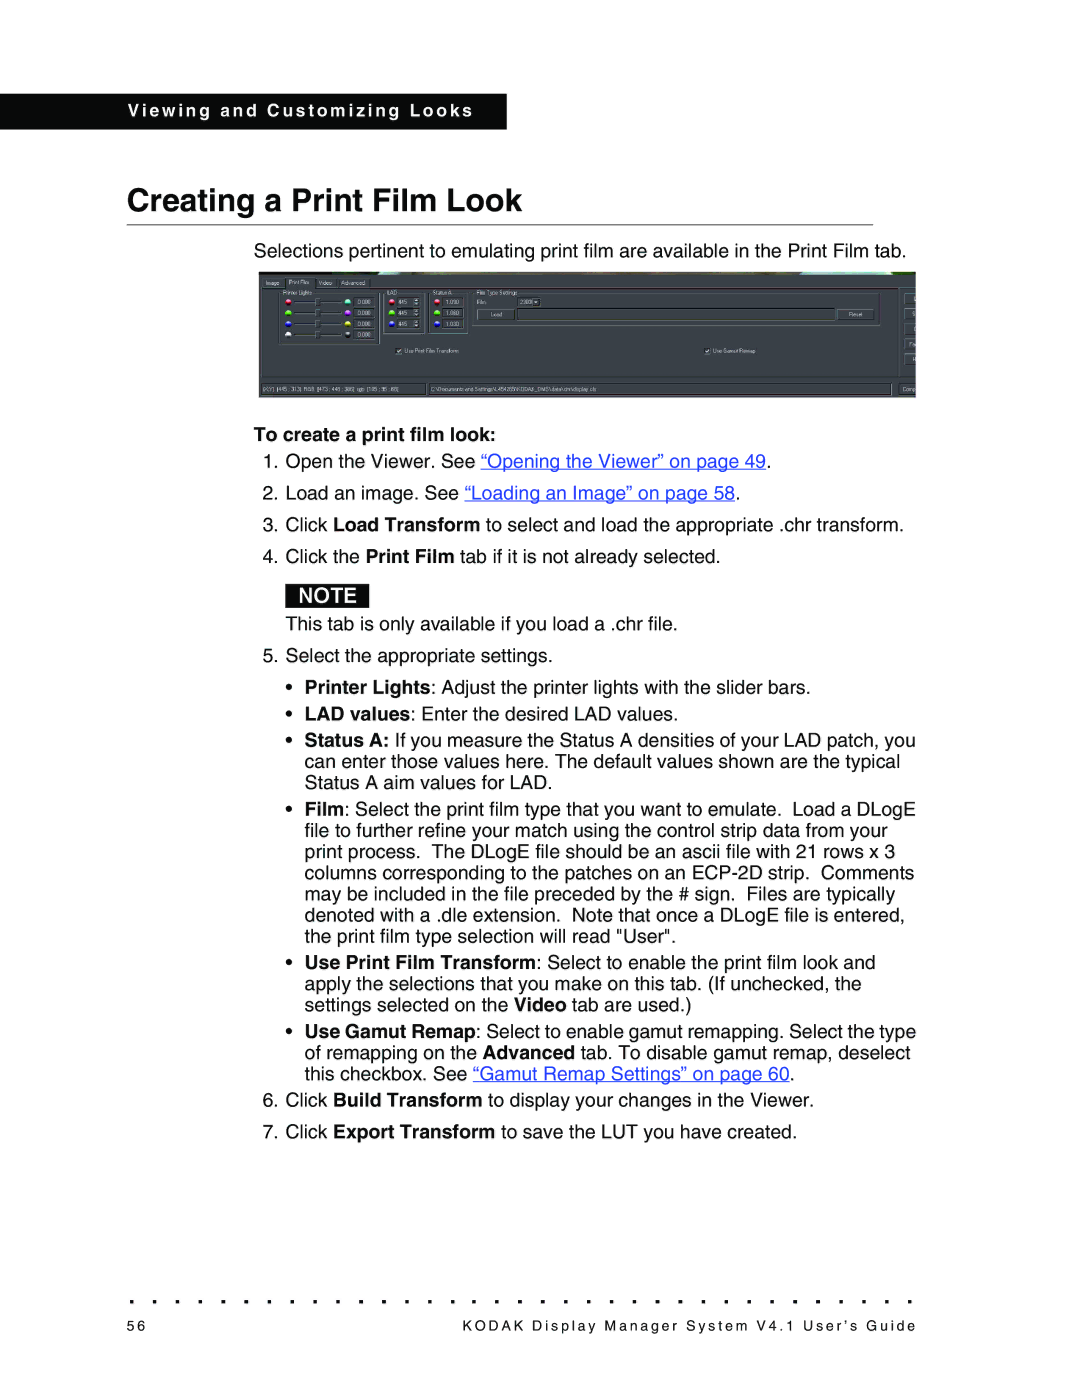
Selections pertinent to emulating print film are available in the Print Film tab.
To create a print film look:
1.Open the Viewer. See “Opening the Viewer” on page 49.
2.Load an image. See “Loading an Image” on page 58.
3.Click Load Transform to select and load the appropriate .chr transform.
4.Click the Print Film tab if it is not already selected.
NOTE
This tab is only available if you load a .chr file.
5.Select the appropriate settings.
•Printer Lights: Adjust the printer lights with the slider bars.
•LAD values: Enter the desired LAD values.
•Status A: If you measure the Status A densities of your LAD patch, you can enter those values here. The default values shown are the typical Status A aim values for LAD.
•Film: Select the print film type that you want to emulate. Load a DLogE file to further refine your match using the control strip data from your print process. The DLogE file should be an ascii file with 21 rows x 3 columns corresponding to the patches on an
•Use Print Film Transform: Select to enable the print film look and apply the selections that you make on this tab. (If unchecked, the settings selected on the Video tab are used.)
•Use Gamut Remap: Select to enable gamut remapping. Select the type of remapping on the Advanced tab. To disable gamut remap, deselect this checkbox. See “Gamut Remap Settings” on page 60.
6.Click Build Transform to display your changes in the Viewer.
7.Click Export Transform to save the LUT you have created.
5 6 | K O D A K D i s p l a y M a n a g e r S y s t e m V 4 . 1 U s e r ’ s G u i d e |