C h a r a c t e r i z a t i o n
2.If the sensor is not already positioned, place it on the center of the screen. See “Step 2: Connect the Hardware” on page 12.
3.Cover the monitor and sensor with a dark cloth if you are not able to turn off the room lights.
4.Click Start.
The application reads a series of patches. This process may take several minutes.
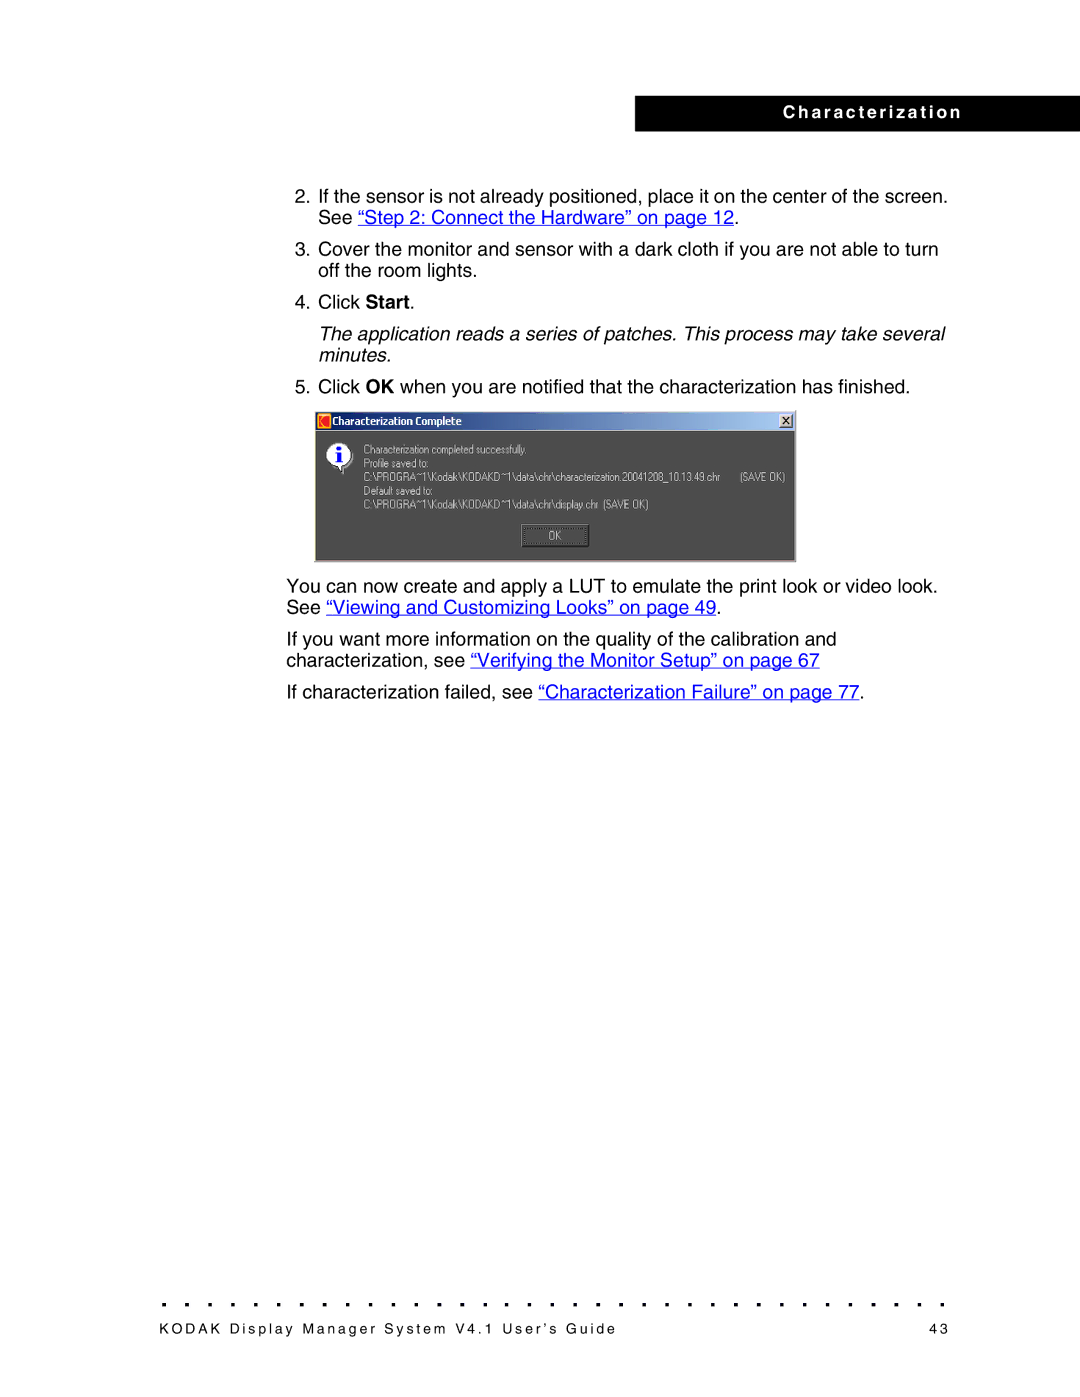
5.Click OK when you are notified that the characterization has finished.
You can now create and apply a LUT to emulate the print look or video look. See “Viewing and Customizing Looks” on page 49.
If you want more information on the quality of the calibration and characterization, see “Verifying the Monitor Setup” on page 67
If characterization failed, see “Characterization Failure” on page 77.
K O D A K D i s p l a y M a n a g e r S y s t e m V 4 . 1 U s e r ’ s G u i d e | 4 3 |
