Print the destination lists
1Locate the MFP. This must be the same MFP with the IP address where the destination lists were created and stored.
2Press Menu > repeatedly until you see Destinations, and then press Select.
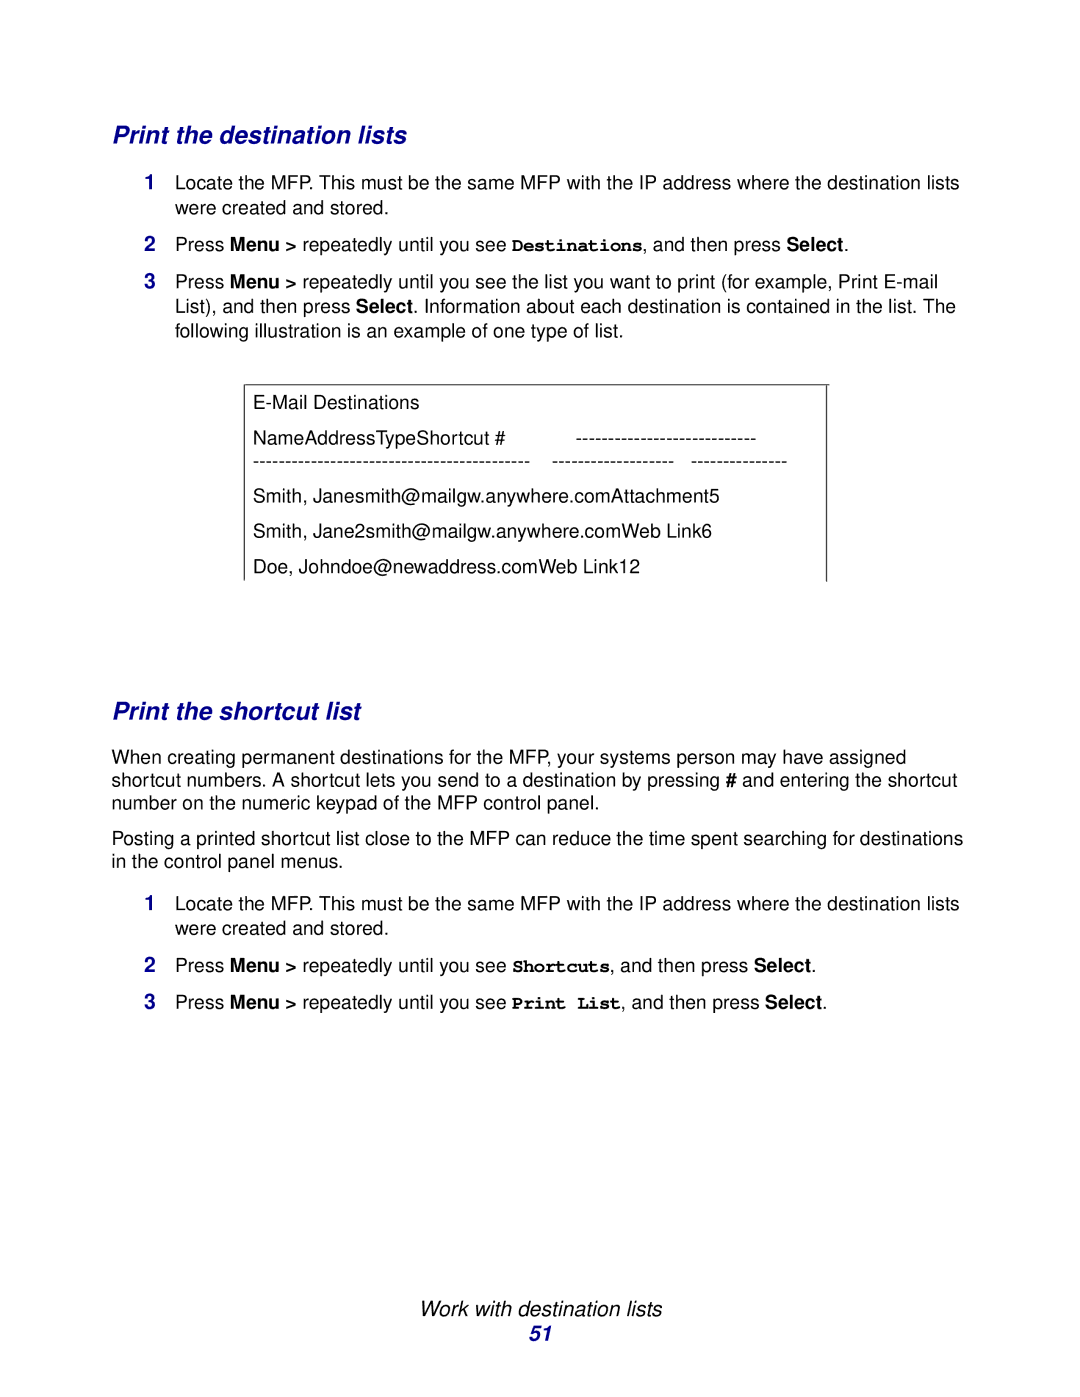
3Press Menu > repeatedly until you see the list you want to print (for example, Print
NameAddressTypeShortcut #
Smith, Janesmith@mailgw.anywhere.comAttachment5
Smith, Jane2smith@mailgw.anywhere.comWeb Link6
Doe, Johndoe@newaddress.comWeb Link12
Print the shortcut list
When creating permanent destinations for the MFP, your systems person may have assigned shortcut numbers. A shortcut lets you send to a destination by pressing # and entering the shortcut number on the numeric keypad of the MFP control panel.
Posting a printed shortcut list close to the MFP can reduce the time spent searching for destinations in the control panel menus.
1Locate the MFP. This must be the same MFP with the IP address where the destination lists were created and stored.
2Press Menu > repeatedly until you see Shortcuts, and then press Select.
3Press Menu > repeatedly until you see Print List, and then press Select.
Work with destination lists
51
