Lexmark W812
User’s Reference July
Page
Table of contents
Chapter 8 Loading the trays
Chapter 24 Replacing the fuser
Chapter 38 Job Menu
250-sheet tray Paper size dial Multipurpose feeder
Printer overview
Output bin Paper support Operator panel On/Off switch Stamdard
Fuser
Release button Network card connector Parallel port connector
Power cord connector Duplex connector
Print cartridge
500-sheet tray 250-sheet tray
500-sheet trays
Sending a job to print
Canceling a job from the Windows taskbar
Canceling a print job
Canceling a job from the printer operator panel
Canceling a job from a Windows desktop
What the setting does
Conserving supplies
Setting
For more information
Holding a job in the printer
Printing and deleting held jobs
Accessing held jobs from the operator panel
Recognizing when format errors occur
Verifying print jobs
Repeating print jobs
Reserving print jobs
See Printing and deleting held jobs for information
Enter PIN =
Printing confidential jobs
Enter PIN =
1 Menu 2 Select 3 Return4 Go5 Stop
6 Paper and specialty media specifications
Paper
Printing on letterhead
Letterhead
Transparencies
Labels
Card stock
Linking trays
Letter, A4, A5, or JIS B5 size paper
Loading the trays
Loading 250-sheet trays
Do not load bent or wrinkled paper
5 Flex the sheets back and forth to loosen them, and then fan them
6 Place the paper or specialty media against the back of the tray
7 Slide the side guides until they lightly touch the stack of paper
9 Replace the tray cover 10 Insert the tray
13 Press Go to start your print job
1 Remove the tray, and then set it on a flat surface
A3, JIS B4, legal, 8.5x13, or 11x17 size paper
Extend the paper tray to load paper longer than A4 or letter size
2 Remove the tray cover
9 Press Go to start your print job
4 Pull the extension out until it stops
5 Slide the locking mechanisms outward to lock the extension in place
Loading 500-sheet trays
Note Do not exceed the maximum stack height indicated on the tray
5 Make sure the paper fits easily under the two corner bucklers
6 Replace the tray cover 7 Insert the tray
9 Press Go to start your print job
Loading the multipurpose feeder
3 Flex the sheets back and forth to loosen them, and then fan them
6 Press Go to start your print job
4 Press Go to start your print job
Printing envelopes
2 Slide the side guides to fit the width of the envelopes
Storing supplies
10 Tips for successful printing
Storing paper
Avoiding jams
Flex, fan, and straighten paper before you load it
The following hints can help you avoid paper jams
Do not load wrinkled, creased, or damp paper
Push all trays firmly into the printer after loading them
11 Using the optional duplex unit
12 Checking an unresponsive printer
13 Solving print quality problems
Cause
Symptom
Solution
Replacing the print cartridge
Cause
Symptom
Solution
paper, see Storing paper
Cause
Symptom
Solution
Replacing the print cartridge
Cause
Symptom
Solution
Loading the trays for detailed
Solution
14 Solving paper feed problems
Symptom
service
Cause
Symptom
Solution
The Paper Jam
Solution
15 Solving printing problems
Symptom
Cause
Set Page Protect to Off from the Setup Menu
Symptom
Solution
Cause
Cause
Symptom
Solution
Set Collation to On in the Finishing Menu or
Solution
16 Solving other option problems
Symptom
correctly after it is installed, or it
17 Calling for service
Paper jam messages
18 Understanding jam messages
Area where jam occurs
Message
19 Clearing jams
Clearing 200/201 jams from the paper tray
Clearing 203 jams from the fuser
A 203 Paper Jam occurs when paper jams in the fuser. To clear the jam
Clearing 200/201 jams from the multipurpose feeder
1 Open the multipurpose feeder and remove any paper from the tray
4 Lower the fuser paper guide
CAUTION The fuser may be hot. Let it cool before continuing
3 Raise the fuser paper guide and remove any jammed paper
5 Close the top cover to clear the message
3 Remove the print cartridge, and then set it aside
Clearing 202 jams from the print cartridge
1 Remove any paper in the output tray
Clearing 230/231/232 jams from the duplex unit
5 Open the duplex unit lower cover
3 Check for any jammed paper and remove it
4 Close the duplex unit upper cover
6 Check for any jammed paper and remove it
Ordering a fuser
20 Ordering supplies
Ordering a print cartridge
21 Determining the status of supplies
22 Recycling used supplies
23 Replacing the print cartridge
Removing the old print cartridge
Installing the new print cartridge
5 Close the top cover
2 Shake the cartridge in all directions to distribute the toner
3 Place the cartridge on a flat surface and remove the toner seal
24 Replacing the fuser
Removing the old fuser
3 Pull out the print cartridge
4 Pull up the fuser latches on each end to release the fuser
1 Unwrap the new fuser
Installing a new fuser
6 Set the fuser aside
2 Insert the new fuser
Reset Maint Cnt =Reset appears. d Press Select
Ready
25 Understandingpanelthe printer operator
Operator panel buttons
Button
Select
Button
Function
Return
Using MarkVision Professional
26 Configuring printer alerts
Using the Setup Menu
Using MarkVision Messenger
Removing the printer system board access panel
27 Removing memory and option cards
6 Remove the right cover and set it aside
Removing memory cards
Removing an option card
Page
Removing a firmware card
Reinstalling the system board access panel
28 Disabling the operator panel menus
Enabling the menus
29 Disabling Power Saver
30 Size Sensing
31 Printing a menu settings page
32 Restoring factory default settings
The operator panel Display Language setting in the Setup Menu
33 Changing menu settings
34 Understanding fonts
Resident fonts
PPDS emulation
PCL 6 emulation
PostScript 3 emulation
PPDS emulation
PCL 6 emulation
PostScript 3 emulation
PPDS emulation
PCL 6 emulation
PostScript 3 emulation
PPDS emulation
PCL 6 emulation
PostScript 3 emulation
CooperBlack-Italic
Symbol sets for PCL 6 emulation
Symbol sets
Downloadable fonts
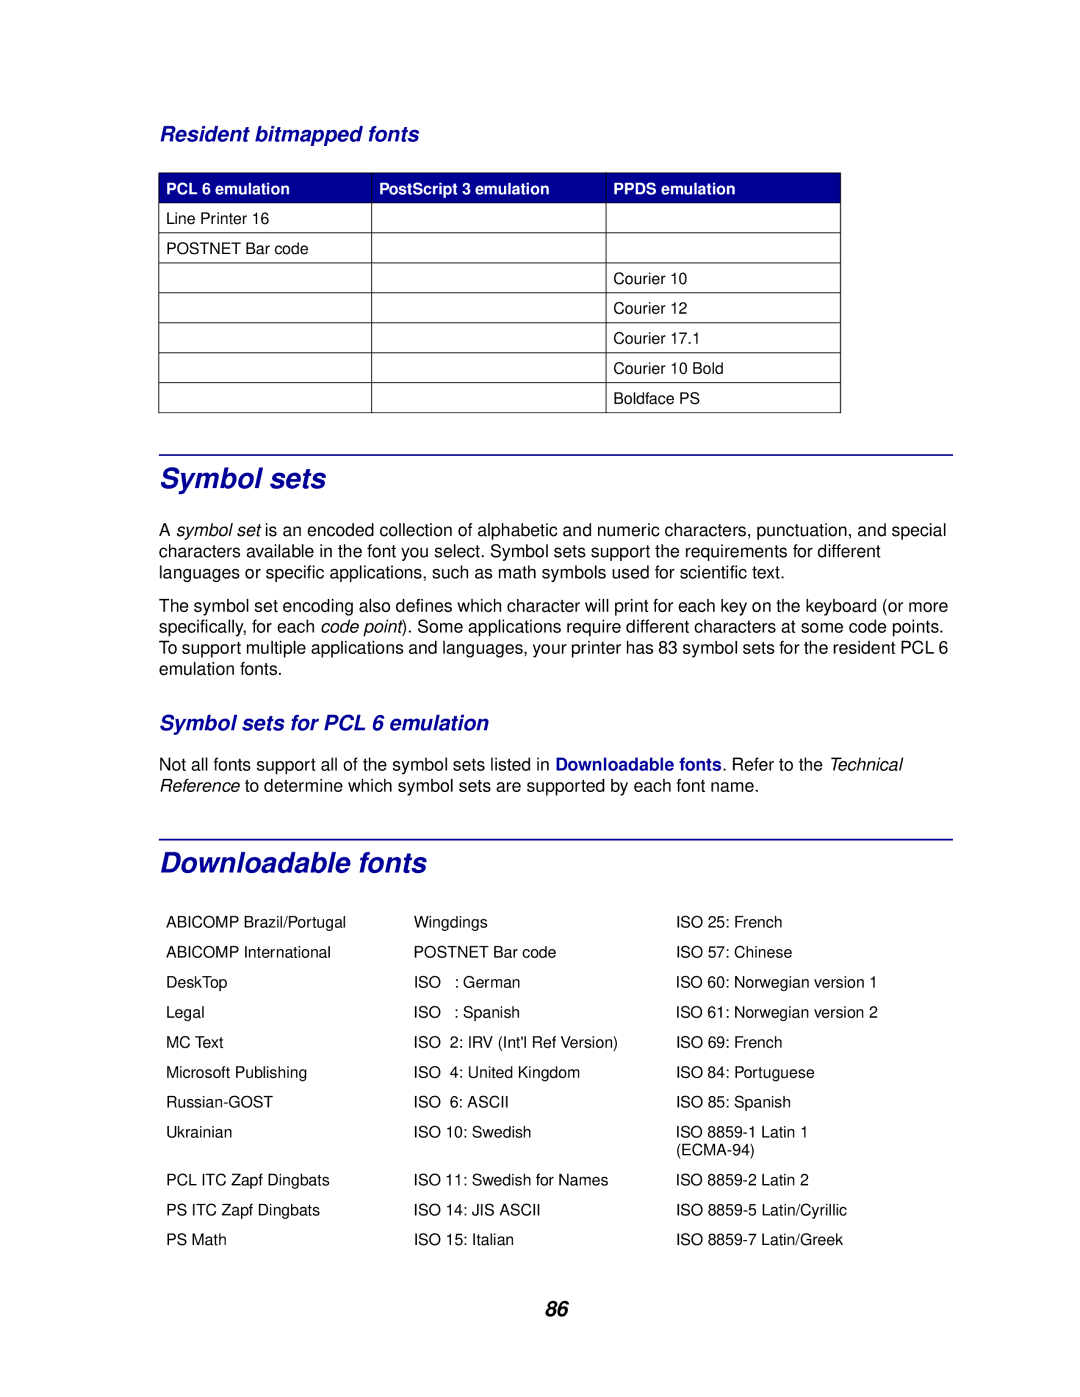
Resident bitmapped fonts
FontVision
Euro support
Hebrew and Arabic fonts
Windows 98 Latin 6 Baltic
35 Printing sample fonts
11 Press Select
9 Press Menu until you see Utilities Menu, and then press Select
10 Press Menu until you see Print Fonts, and then press Select
36 Understanding printer messages
Ready
See also
What this message means
What you can do
What this message means
What you can do
What you can do
What this message means
What you can do
What you can do
See also
What this message means
What you can do
What this message means
What you can do
What you can do
What you can do
Disk Recovery x/5 yyy%
What this message means
See also
See also
What this message means
What you can do
What this message means
Formatting Disk yyy%
Formatting Flash
What you can do
What you can do
Held Jobs may not be restored
What this message means
See also
What you can do
Standard
What this message means
See also
What this message means
What you can do
What this message means
See also
What this message means
What you can do
What this message means
See also
What this message means
What you can do
What this message means
What you can do
What you can do
See also
What this message means
What you can do
What this message means
See also
What this message means
What you can do
What this message means
What you can do
What you can do
See also
What this message means
What you can do
What this message means
What you can do
Remove Paper specified bin
What this message means
What you can do
What you can do
See also
What this message means
What you can do
What this message means
What you can do
What you can do
See also
What this message means
What you can do
What this message means
See also
What this message means
What you can do
What this message means
What you can do
34 Wrong Paper Size in Tray
What this message means
See also
What this message means
37 Insufficient Collation Area
37 Insufficient Defrag Memory
What you can do
What you can do
37 Insufficient Memory
What this message means
See also
What you can do
Setup Guide
What this message means
See also
See also
What this message means
What you can do
What this message means
54 Std Network
Serial Error
Software Error
What this message means
56 Std Parallel
56 Standard Serial Disabled
Lost
Serial Buffer
What this message means
57 Configuration Change
56 Standard USB
What you can do
See also
What this message means
What you can do
What this message means
What you can do
Setup Guide
What this message means
See also
What this message means
What you can do
What you can do
What these messages mean
900-999 Service message
Calling for service
What you can do
Separator Sheets
37 Finishing Menu
Blank Pages
Separator Source
Duplex
Collation
Copies
Purpose
Purpose
Duplex Bind
Multipage Border
Values
Values
Multipage Order
Purpose
See also
Purpose
Multipage Print
Multipage View
Values
Purpose
Separator Sheets
Separator Source
Values
38 Job Menu
Abort Restore
Cancel Job
Reset Printer
Purpose
Confidential Job
Held Jobs
Purpose
Purpose
Reset Printer
Print Buffer
Purpose
PictureGrade
Print Resolution
39 Quality Menu
Purpose
Values
Toner Darkness
Purpose
See also
Universal Setup
Configure MP
40 Paper Menu
Purpose
Purpose
Custom Types
Paper Loading
Purpose
Values
Paper Size
Purpose
First select a paper source
Values
Paper Source
Purpose
See also
Values
Paper Type
Purpose
First select a paper source
Purpose
Universal Setup
Substitute Size
Values
41 PCL Emul Menu
A4 Width
Font Name
Auto CR after LF
Auto LF after CR
Purpose
Purpose
Font Source
Lines per Page
Values
Point Size
Orientation
Pitch
Purpose
Purpose
Symbol Set
Tray Renumber
Values
Tray 1 Renumber
42 PPDS Menu
Auto CR after LF
Purpose
Auto LF after CR
Best Fit
Character Set
Purpose
Purpose
Lines per Inch
Lines per Page
Values
Orientation
Page Format
Tray 1 Renumber
Purpose
43 Serial Menu
Purpose
Baud
Data Bits
Values
Job Buffering
NPA Mode
Honor DSR
Purpose
Purpose
PCL SmartSwitch
Parity
Values
RS-232
PS SmartSwitch
Robust XON
Purpose
Purpose
Serial Buffer
Serial Protocol
Values
Job Buffering
44 Network Menu
PCL SmartSwitch
Purpose
Network Buffer
Network x Setup
MAC Binary PS
Purpose
Purpose
NPA Mode
PCL SmartSwitch
Values
Purpose
Std Net Setup
PS SmartSwitch
Values
45 Parallel Menu
Advanced Status
MAC Binary PS
Honor Init
Job Buffering
Purpose
NPA Mode
Parallel Mode
Parallel Buffer
Purpose
PCL SmartSwitch
Protocol
Parallel Mode
Purpose
Purpose
PS SmartSwitch
To configure the printer so it automatically switches to PostScript emulation when a print job received through the parallel port requires it, regardless of the default printer language
Values
46 Setup Menu
Alarm Control
Download Target
Auto Continue
Display Language
Purpose
Page Protect
Jam Recovery
Job Accounting
Purpose
Purpose
Power Saver
Print Area
Values
Resource Save
Print Timeout
Printer Language
Purpose
Purpose
Toner Alarm
Wait Timeout
Values
Font Priority
Print PS Error
47 PostScript Menu
Purpose
Job Buffering
48 USB Menu
PCL SmartSwitch
Purpose
MAC Binary PS
NPA Mode
PCL SmartSwitch
Purpose
Purpose
USB Buffer
PS SmartSwitch
Values
49 Utilities Menu
Defragment Flash
Format Flash
Factory Defaults
Format Disk
Purpose
Print Demo
Hex Trace
Job Acct Stat
Print Directory
Print Menus
Print Net x Setup
Print Fonts
Purpose
Values
Remove Held Jobs
Purpose
Edition July
50 Notices
Edition notice
UNITED STATES GOVERNMENT RESTRICTED RIGHTS
Trademarks
Copyright 2002 Lexmark International, Inc. All rights reserved
Other trademarks are the property of their respective owners
Based on Times New Roman under license from The
BSD License and Warranty statements GNU General Public License
Safety information
Licensing notice
Printers with a network cable attached
Cautions and warnings
Electronic emission notices
Industry Canada compliance statement
Printers without a network cable attached
Japanese VCCI notice
Avis de conformité aux normes d’Industrie Canada
The United Kingdom Telecommunications Act
Industry Canada compliance statement
European Community EC directives conformity
Noise emission levels
Energy Star
Laser notice
Index
Page
Page
PS SmartSwitch 167 Parallel Mode 1 Parallel Menu 165
Page
Page
2002 Lexmark International, Inc 740 West New Circle Road
Lexington, Kentucky