16 CHANNEL DIGITAL NETWORK SURVEILLANCE SYSTEM
Instruction Manual
English Version1.0
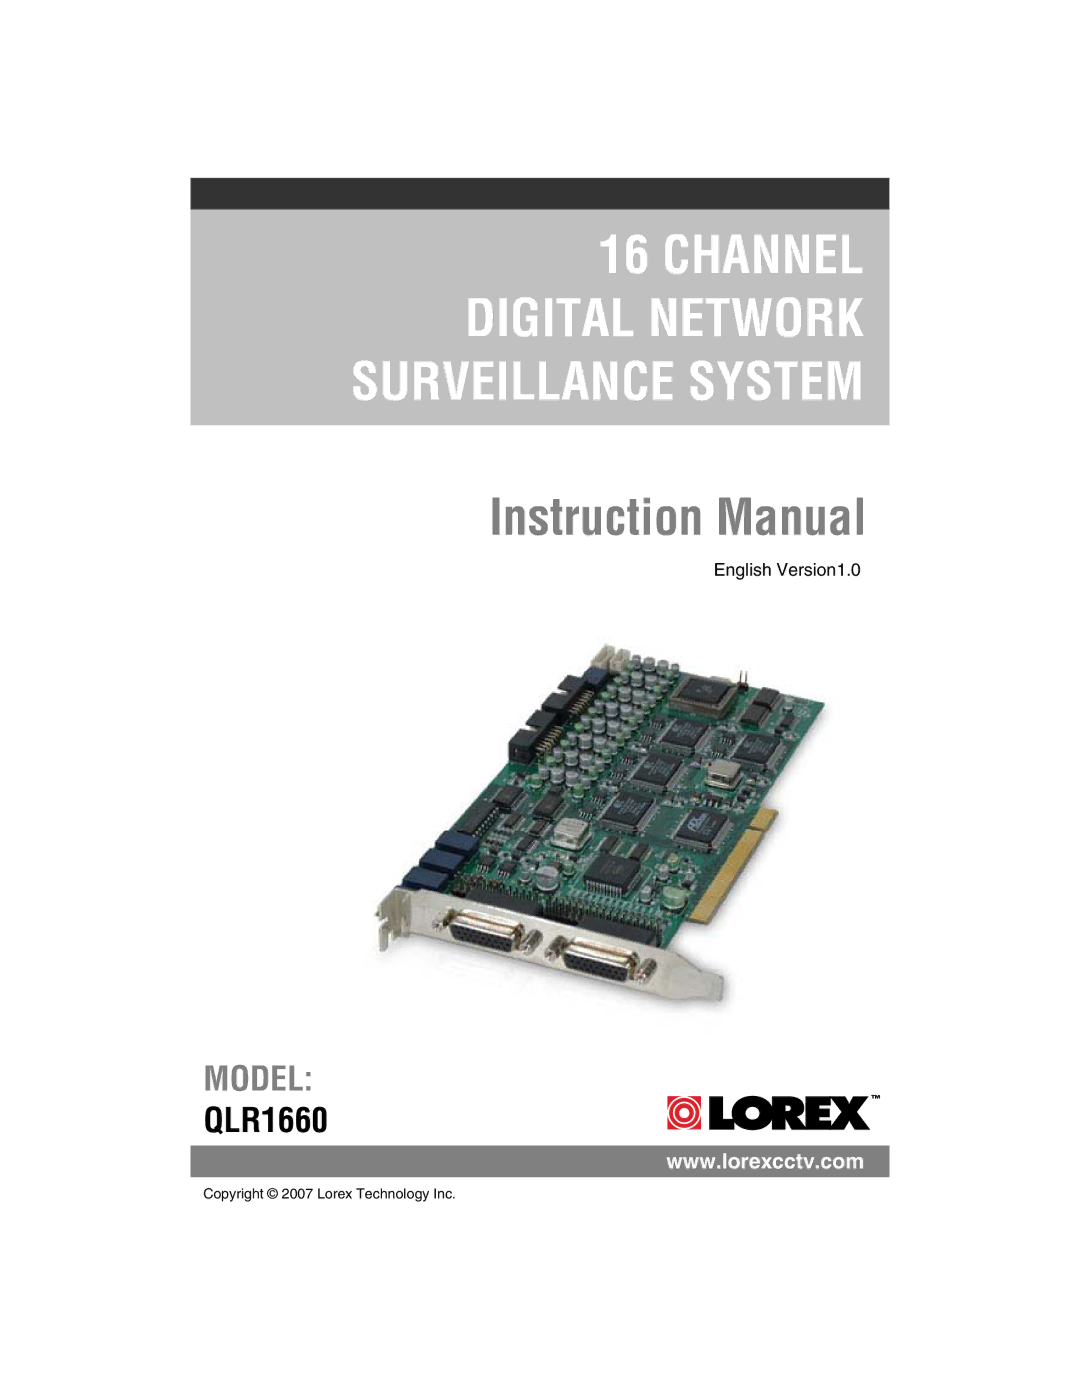
MODEL:
QLR1660
www.lorexcctv.com
Copyright © 2007 Lorex Technology Inc.
Instruction Manual
English Version1.0
www.lorexcctv.com
Copyright © 2007 Lorex Technology Inc.