www.packardbell.com
Adding or replacing memory modules
Important
Use only memory modules designed for this notebook.
Tools you need to complete this task:
Phillips #0 screwdriver | |
|
Screws removed during this task:
•![]() 3 black M2.5×6 (bay cover)
3 black M2.5×6 (bay cover)
![]() To add or replace memory modules:
To add or replace memory modules:
1Complete the steps in “Preparing the notebook” on page 37.
2Complete the steps in “Removing the bay cover” on page 39.
3If you are replacing a memory module, go to step 4.
If you installing an additional memory module, go to step 5.
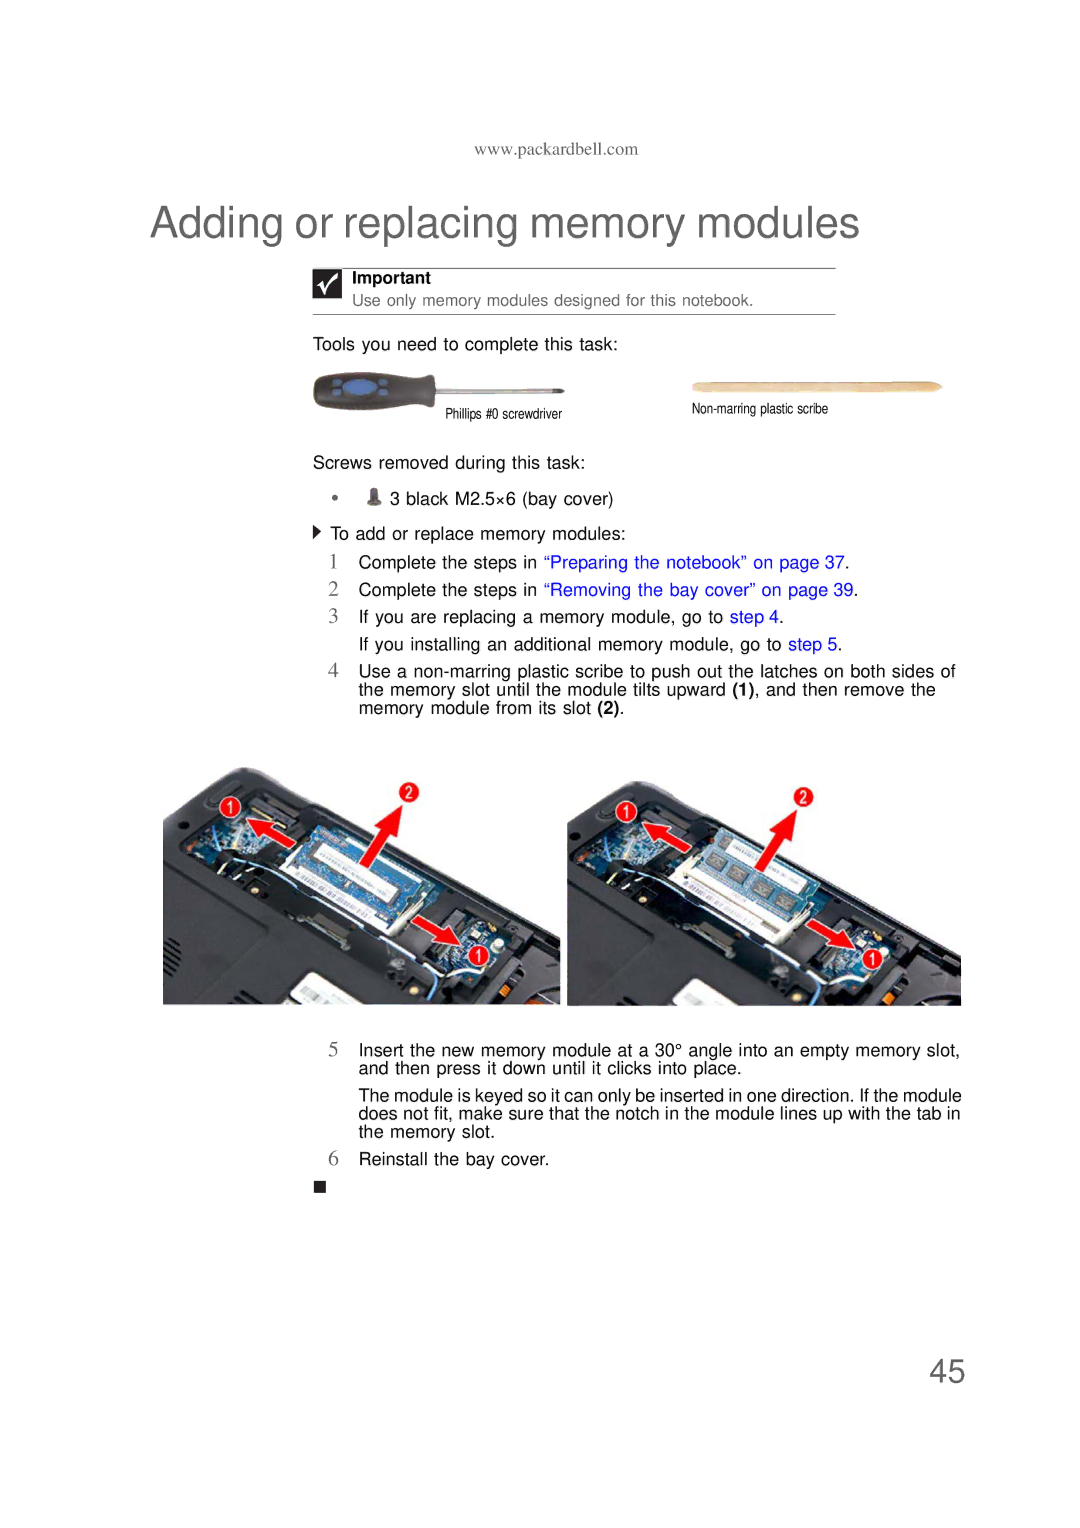
4Use a
5Insert the new memory module at a 30° angle into an empty memory slot, and then press it down until it clicks into place.
The module is keyed so it can only be inserted in one direction. If the module does not fit, make sure that the notch in the module lines up with the tab in the memory slot.
6Reinstall the bay cover.
45