CHAPTER 3: Replacing notebook components
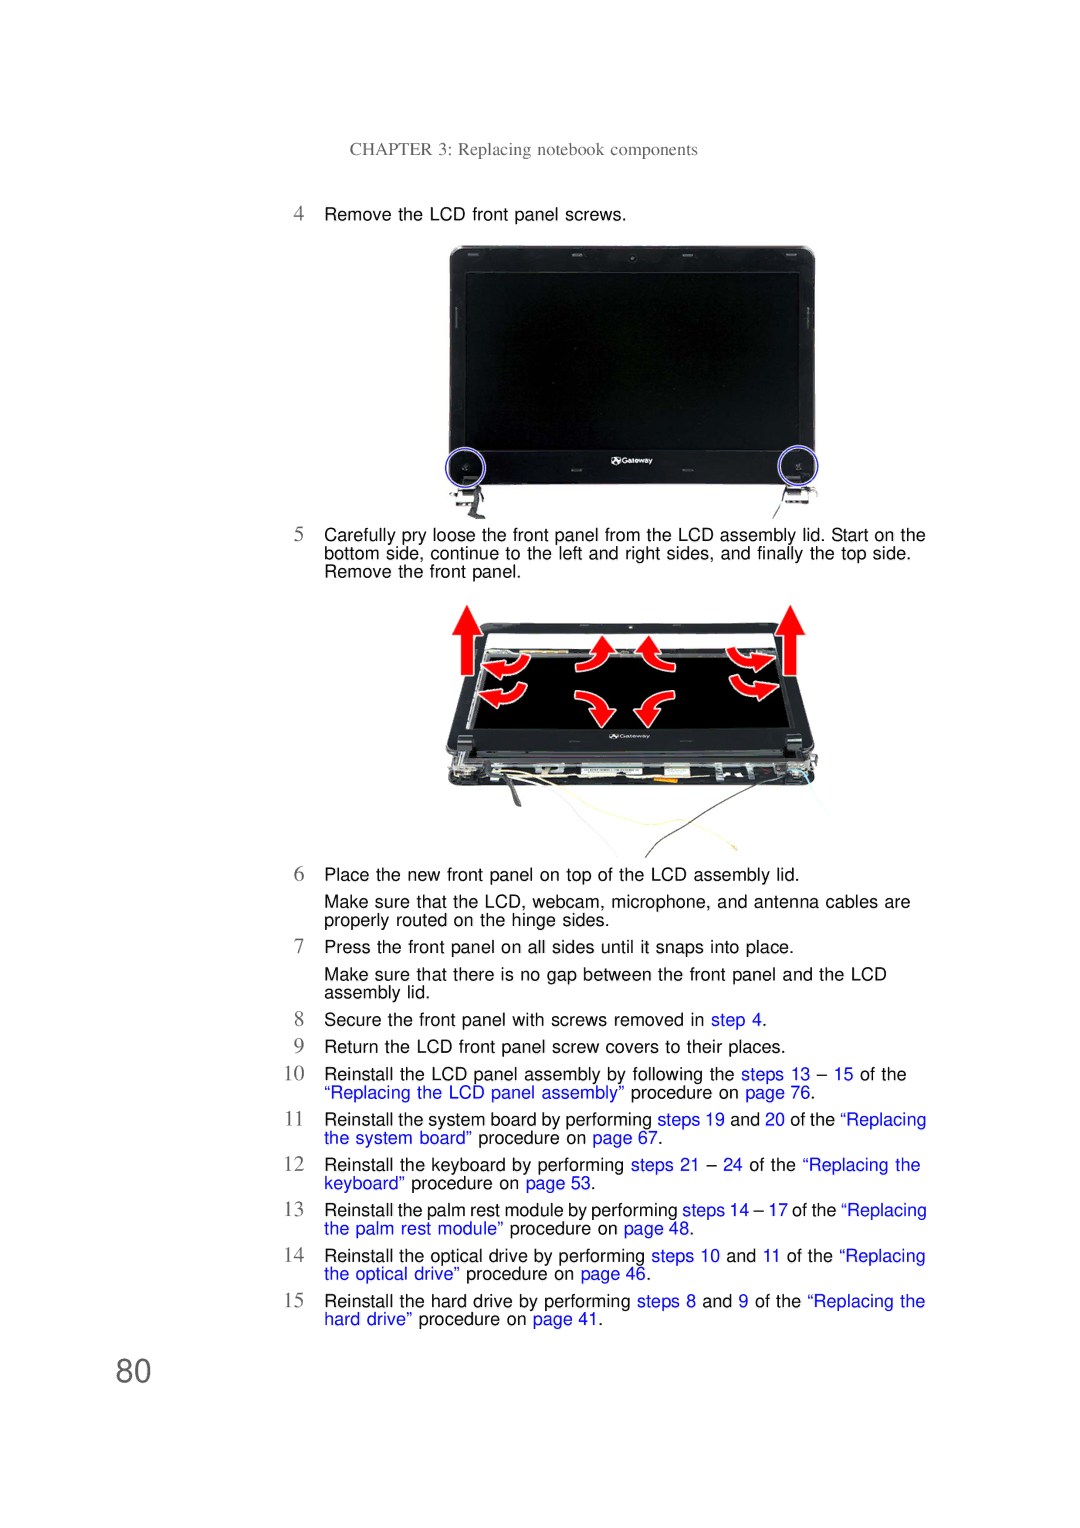
4Remove the LCD front panel screws.
5Carefully pry loose the front panel from the LCD assembly lid. Start on the bottom side, continue to the left and right sides, and finally the top side. Remove the front panel.
6Place the new front panel on top of the LCD assembly lid.
Make sure that the LCD, webcam, microphone, and antenna cables are properly routed on the hinge sides.
7Press the front panel on all sides until it snaps into place.
Make sure that there is no gap between the front panel and the LCD assembly lid.
8Secure the front panel with screws removed in step 4.
9Return the LCD front panel screw covers to their places.
10Reinstall the LCD panel assembly by following the steps 13 – 15 of the “Replacing the LCD panel assembly” procedure on page 76.
11Reinstall the system board by performing steps 19 and 20 of the “Replacing the system board” procedure on page 67.
12Reinstall the keyboard by performing steps 21 – 24 of the “Replacing the keyboard” procedure on page 53.
13Reinstall the palm rest module by performing steps 14 – 17 of the “Replacing the palm rest module” procedure on page 48.
14Reinstall the optical drive by performing steps 10 and 11 of the “Replacing the optical drive” procedure on page 46.
15Reinstall the hard drive by performing steps 8 and 9 of the “Replacing the hard drive” procedure on page 41.
80