CHAPTER 3: Replacing notebook components
8Disconnect the speaker cable from the power board.
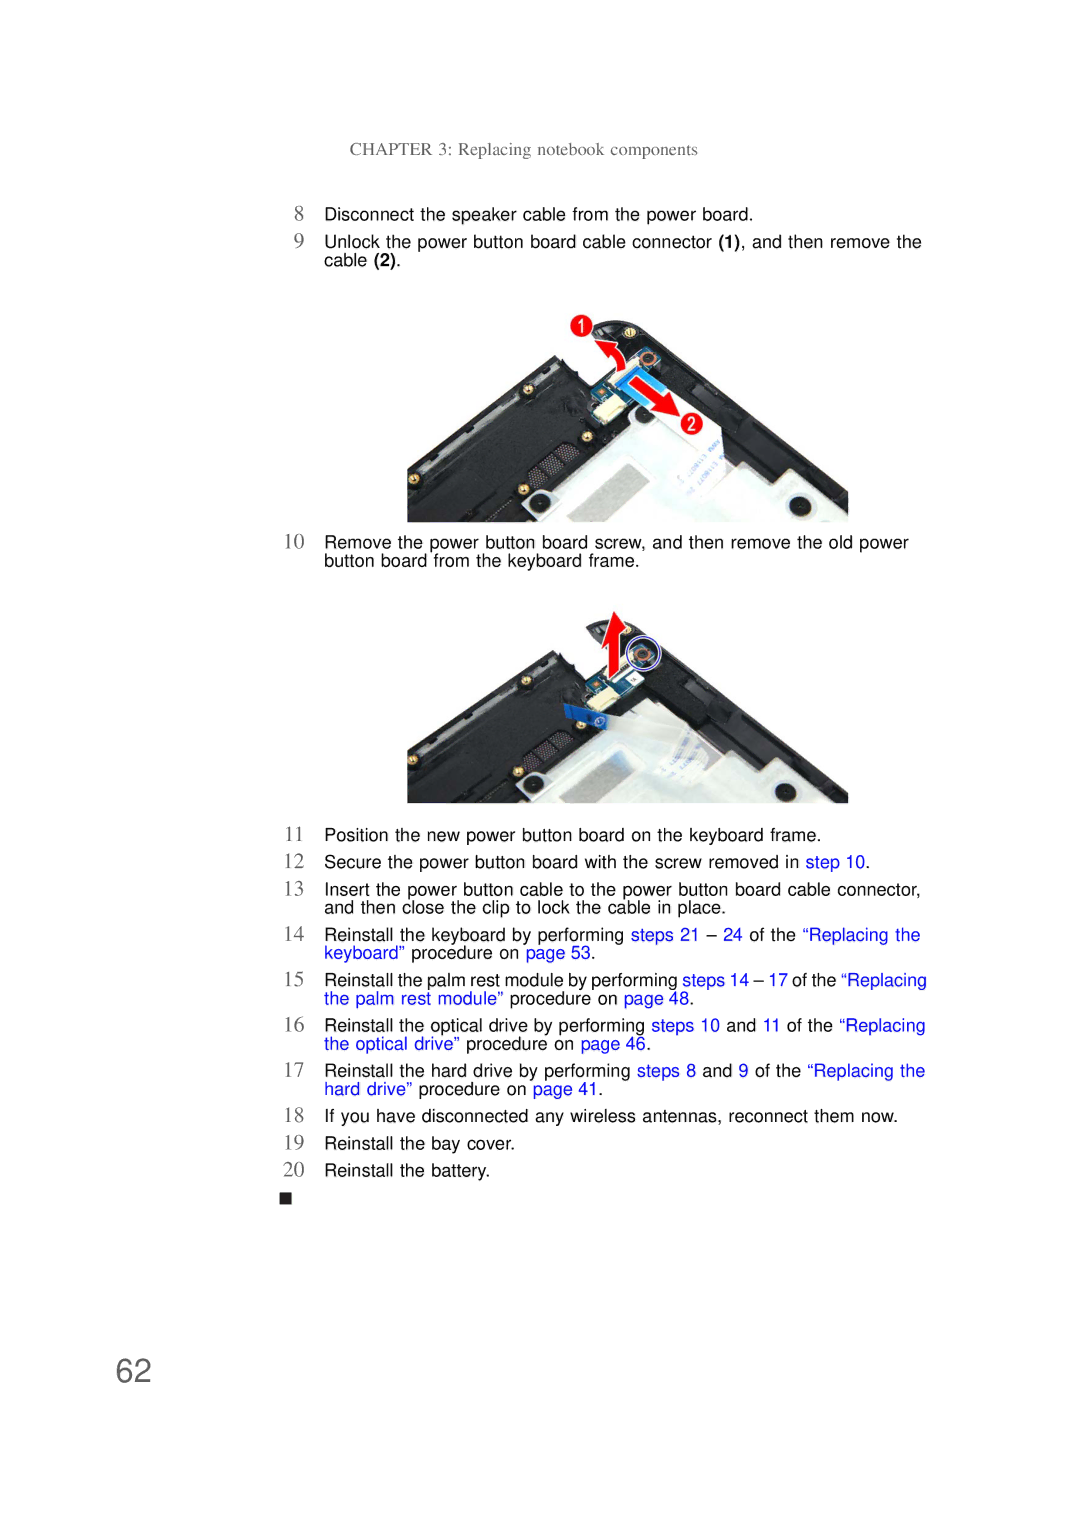
9Unlock the power button board cable connector (1), and then remove the cable (2).
10Remove the power button board screw, and then remove the old power button board from the keyboard frame.
11Position the new power button board on the keyboard frame.
12Secure the power button board with the screw removed in step 10.
13Insert the power button cable to the power button board cable connector, and then close the clip to lock the cable in place.
14Reinstall the keyboard by performing steps 21 – 24 of the “Replacing the keyboard” procedure on page 53.
15Reinstall the palm rest module by performing steps 14 – 17 of the “Replacing the palm rest module” procedure on page 48.
16Reinstall the optical drive by performing steps 10 and 11 of the “Replacing the optical drive” procedure on page 46.
17Reinstall the hard drive by performing steps 8 and 9 of the “Replacing the hard drive” procedure on page 41.
18If you have disconnected any wireless antennas, reconnect them now.
19Reinstall the bay cover.
20Reinstall the battery.
62