Installing the Document Management System
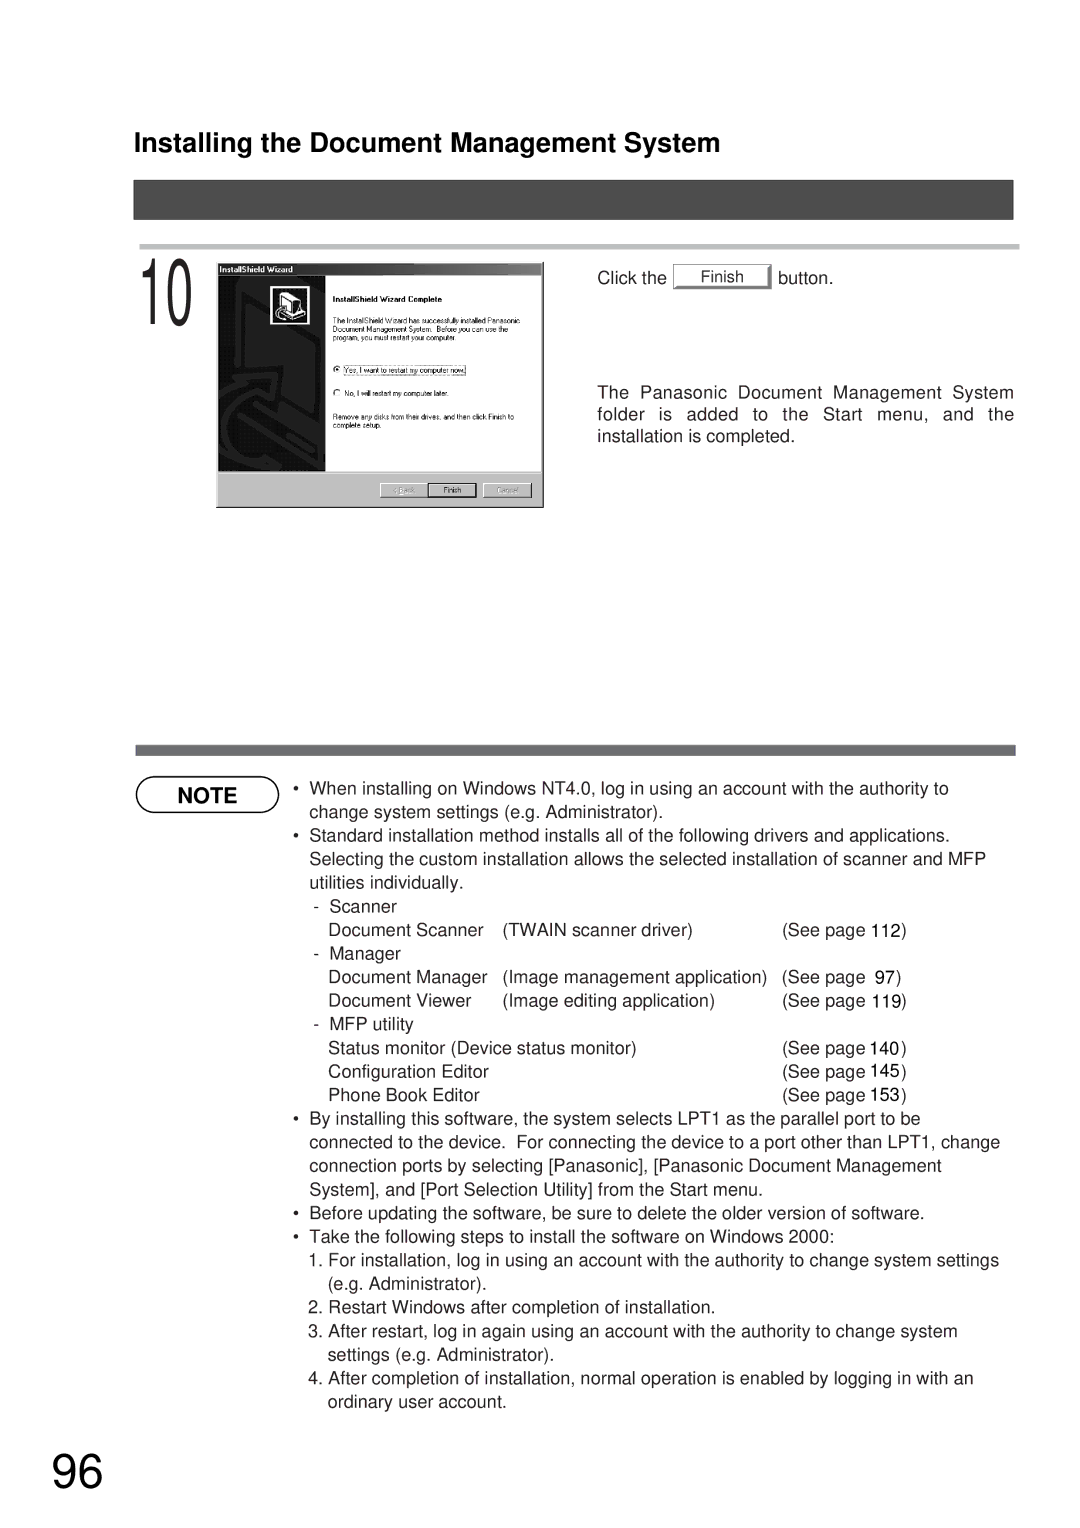
10 | Click the |
|
Finish
button.
The Panasonic Document Management System folder is added to the Start menu, and the installation is completed.
NOTE | • When installing on Windows NT4.0, log in using an account with the authority to |
| change system settings (e.g. Administrator). |
•Standard installation method installs all of the following drivers and applications. Selecting the custom installation allows the selected installation of scanner and MFP utilities individually.
-Scanner
Document Scanner | (TWAIN scanner driver) | (See page 112) |
- Manager |
|
|
Document Manager | (Image management application) | (See page 97) |
Document Viewer | (Image editing application) | (See page 119) |
- MFP utility |
|
|
Status monitor (Device status monitor) | (See page 14032) | |
Configuration Editor |
| (See page 14537) |
Phone Book Editor |
| (See page 15345) |
•By installing this software, the system selects LPT1 as the parallel port to be connected to the device. For connecting the device to a port other than LPT1, change connection ports by selecting [Panasonic], [Panasonic Document Management System], and [Port Selection Utility] from the Start menu.
•Before updating the software, be sure to delete the older version of software.
•Take the following steps to install the software on Windows 2000:
1.For installation, log in using an account with the authority to change system settings (e.g. Administrator).
2.Restart Windows after completion of installation.
3.After restart, log in again using an account with the authority to change system settings (e.g. Administrator).
4.After completion of installation, normal operation is enabled by logging in with an ordinary user account.
96