Sending Faxes
Sending a fax using the EASY DIAL directory 
Before using this feature, program the desired names and telephone numbers into the directory (p. 40).
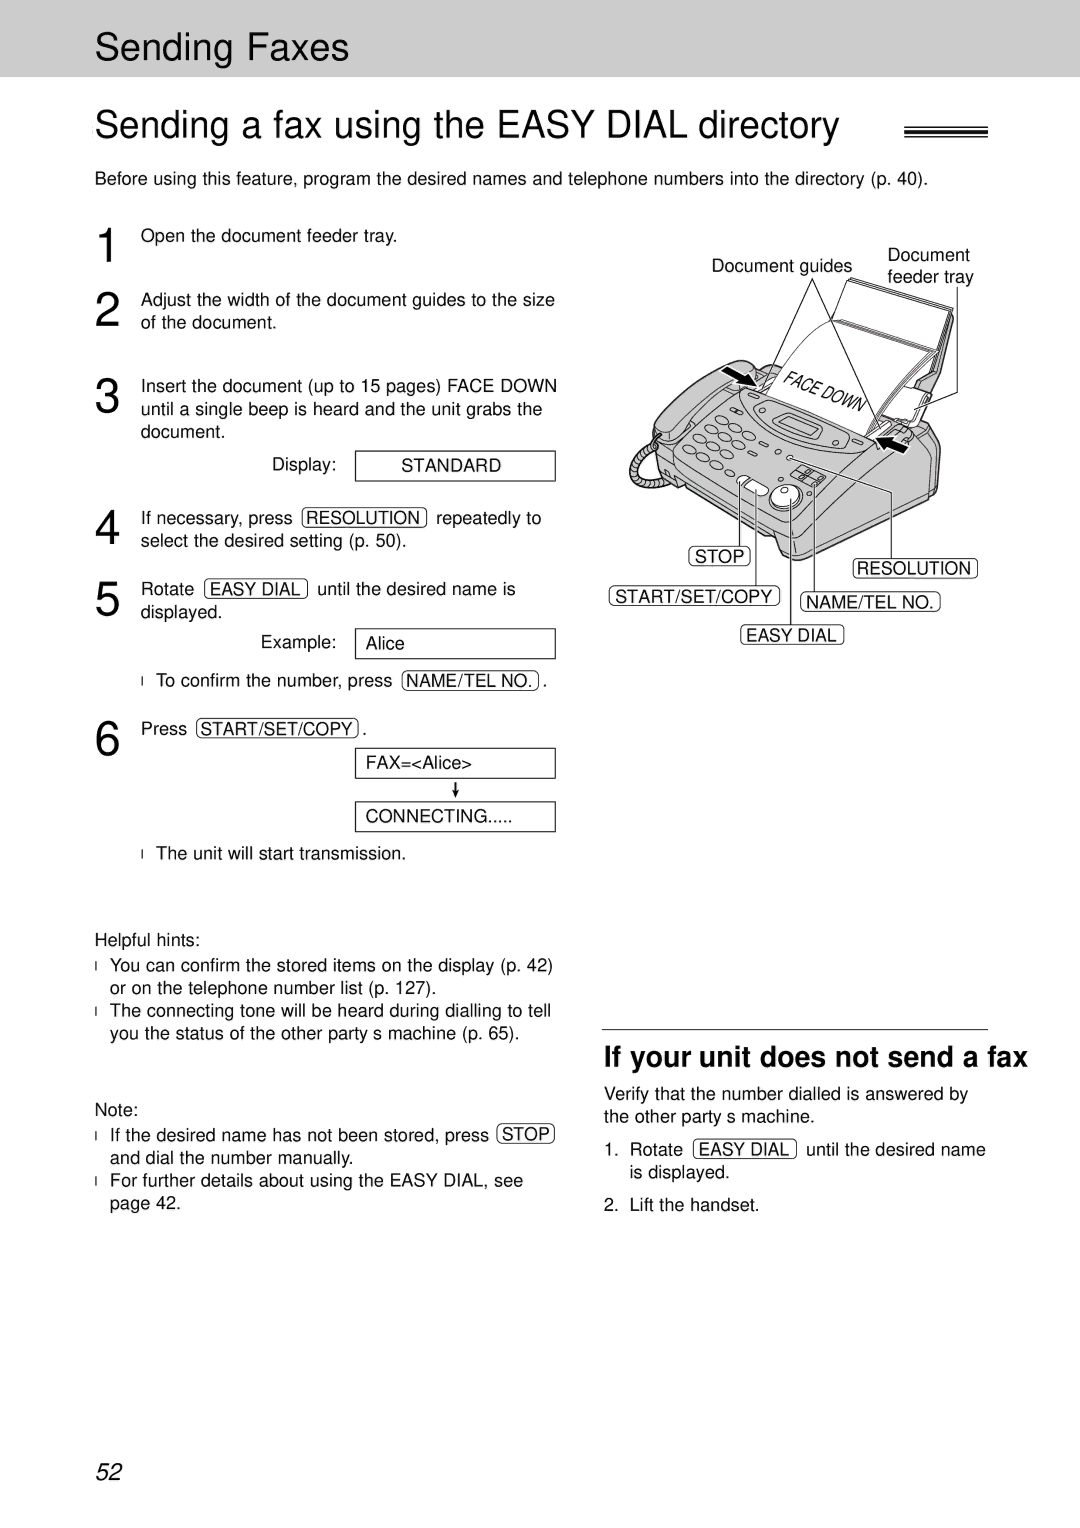
1 | Open the document feeder tray. |
| |
2 | Adjust the width of the document guides to the size | ||
of the document. |
| ||
3 | Insert the document (up to 15 pages) FACE DOWN | ||
until a single beep is heard and the unit grabs the | |||
| document. |
| |
|
|
|
|
| Display: |
| STANDARD |
4 |
|
| |
If necessary, press RESOLUTION repeatedly to | |||
select the desired setting (p. 50). | |||
Document guides
Document feeder tray
5 | Rotate EASY DIAL until the desired name is | |
displayed. | ||
| Example: | Alice |
|
|
|
| ● To confirm the number, press NAME/TEL NO. . | |
6 | Press START/SET/COPY . | |
| FAX=<Alice> | |
|
| |
|
|
|
CONNECTING.....
●The unit will start transmission.
Helpful hints:
●You can confirm the stored items on the display (p. 42) or on the telephone number list (p. 127).
●The connecting tone will be heard during dialling to tell you the status of the other party’s machine (p. 65).
STOP
RESOLUTION
START/SET/COPY | NAME/TEL NO. |
|
EASY DIAL
Note:
●If the desired name has not been stored, press STOP and dial the number manually.
●For further details about using the EASY DIAL, see page 42.
If your unit does not send a fax
Verify that the number dialled is answered by the other party’s machine.
1.Rotate EASY DIAL until the desired name is displayed.
2.Lift the handset.
52
