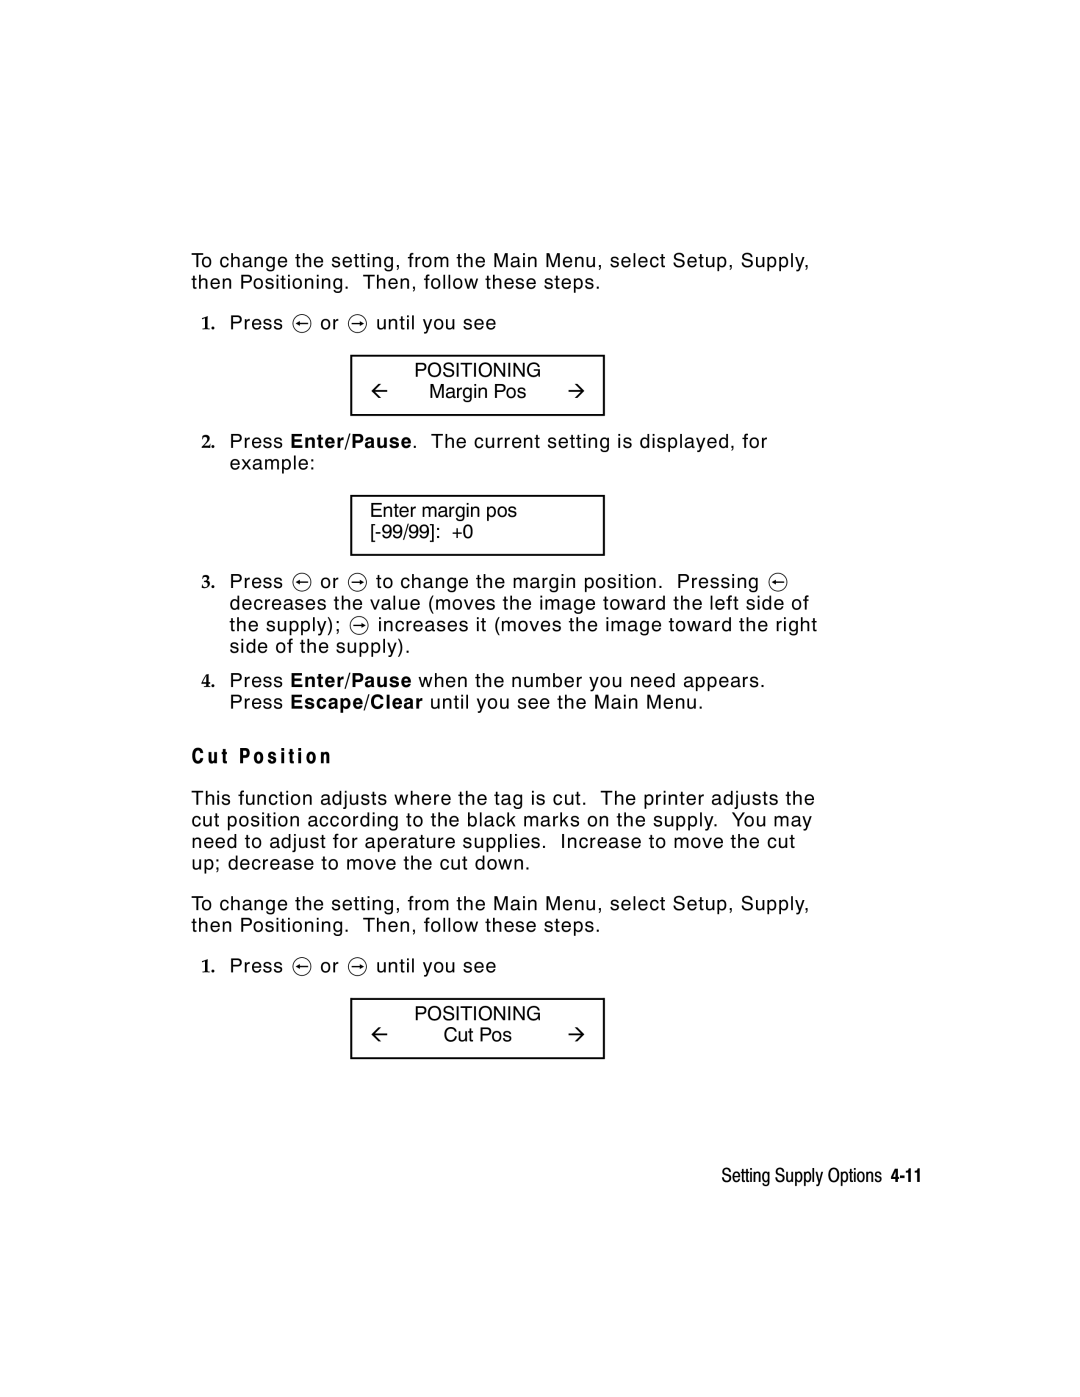
To change the setting, from the Main Menu, select Setup, Supply, then Positioning. Then, follow these steps.
1.Press l or r until you see
| POSITIONING |
|
l | Margin Pos | r |
2.Press Enter/Pause. The current setting is displayed, for example:
Enter margin pos
3.Press l or r to change the margin position. Pressing l decreases the value (moves the image toward the left side of the supply); r increases it (moves the image toward the right side of the supply).
4.Press Enter/Pause when the number you need appears. Press Escape/Clear until you see the Main Menu.
C u t P o s i t i o n
This function adjusts where the tag is cut. The printer adjusts the cut position according to the black marks on the supply. You may need to adjust for aperature supplies. Increase to move the cut up; decrease to move the cut down.
To change the setting, from the Main Menu, select Setup, Supply, then Positioning. Then, follow these steps.
1.Press l or r until you see
POSITIONING
l Cut Pos r
Setting Supply Options
