dx8100 specifications
The Pelco DX8100 is a robust digital video recorder (DVR) designed for surveillance and security applications, providing a comprehensive solution for video monitoring and recording. Renowned for its advanced features, the DX8100 appeals to both small and large organizations seeking reliable security solutions.One of the standout features of the DX8100 is its ability to support multiple camera connections, accommodating up to 16 cameras simultaneously. This scalability makes it ideal for a variety of environments, from retail spaces to corporate offices. The DVR supports various video formats, allowing users to integrate different camera types easily.
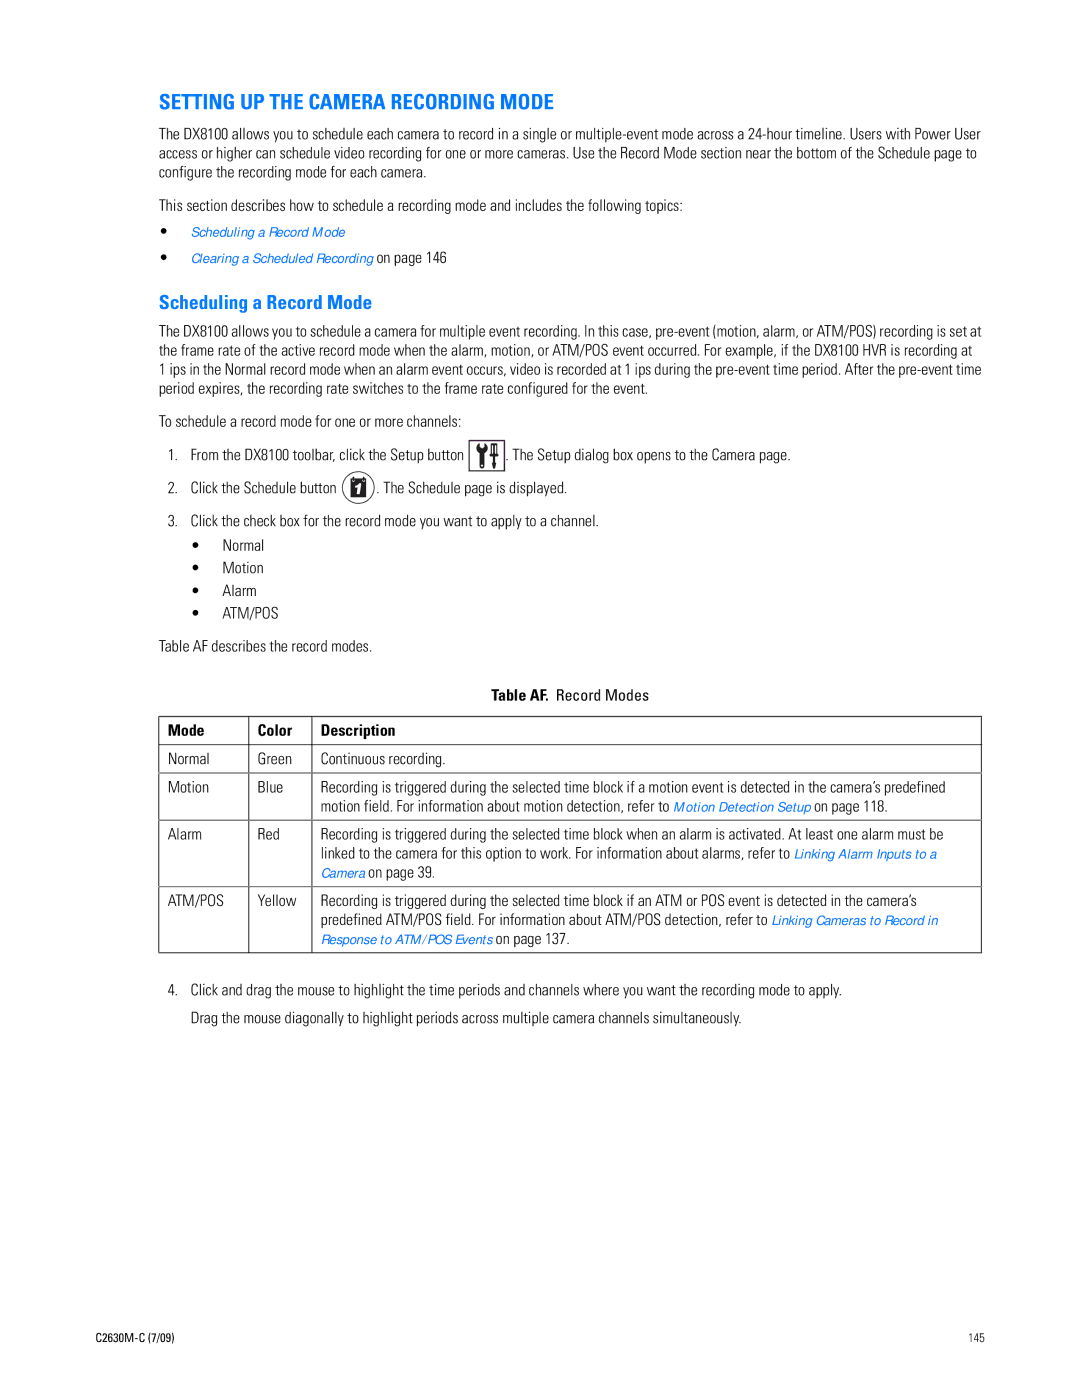
The DX8100 employs Pelco’s advanced technology for video compression, specifically H.264, which ensures high-quality video recording while optimizing storage usage. This means users can retain more footage without the need for excessive storage devices. Additionally, the system allows for configurable recording schedules, enabling users to select when to record based on specific operational needs, thereby enhancing storage efficiency.
Another key characteristic of the Pelco DX8100 is its user-friendly interface. The DVR features an intuitive navigation system that simplifies accessing footage, configuring settings, and managing devices. Remote connectivity is also a significant advantage; users can access live video and recordings via web browsers or mobile applications from anywhere, providing flexibility in monitoring surveillance feeds.
The DX8100 is equipped with advanced search and playback functionality. Users can quickly locate specific events using date and time searches or can take advantage of the motion detection settings that trigger recordings only when movement is detected. This feature significantly reduces the amount of footage that needs to be reviewed, saving time and improving operational efficiency.
Moreover, the system supports alarm inputs and outputs, which can be integrated with various security devices to create a comprehensive security system. Features like event notifications allow users to be alerted to suspicious activities in real time, enhancing situational awareness.
In summary, the Pelco DX8100 stands out for its impressive camera support, efficient video compression technology, user-friendly interface, and advanced search capabilities. Its flexibility and scalability make it suitable for diverse surveillance needs, while its integration capabilities ensure that businesses can protect their assets efficiently and effectively. The DX8100 remains a reliable choice for organizations committed to enhancing their security infrastructure.
