Load Paper
NOTE: Before loading paper, make sure the Paper Length and Paper Width options are set properly in the Paper Control configuration menu. Refer to the Configuring the Printer chapter, page 3±17, for details.
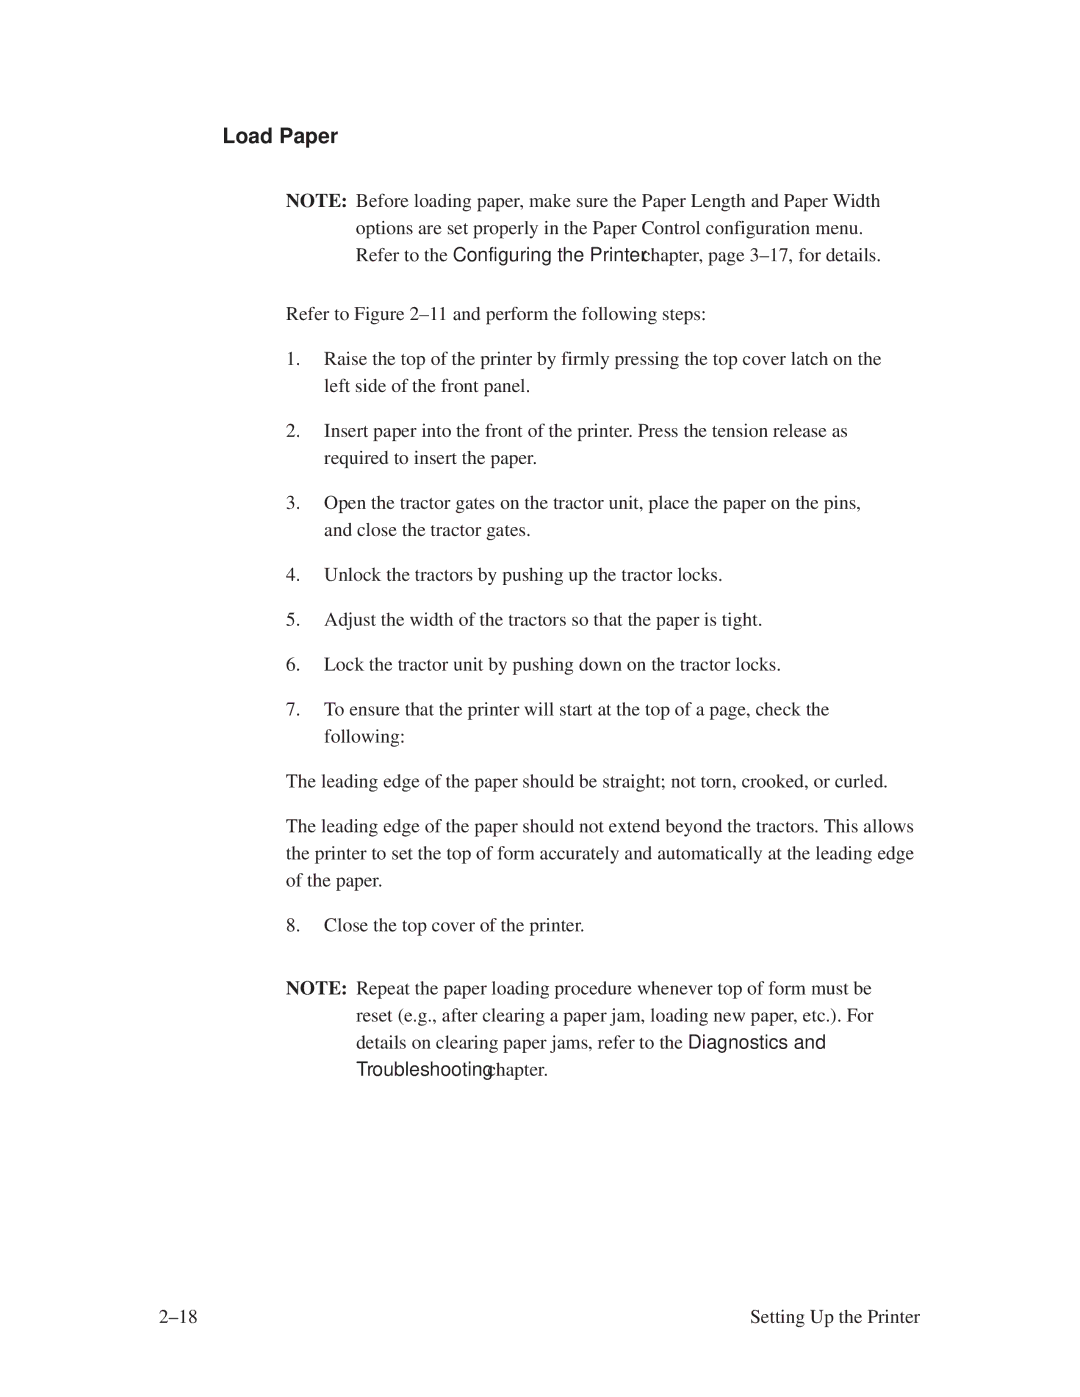
Refer to Figure 2±11 and perform the following steps:
1.Raise the top of the printer by firmly pressing the top cover latch on the left side of the front panel.
2.Insert paper into the front of the printer. Press the tension release as required to insert the paper.
3.Open the tractor gates on the tractor unit, place the paper on the pins, and close the tractor gates.
4.Unlock the tractors by pushing up the tractor locks.
5.Adjust the width of the tractors so that the paper is tight.
6.Lock the tractor unit by pushing down on the tractor locks.
7.To ensure that the printer will start at the top of a page, check the following:
The leading edge of the paper should be straight; not torn, crooked, or curled.
The leading edge of the paper should not extend beyond the tractors. This allows the printer to set the top of form accurately and automatically at the leading edge of the paper.
8.Close the top cover of the printer.
NOTE: Repeat the paper loading procedure whenever top of form must be reset (e.g., after clearing a paper jam, loading new paper, etc.). For details on clearing paper jams, refer to the Diagnostics and Troubleshooting chapter.
2±18 | Setting Up the Printer |