3-7 PCBA Module Removal/Replacement
REFER TO THE ACCOMPANYING ILLUSTRATIONS
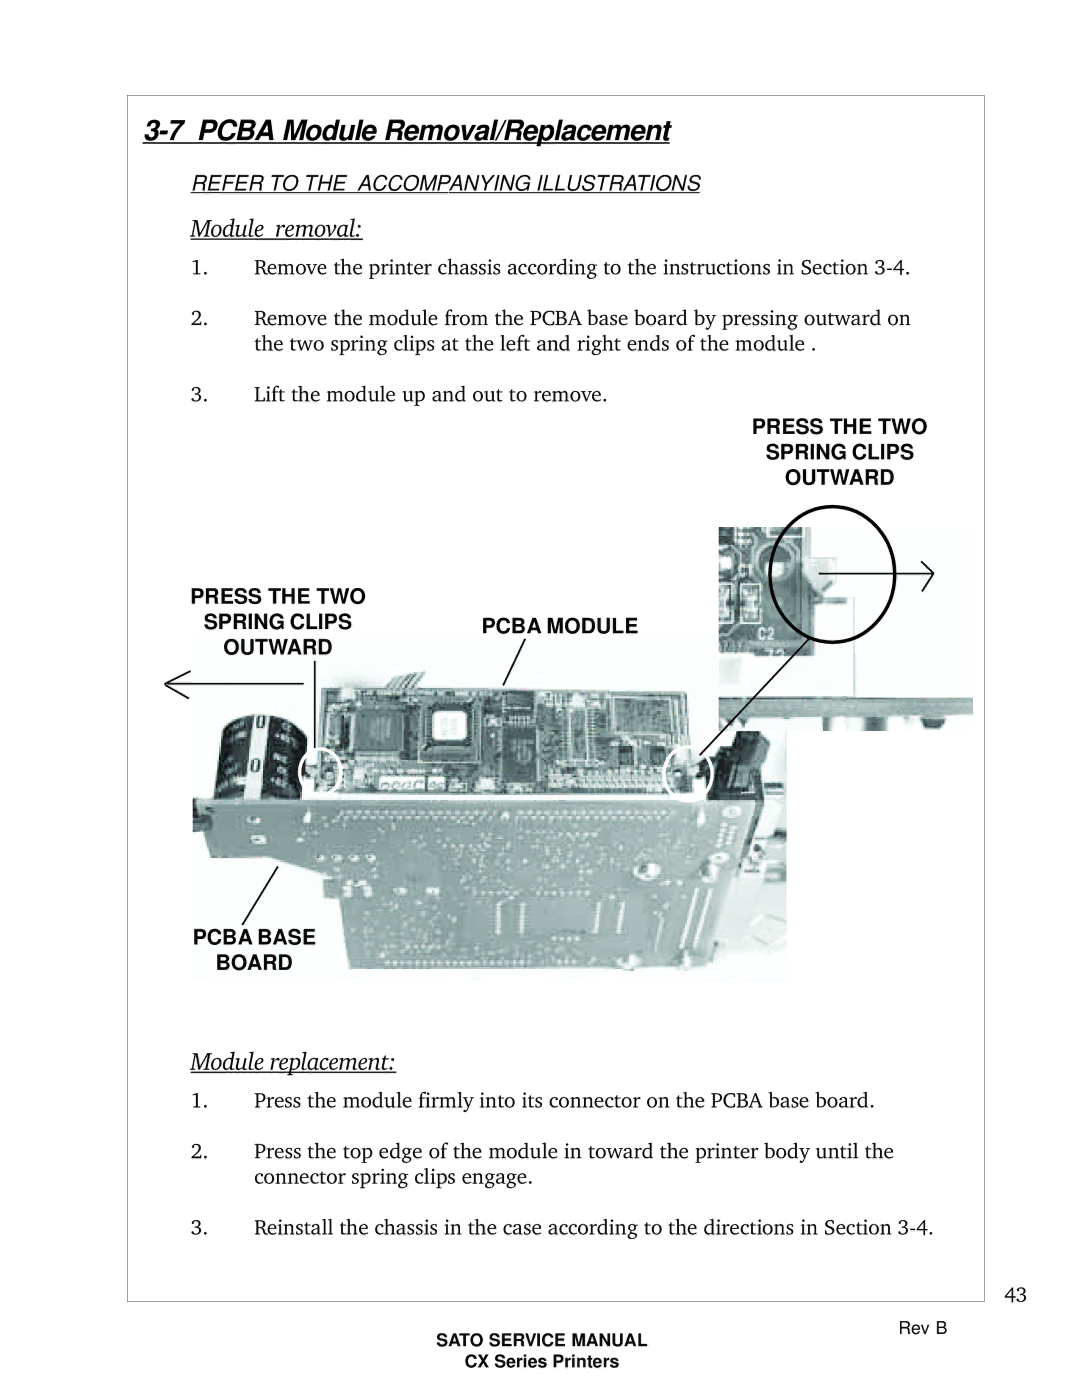
Module removal:
1.Remove the printer chassis according to the instructions in Section
2.Remove the module from the PCBA base board by pressing outward on the two spring clips at the left and right ends of the module .
3.Lift the module up and out to remove.
PRESS THE TWO
SPRING CLIPS
OUTWARD
PRESS THE TWO
SPRING CLIPSPCBA MODULE
OUTWARD
PCBA BASE
BOARD
Module replacement:
1.Press the module firmly into its connector on the PCBA base board.
2.Press the top edge of the module in toward the printer body until the connector spring clips engage.
3.Reinstall the chassis in the case according to the directions in Section
43
SATO SERVICE MANUAL
CX Series Printers
Rev B