SATO CX200 manual Head Open Switch Removal/Replacement, Switch removal, Switch installation

Models: CX200

1 55
Download 55 pages 28.53 Kb
Page 47
Image 47
3-10 Head Open Switch Removal/Replacement

46

3-10 Head Open Switch Removal/Replacement

REFER TO THE ACCOMPANYING ILLUSTRATIONS

Switch removal:

1.Remove the printer chassis according to the instructions in Section
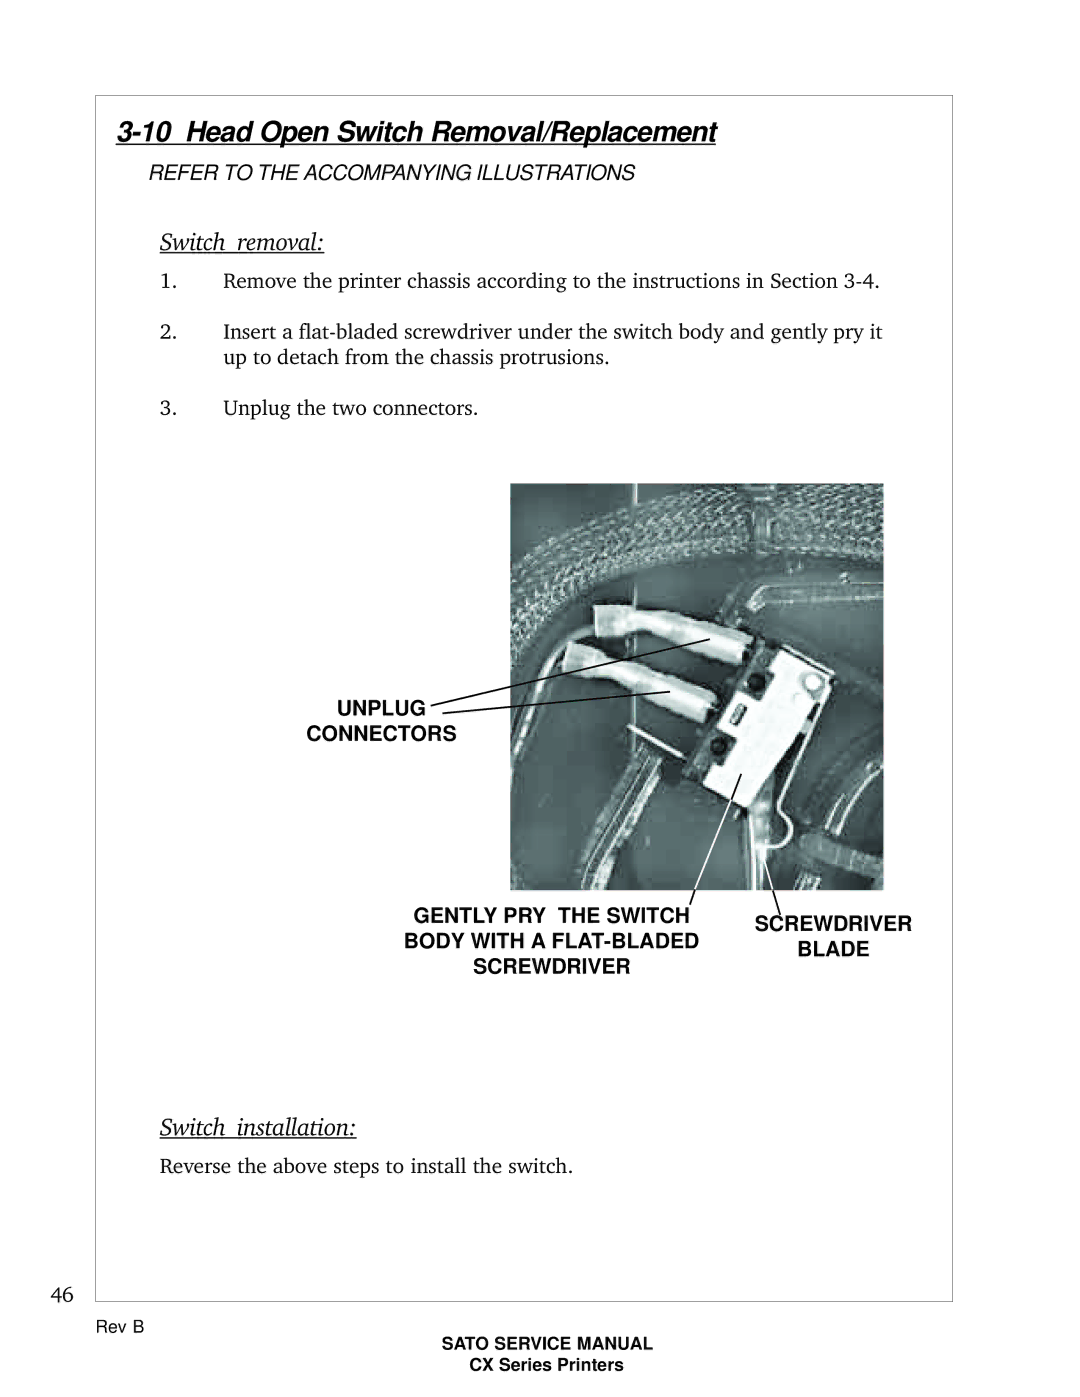
 3-4.

2.Insert a flat-bladed screwdriver under the switch body and gently pry it up to detach from the chassis protrusions.

3.Unplug the two connectors.

UNPLUG

CONNECTORS

GENTLY PRY THE SWITCH

SCREWDRIVER

BODY WITH A FLAT-BLADED

BLADE

SCREWDRIVER


Switch installation:

Reverse the above steps to install the switch.

Rev B

SATO SERVICE MANUAL

CX Series Printers

Page 47
Image 47
SATO CX200 manual Head Open Switch Removal/Replacement, Switch removal, Switch installation, Unplug Connectors