3-11 Cluster Gear Removal/Replacement (Continued)
REFER TO THE ACCOMPANYING ILLUSTRATIONS
Cluster gear removal:
1.Remove the chassis according to the instructions in Section
2.Remove the platen according to the instructions in Section
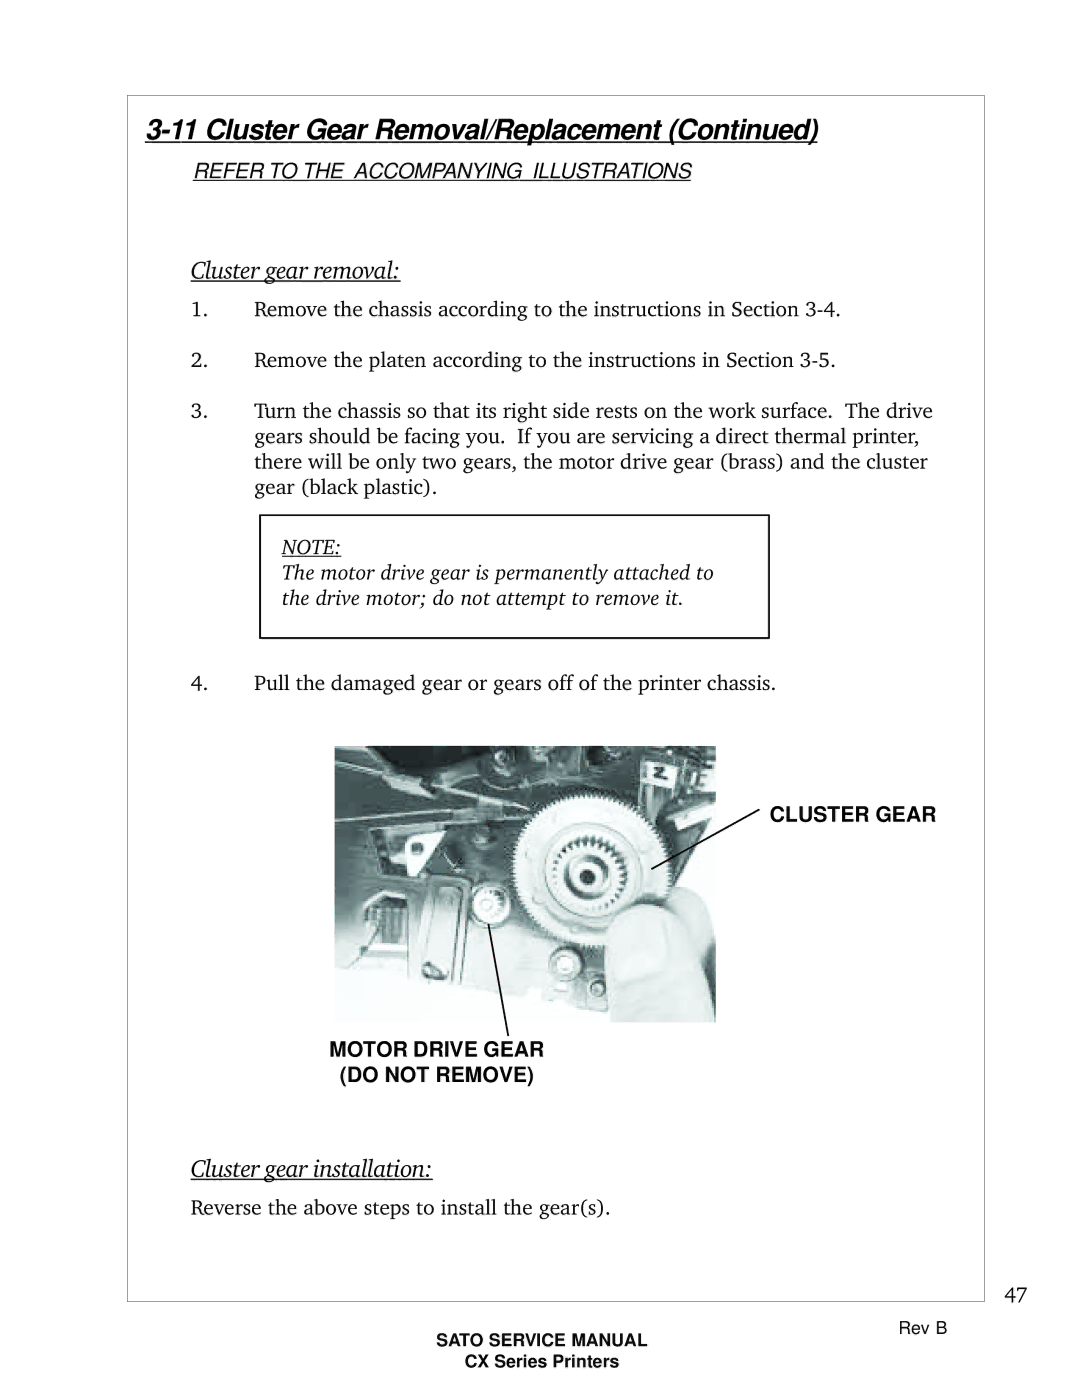
3.Turn the chassis so that its right side rests on the work surface. The drive gears should be facing you. If you are servicing a direct thermal printer, there will be only two gears, the motor drive gear (brass) and the cluster gear (black plastic).
NOTE:
The motor drive gear is permanently attached to the drive motor; do not attempt to remove it.
4.Pull the damaged gear or gears off of the printer chassis.
CLUSTER GEAR
MOTOR DRIVE GEAR (DO NOT REMOVE)
Cluster gear installation:
Reverse the above steps to install the gear(s).
47
SATO SERVICE MANUAL
CX Series Printers
Rev B