1-7 Printer Test and Calibration Preparation for Test
Running the software from your 3-1/2 drive
1.At the DOS prompt, insert the calibration disk in your computer's
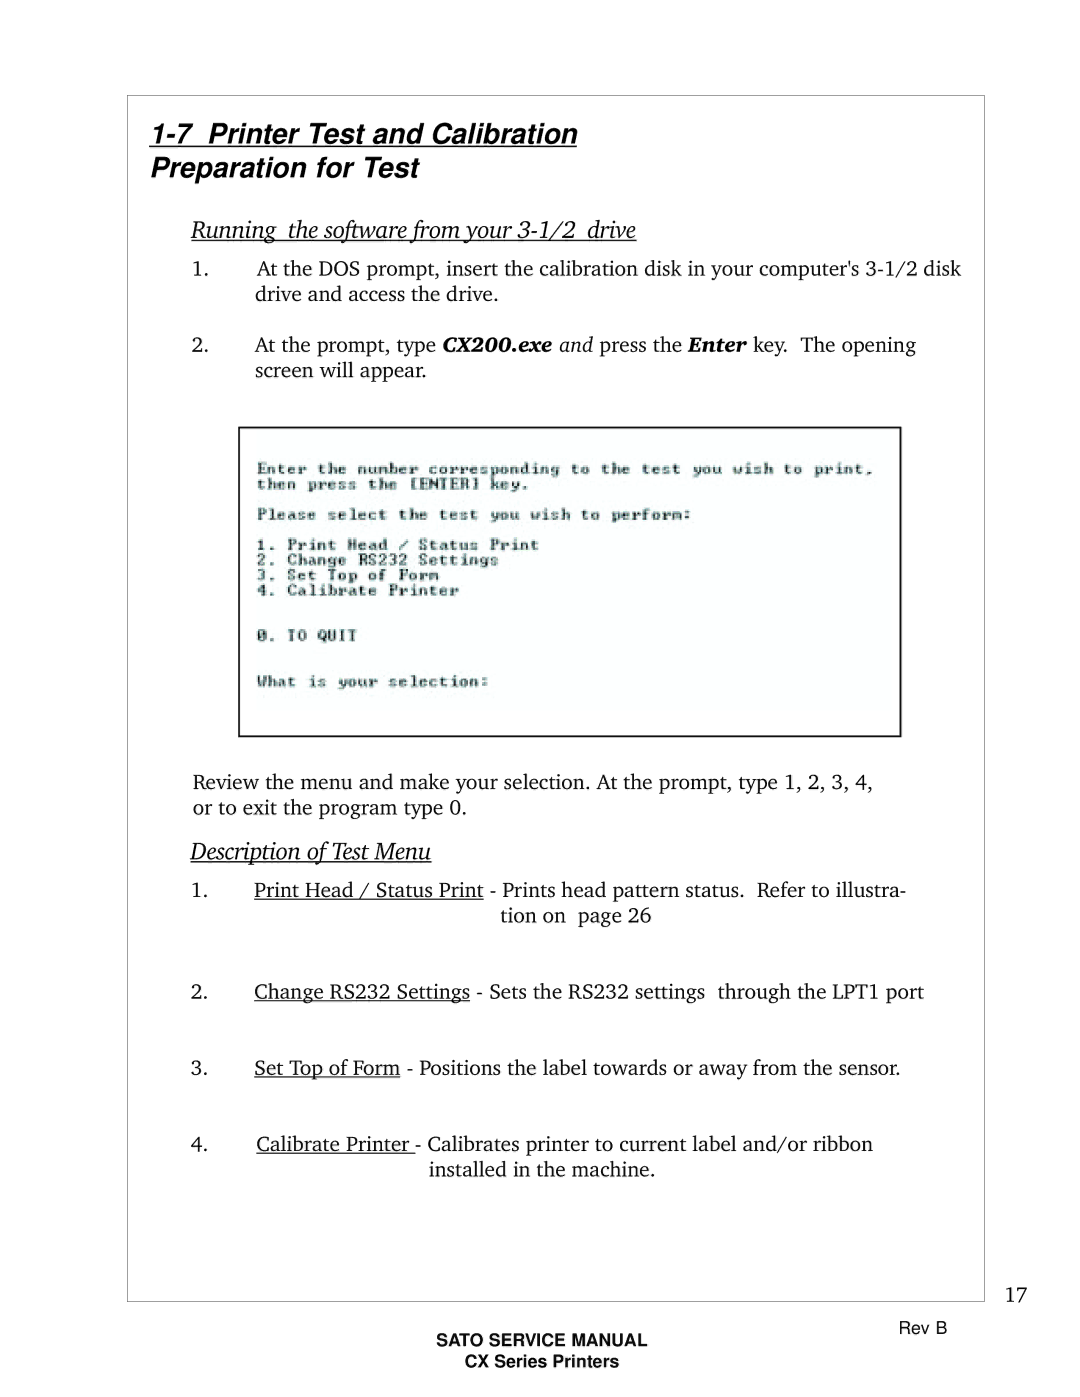
2.At the prompt, type CX200.exe and press the Enter key. The opening screen will appear.
Review the menu and make your selection. At the prompt, type 1, 2, 3, 4, or to exit the program type 0.
Description of Test Menu
1.Print Head / Status Print - Prints head pattern status. Refer to illustra-
tion on page 26
2.Change RS232 Settings - Sets the RS232 settings through the LPT1 port
3.Set Top of Form - Positions the label towards or away from the sensor.
4.Calibrate Printer - Calibrates printer to current label and/or ribbon installed in the machine.
17
SATO SERVICE MANUAL
CX Series Printers
Rev B
